Video Sizing with Clipcat: A Basic Guide
Contents
The greatest hope of any video producer—regardless of the brand they represent—is to create content that is not just seen, but truly discovered and enjoyed. While many factors contribute to a video's online success, there's one critical element that often goes overlooked: video sizing.
A video’s sizing impacts how it is stored, shared, and viewed. Before diving into production, creators must carefully consider three key elements: resolution, aspect, and file size. These technical parameters aren’t just behind-the-scenes details—they directly influence how a video performs on different platforms.
In today’s multi-channel digital landscape, a single video size rarely suffices, either. Smart creators produce multiple versions, each with resolutions, aspect ratios, and even layouts to maximize engagement across each channel.
The good news? If you understand where your videos will be placed, you can automate the resizing process. This approach saves valuable time and energy, leaving you to focus on what matters most: creating compelling content. With tools like Clipcat, creating templates and rendering at scale becomes a streamlined, efficient task—and this guide will help you get started!
Understanding Video Sizes and Resolutions for Online Channels
For content creators, understanding video sizing is more than a technical detail—it’s a way to maximize audience engagement. Key sizing considerations to keep in mind are:
- Aspect ratio : The proportion between a video’s width and height. Some common aspect ratios are 16:9, 1:1, and 4:5.
- Resolution : The density of pixels displayed in a given area. Some common resolutions are 1920×1080, 3840×2160, and 1080×1920.
Other factors—storage size, frame rate, duration, codecs, and bitrate—also play a role.

Different platforms optimize video display differently, which is why they have technical specifications that improve the viewing experience. A landscape video on a mobile-forward platform like Instagram will look cramped, while a vertical video on YouTube looks unappealing in the standard video player. Adapting your video’s aspect ratio and resolution helps creators make better use of their screen real estate, boost engagement, and optimize for the algorithm.
Tools like Clipcat simplify the optimization process, allowing creators to quickly generate platform-specific versions without complex editing workflows.
Why Automate Video Resizing
At times, resizing a video is as simple as saving it at a different frame rate. Other times, the process is more involved, requiring layout adaptation to suit the platform. This is where automation can be powerful. Instead of manually editing each video for its destination, creators can customize templates optimized for each platform, ensuring consistency by using the same input data.
A single automation run can produce as many versions as needed, reducing the manual workload, maintaining quality, and offering diverse use case possibilities.
How to Generate Videos in Different Sizes with Clipcat
Clipcat offers easy control over your video’s aspect ratio, resolution, and frame rate, ensuring you are able to modify your template according to your needs. Here’s how to access these settings:
From the Template Page
Log into your Clipcat account (or start a free trial with 100 credits—no credit card required! 🎉), and navigate to the Templates tab.
If you already have a template set up, click on it. Otherwise, click Create a Template.
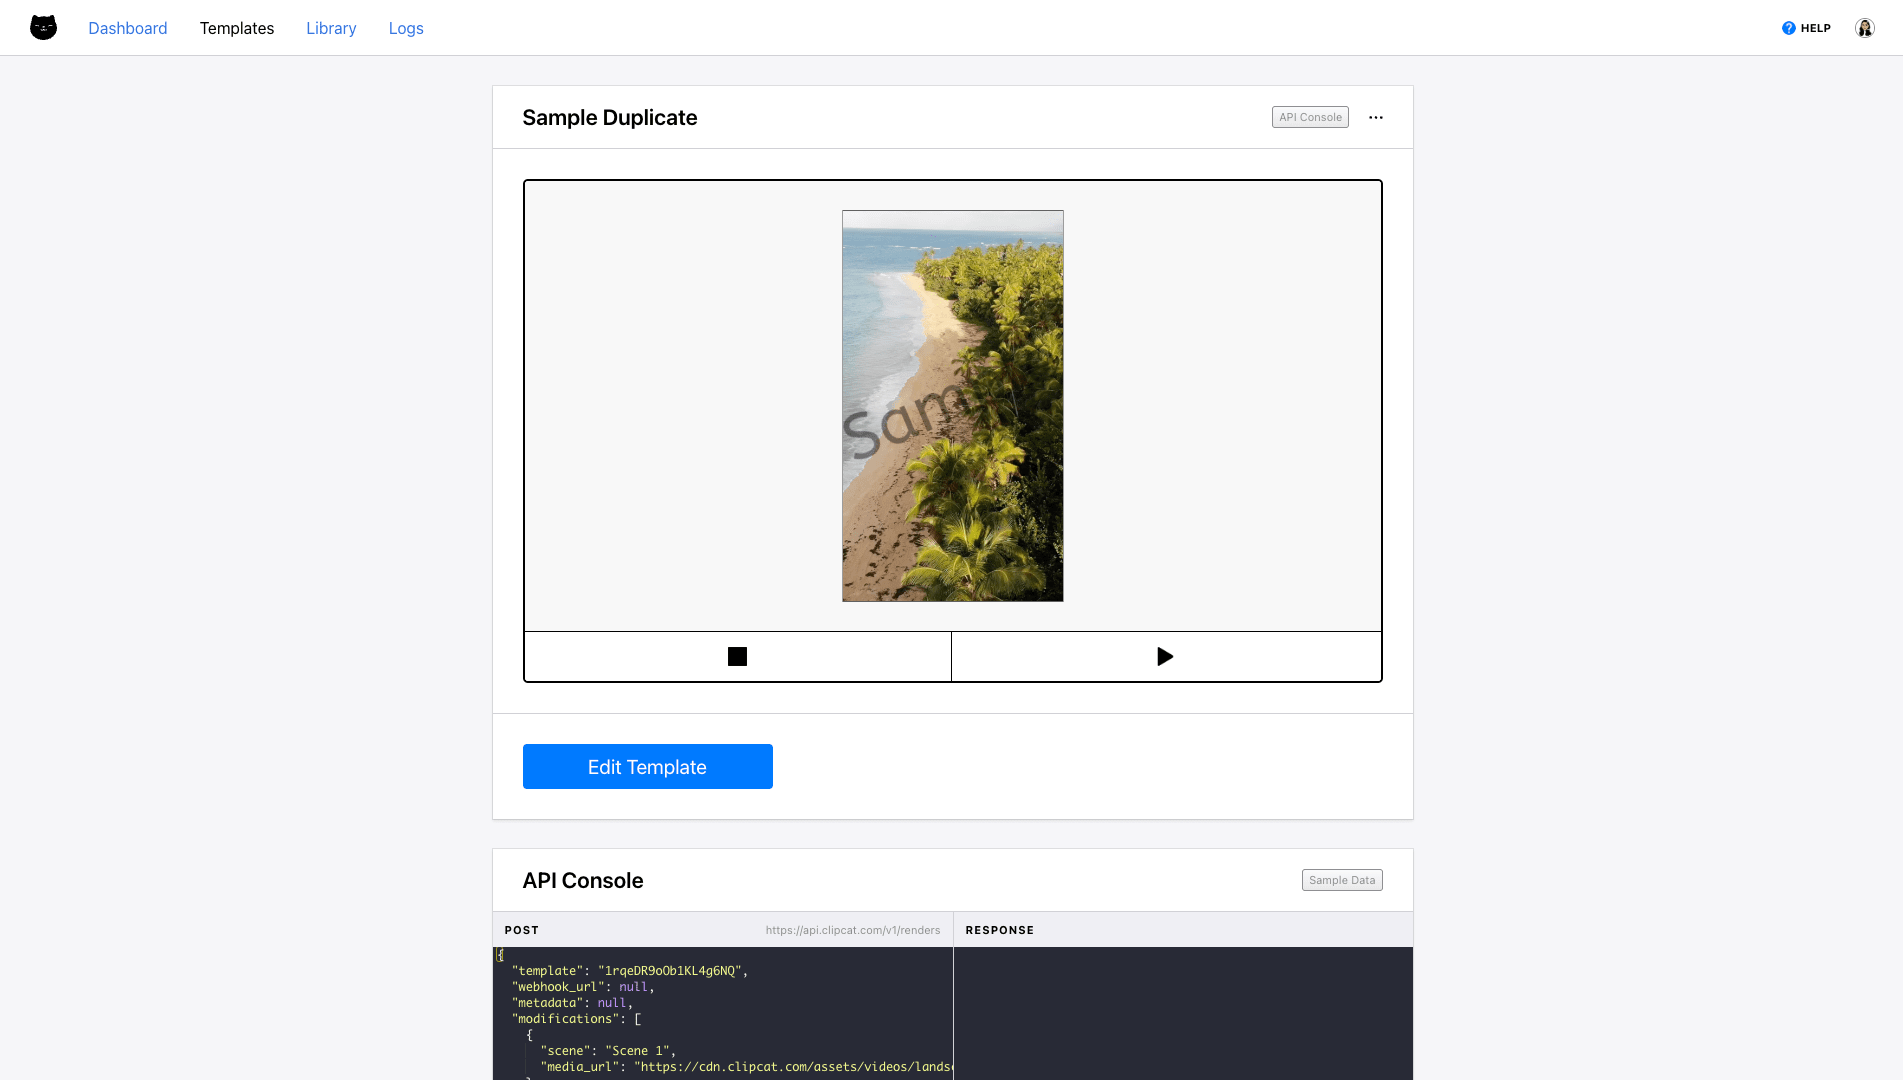
You should now be on the template page. Click the three-dot menu next to the preview, and navigate to Template Settings.
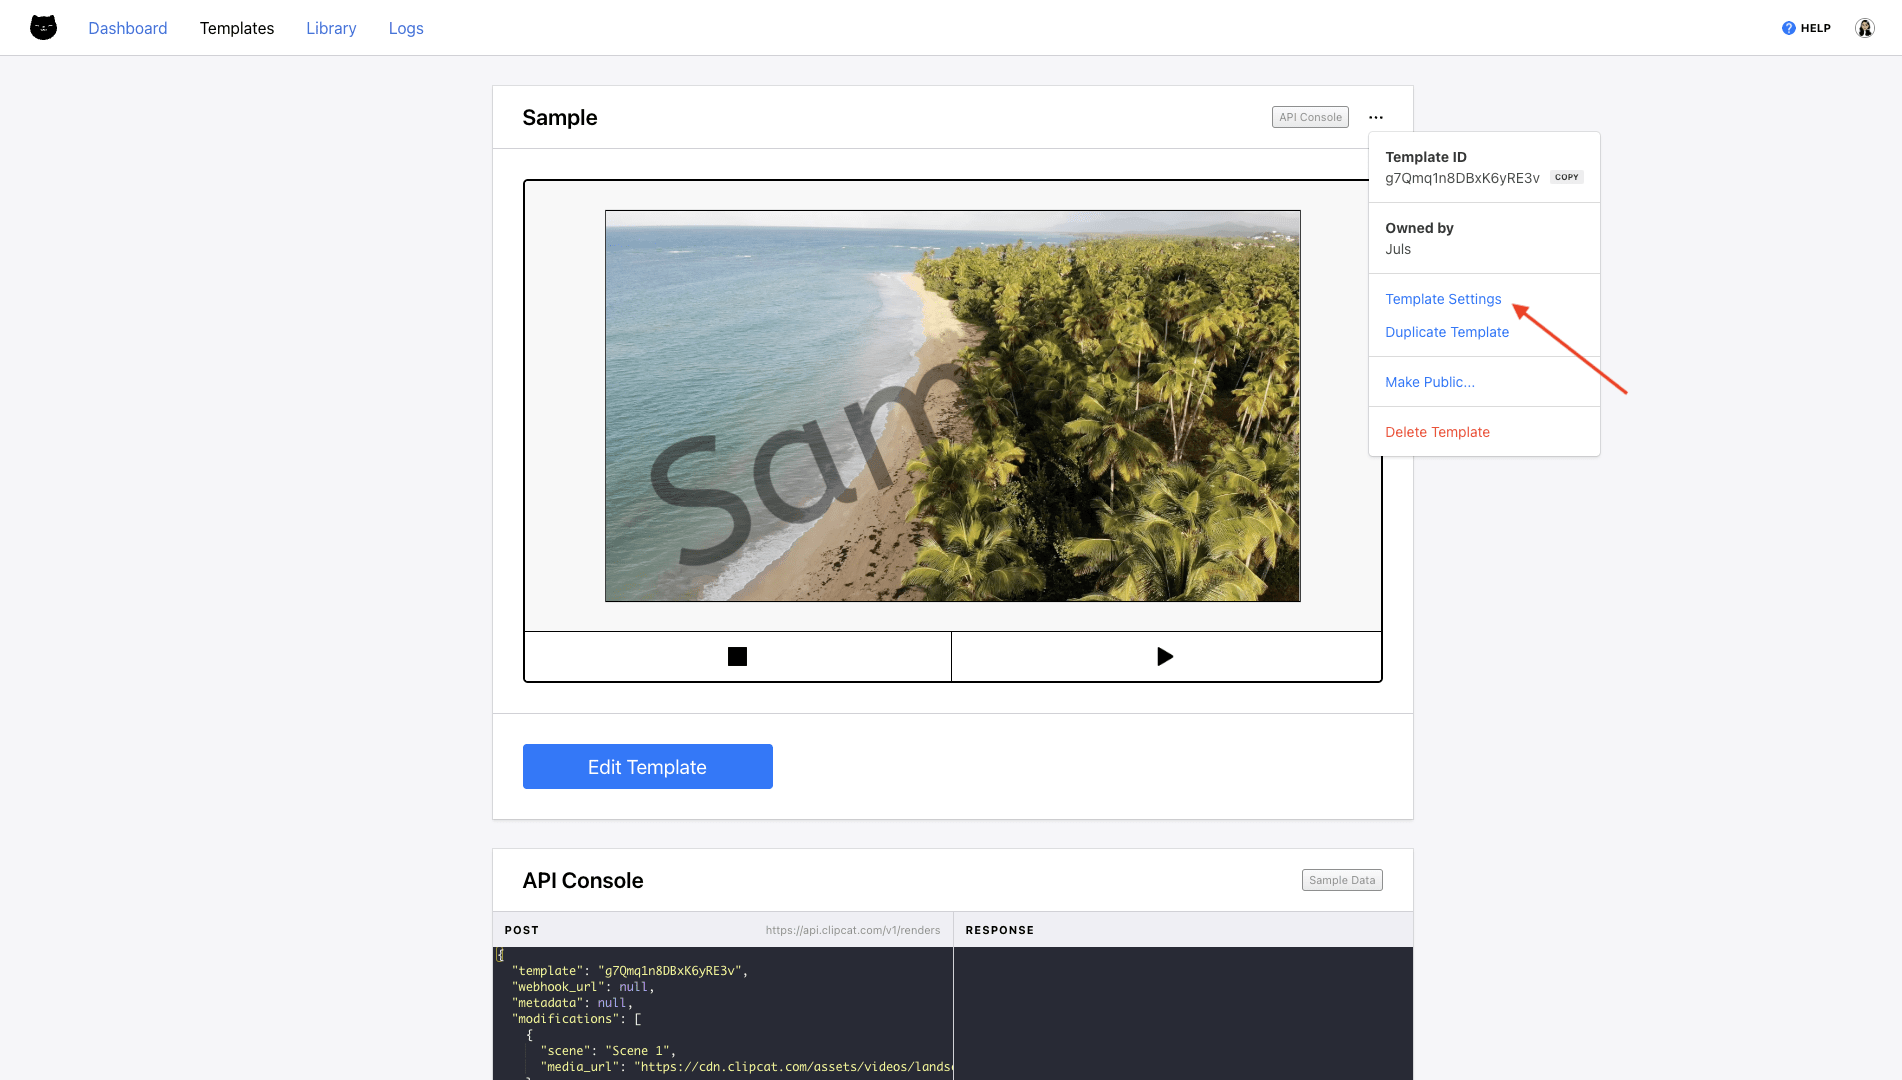
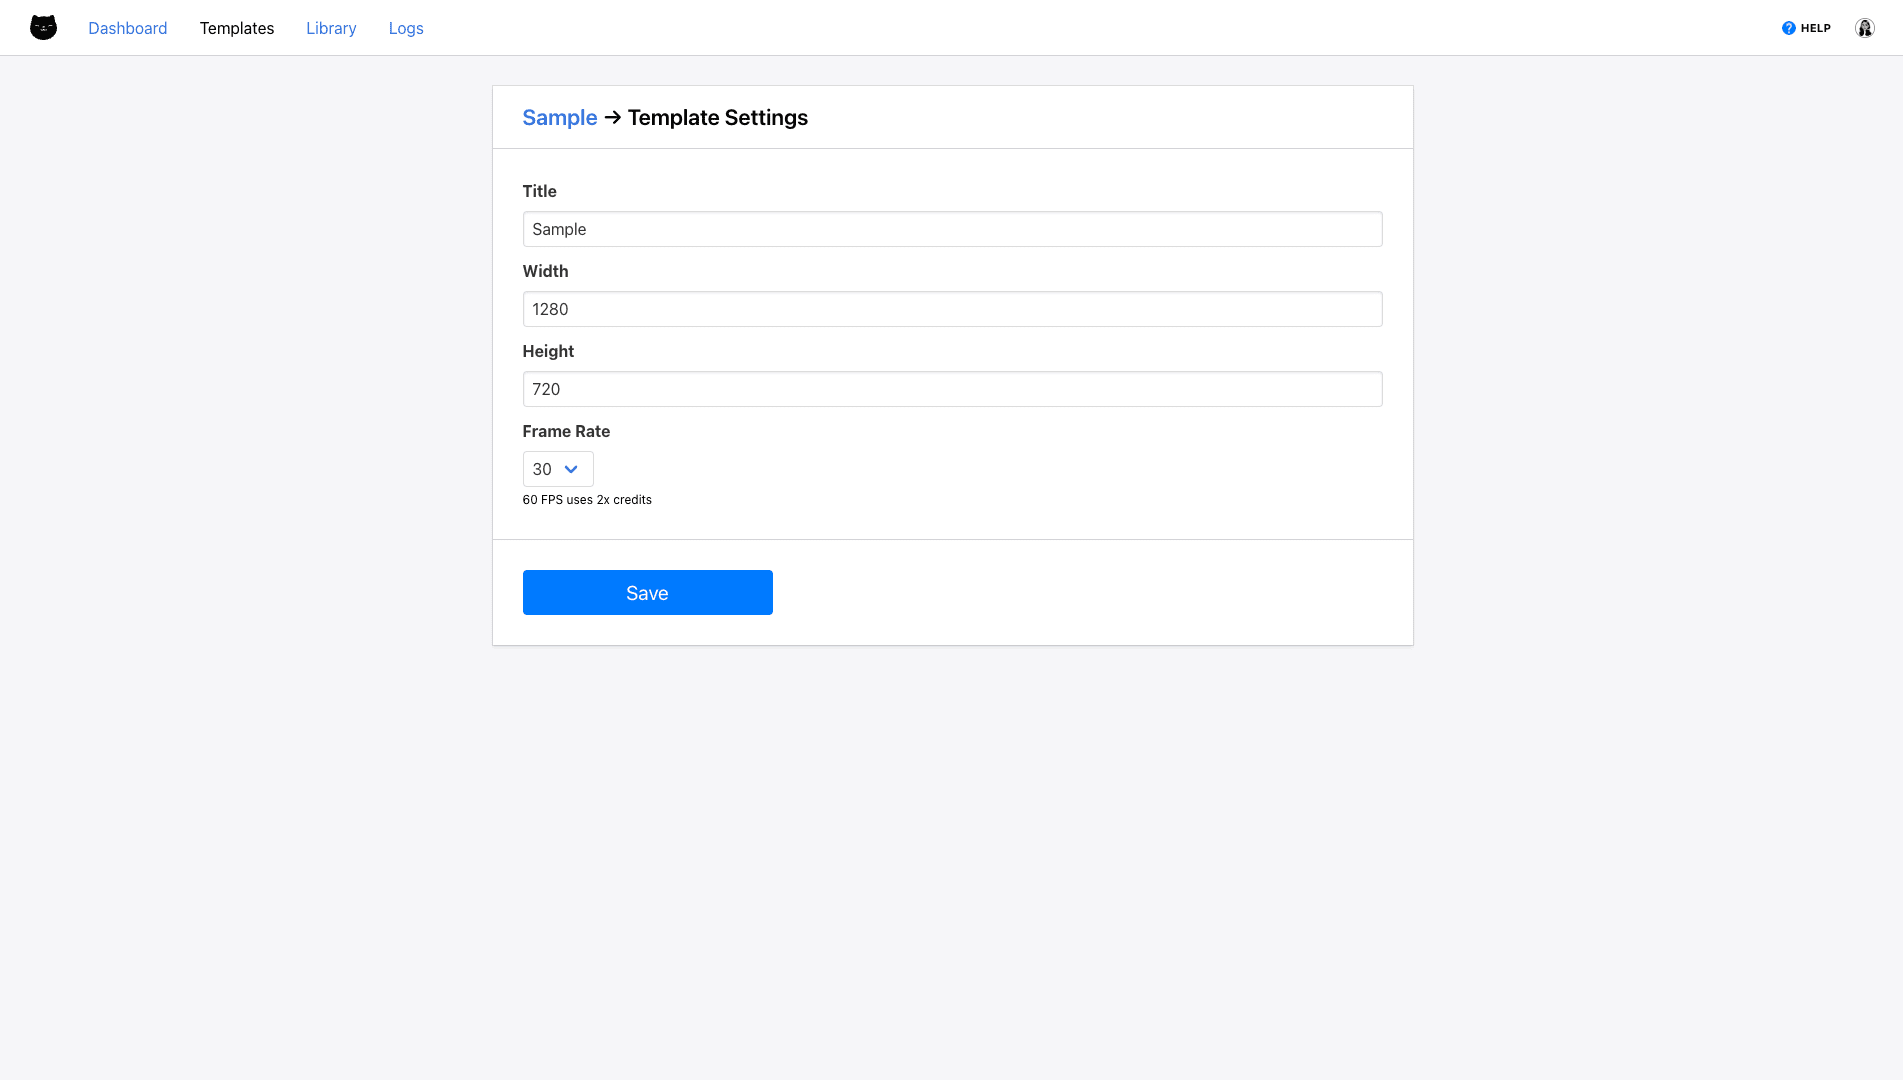
From here, you can easily change the width, height, and frame rate of your video.

Click Save. The changes will be visible in your template editor immediately.
Meow Memo 🐱: Clipcat is able to render videos in 30 FPS and 60 FPS—but keep in mind that 60 FPS will require more credits!
From the Template Editor
You can also access size settings from directly within the template editor. Click the resolution settings in the playback panel.
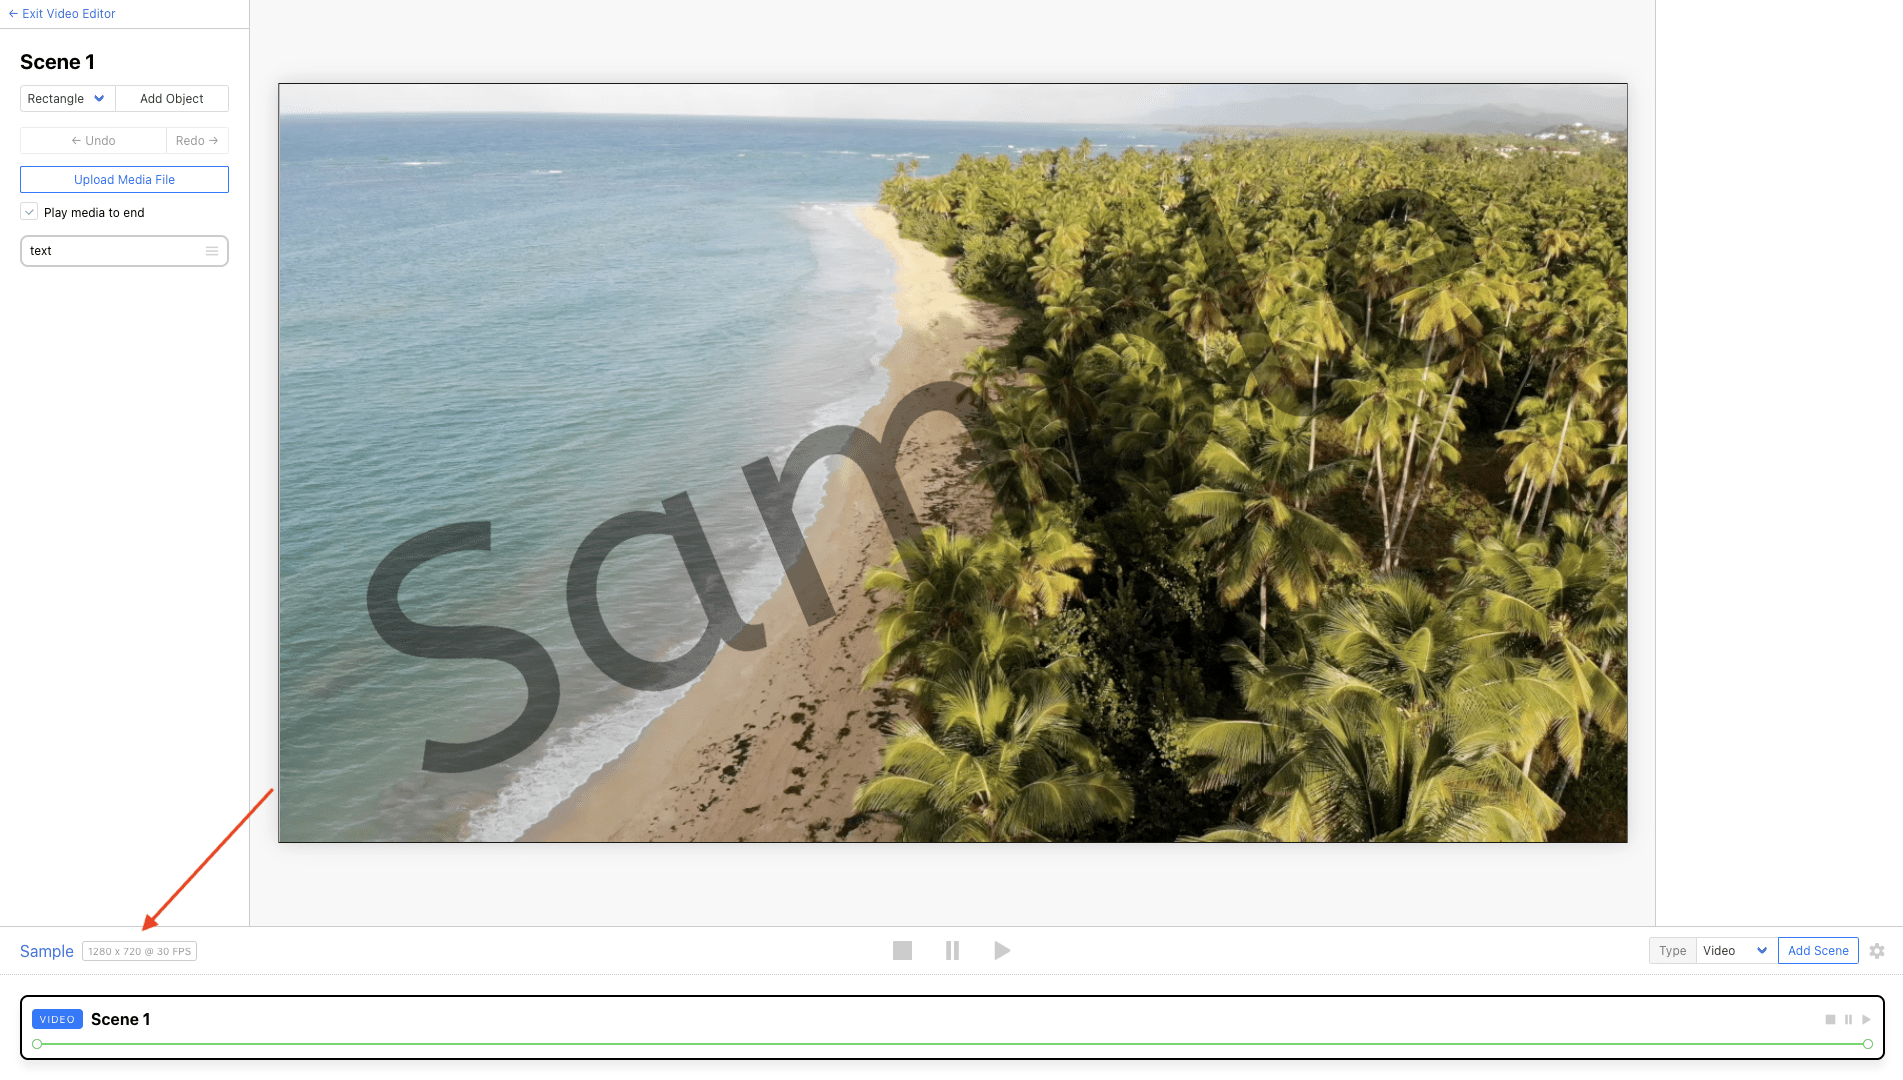
This will lead you to template settings, where you can make changes to your video’s width, height, and frame rate.
These changes will apply immediately.
Meow Memo 🐱: Remember–a video's resolution is directly correlated to the number of pixels in a given space. Here's a quick tip: If you want to maintain the same aspect ratio but increase the resolution of a video, multiply the width and height by the same number. 1280x720 becomes 2560x1420, and so on!
Tips & Tricks for Video Resizing in Clipcat
Need more out of your video resizing efforts? Here are a few tips:
Create Multiple Templates
If you need to create multiple templates with the same content, design one first, then duplicate it from the three-dot menu on the template page.
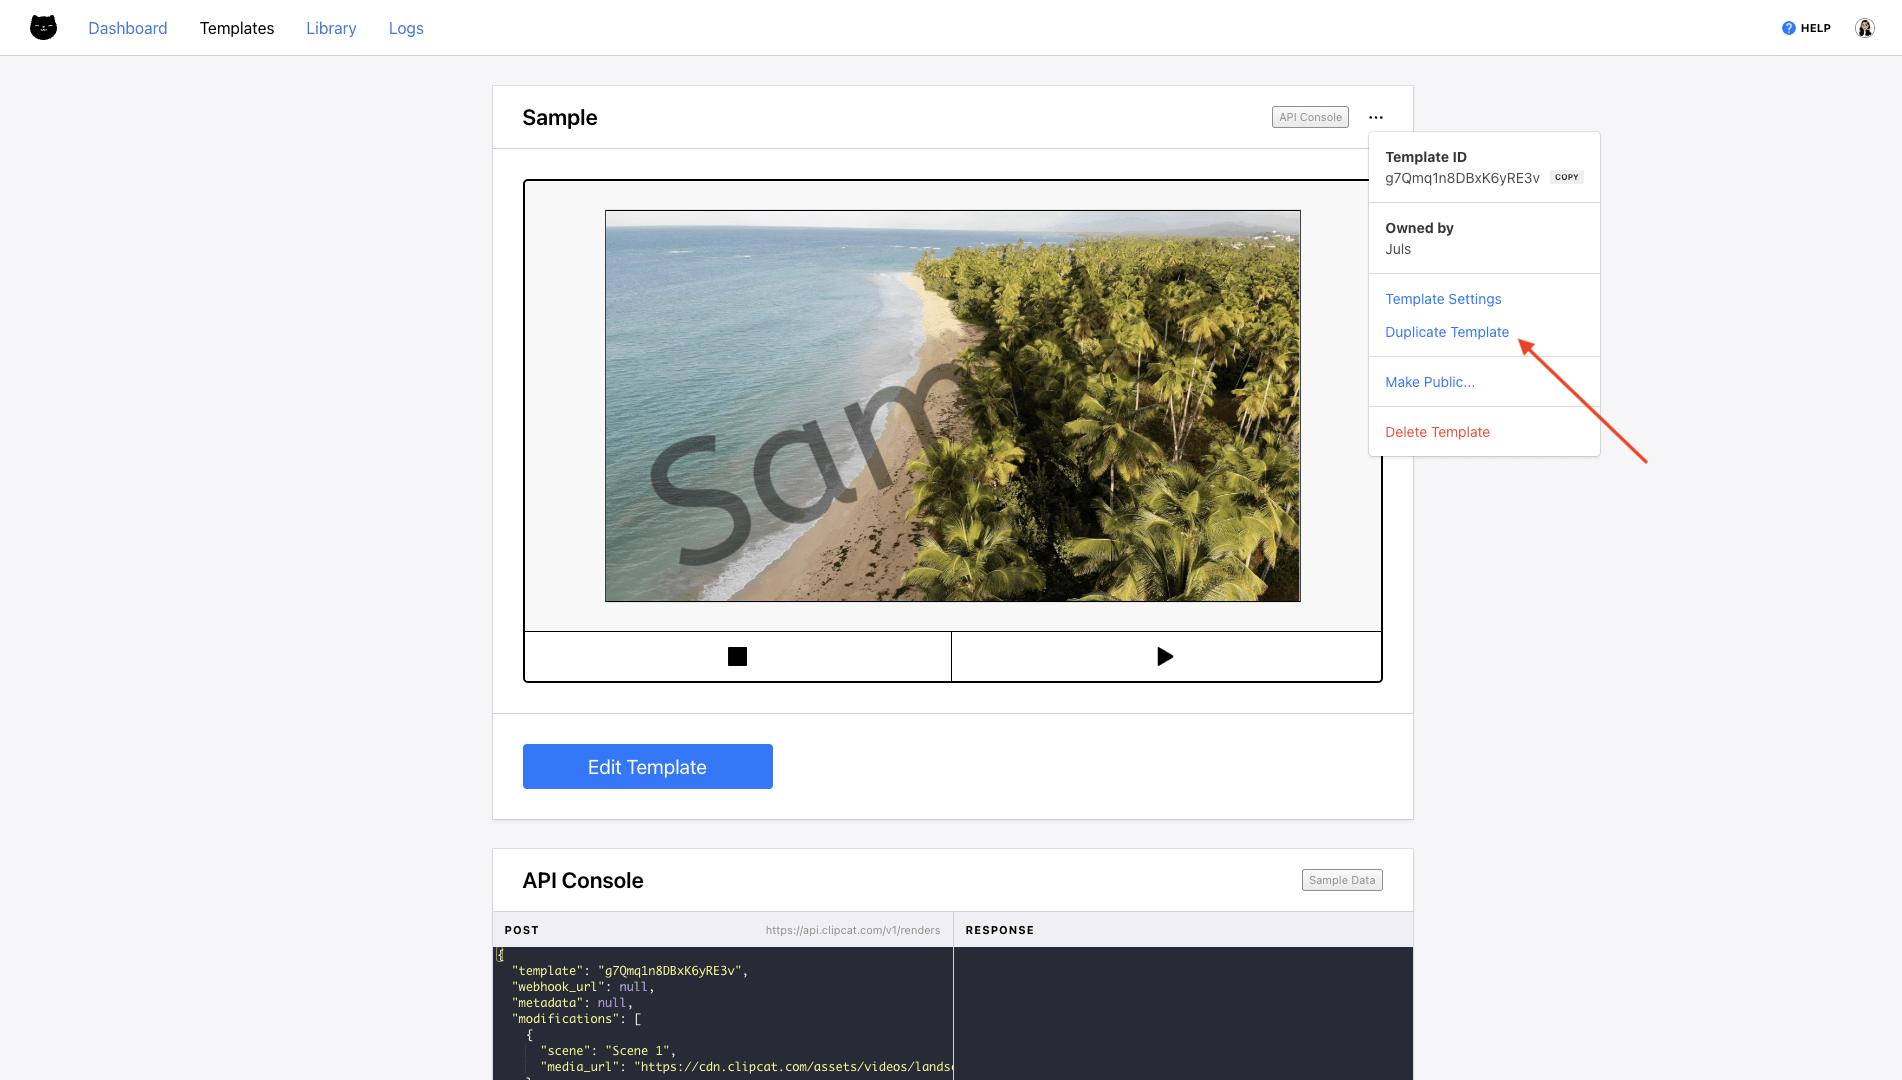
You can then easily change the canvas size and move objects to fit your frame. This way, the object names, keyframes, and all other set up remains the same—the only thing different is where it’s placed.
Maintain Consistency with Keyframes
To preserve your video's core narrative across different platforms, focus on adjusting object placement while keeping the keyframes intact. This approach maintains the original cadence and impact, regardless of the channel it’s intended for.
Of course, platform-specific nuances sometimes demand strategic adjustments. You might need to shorten a video's duration to meet a platform's specifications or quicken the initial hook to match a particular audience's viewing habits. These strategic decisions should be considered on a case-by-case basis, always with your core message and audience engagement in mind.
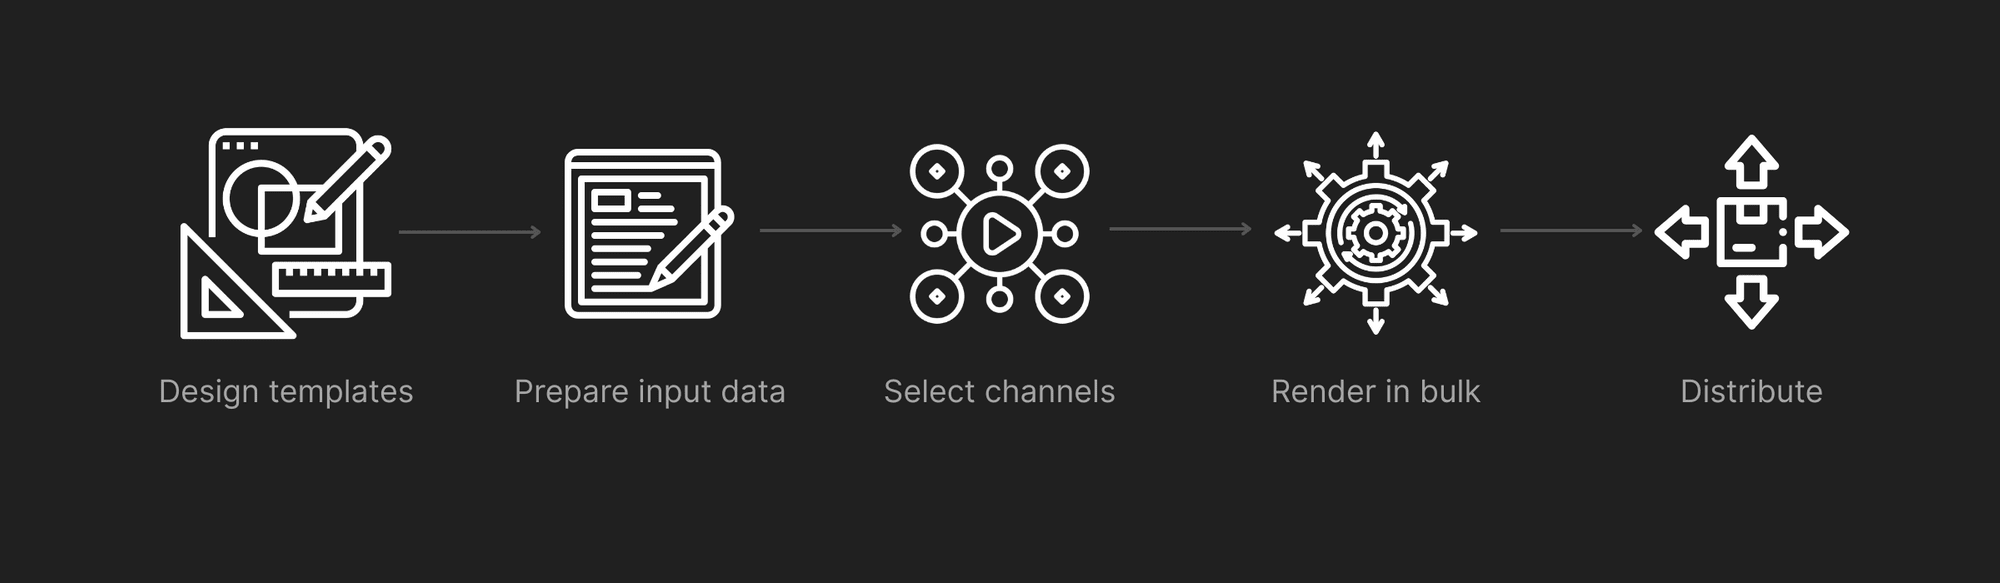
Render Multiple Videos in One Automated Workflow
Create as many templates as you need, then build an automated workflow that triggers rendering for everything needed at once.
We’ll roll out tutorials on how to do this with your choice of workflow automations platform very soon!
Conclusion
Video resizing doesn't have to be a complex, time-consuming process—and with Clipcat, it’s just a matter of a few clicks! With user-friendly tools, creators can easily adapt their content across multiple platforms, ensuring maximum reach and engagement.
By understanding platform-specific requirements, leveraging automation, and maintaining your core narrative, you can transform bulk video production from a technical challenge into a seamless, efficient workflow that amplifies your brand’s reach.