How to Turn Video Into Audio Using FFmpeg (Beginner’s Guide)
Contents
FFmpeg is one of the most powerful tools out there if you're working with media files programmatically. In this guide, I’ll walk you through one of the most common use cases: turning videos into audio files using FFmpeg.
You can use it to convert video podcasts into audio, prepare files for transcription services, or even simply to reduce file size and save on bandwidth. FFmpeg makes the whole process fast and simple.
We’ll go through the essentials step by step, including installing FFmpeg, extracting audio in different formats, adjusting the quality with bitrate settings, using variable bitrate to reduce file size, and also extracting audio without re-encoding.
What is FFmpeg
FFmpeg is a powerful cross-platform command-line tool used for handling video and audio files. It can decode, encode, transcode, mux, demux, stream, filter, and play media in just about any format, and it works on all major platforms, including Linux, macOS, Windows, and more.
FFmpeg comes with a set of tools that let you convert, play, and analyze media files, as well as libraries for developers to use in various applications. This allows you to:
- Convert
.mp4videos to.mp3audio files - Reduce video size
- Automate podcast production
- Extract audio for transcription
- Build media-processing apps
…and more.
How to Install FFmpeg
Before you begin, make sure to download FFmpeg from the official website. You can follow this step-by-step guide to install FFmpeg on your Mac, Windows, or Ubuntu/Linux.
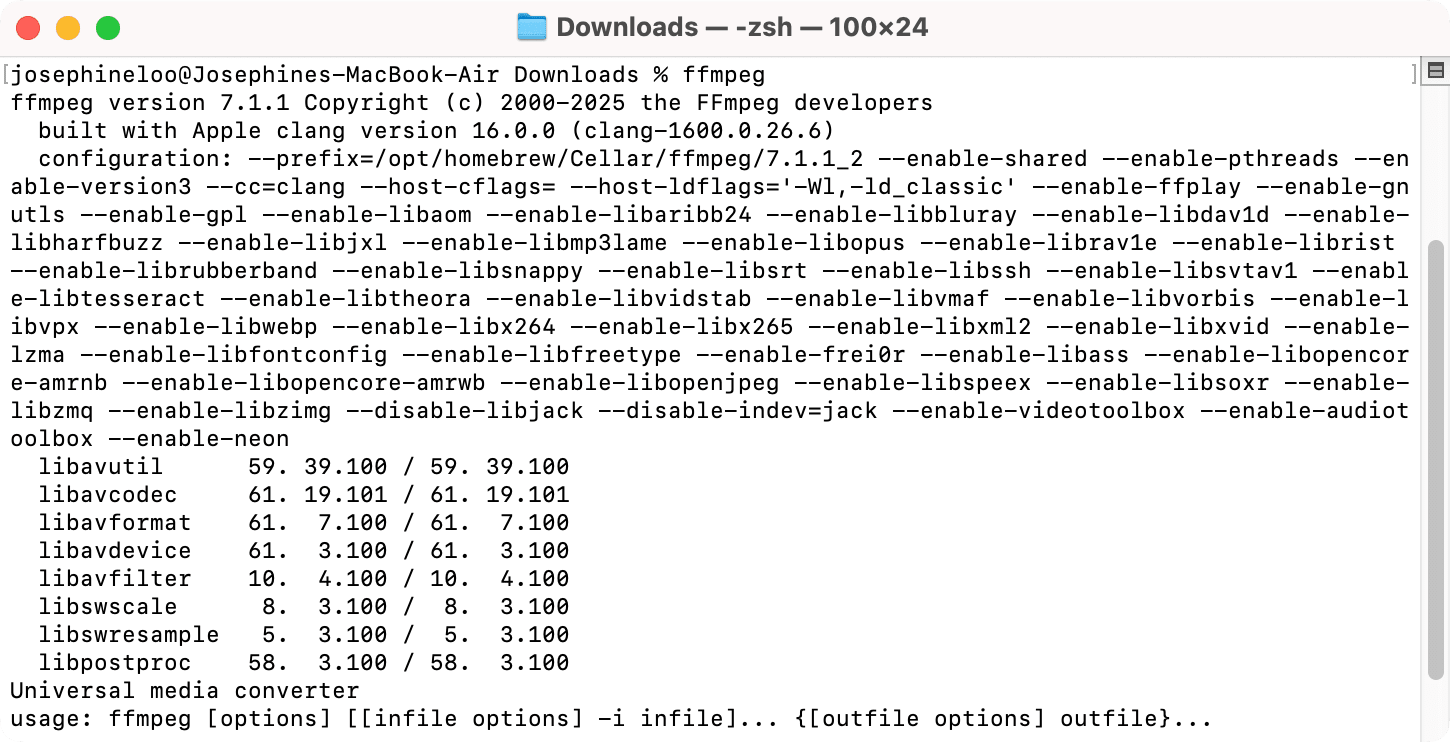
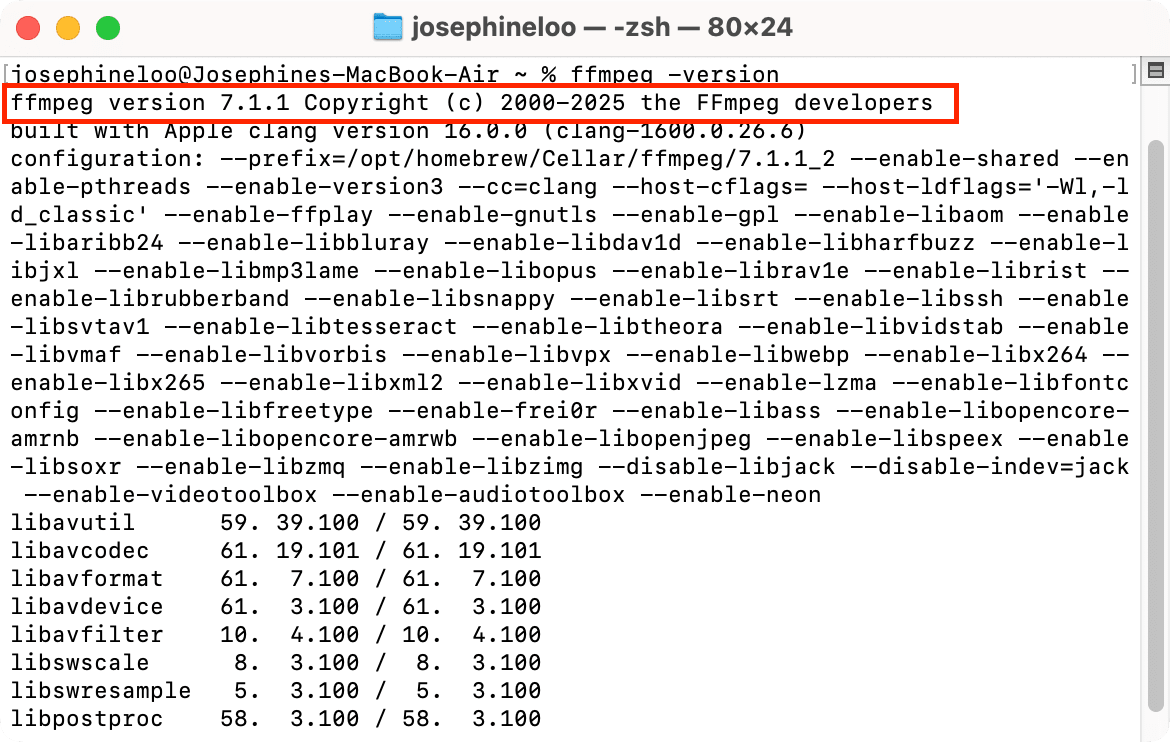
Once it’s installed, run the command below in your terminal/command prompt to verify the installation:
ffmpeg -version
If the installation is successful, you should be able to see the version number and other info:
How to Turn Video into Audio Using FFmpeg
Basic Command to Extract Audio from Video
Here’s the most basic command to convert a video into an audio file:
ffmpeg -i input.mp4 output.mp3
i input.mp4 specifies the input video file and output.mp3 specifies the name and format of the output file. This converts the video to an MP3 audio file using FFmpeg’s default settings.
FFmpeg lets you extract audio from a video in different formats. All you have to do is specify the format in the output file name. Here are a few examples of how you can convert a video into other audio formats:
ffmpeg -i video.mp4 audio.wav # WAV format
ffmpeg -i video.mp4 audio.aac # AAC format
ffmpeg -i video.mp4 audio.ogg # OGG format
Control Audio Quality (Changing Bitrate)
If you use the basic conversion command above, FFmpeg will automatically use the standard encoding settings for the specified output format. It will set the default values for audio codec, bitrate, sample rate, and number of audio channels unless stated otherwise.
But if you want to control the quality of the output audio, you can specify the bitrate by adding -b:a <bitrate> to the command:
ffmpeg -i input.mp4 -b:a 192k output.mp3
Bitrate determines how much data is used for each second of audio. The higher the bitrate, the better the sound quality usually is, because more audio details are preserved. However, that also means a bigger file size.
The command above sets the audio bitrate to 192kbps, which is considered high-quality for most general use cases.
🐱 Meow Memo: You can also try other common values like
128k,256k, or even320k.
Control Audio Quality (Using Variable Bitrate)
When you use variable bitrate (VBR), the audio bitrate can adjust throughout the file based on how complex the audio is at different points. So, for more complex parts, a higher bitrate will be used, and for simpler parts, it’ll use less. This way, you get better sound quality without making the file unnecessarily large.
Here’s how you can extract audio from a video using variable bitrate:
ffmpeg -i input.mp4 -q:a 2 output.mp3
The -q:a flag sets the audio quality. The values range from 0 to 9, where 0 gives you the best sound quality, and 9 gives the lowest.
Extract Audio Without Re-encoding
When you extract audio from a video, FFmpeg decodes the original audio stream and encodes it again into the desired output format (e.g., MP3, WAV). This process can change the quality, codec, or bitrate of the original audio, and takes longer the finish the extraction/conversion.
If you want to avoid re-encoding (extract the original audio stream as-is), you can copy the audio stream instead. Here’s how:
ffmpeg -i input.mp4 -acodec copy output.aac
This -acodec copy flag asks FFmpeg to extract the audio from the original video without re-encoding it.
🐱 Meow Memo: This works only if the original audio track is already in the format you want. If you’re not sure, you can use
ffprobeto inspect the codec info.
Bonus: Using Clipcat API for Video Automation
As you probably already know, FFmpeg is a powerful tool for working with media files programmatically, including editing videos. If you’re also using FFmpeg to trim, join, or convert videos besides just extracting audio, check out Clipcat too.

Clipcat is a video generation tool that lets you create videos programmatically using templates. You only need to design the video template once, then use its API to dynamically update elements like text (e.g., titles, captions, quotes), images (e.g, profile pictures, logos, product photos), and videos (e.g., user-uploaded clips or animated backgrounds) in the template.
As a developer, here’s how you can use it:
- Automatically generate branded videos from blog posts, customer data, or social media content
- Replace FFmpeg scripts for repetitive editing tasks like stitching intros, outros, and subtitles
- Build internal tools or customer-facing apps that offer video output as a feature, without writing low-level video logic
- Watermark videos
Check out some of the video templates here:
Customer Review Template
Real Estate Listing Template
Breaking News Template
You can easily duplicate these ready-made templates from Clipcat’s template library and integrate the video generation functionality into your app or workflow using the API. Super simple!
🐱 Meow Memo: If you want to try Clipcat, sign up here and get 100 free API credits to get started!
Conclusion
Turning video into audio using FFmpeg is easy and incredibly efficient once you get the hang of the commands. Now that you’ve got the basics down, feel free to check out more FFmpeg tutorials on our blog:
- A Beginner’s Guide to Using FFmpeg in Python for Video Processing
- A Beginner’s Guide to FFmpeg-Python: How to Trim Videos
- How to Crop and Resize Videos Using FFmpeg
And if you're handling video editing tasks programmatically but prefer a visual interface over the command line, make sure to check out Clipcat!