How to Install FFmpeg on Ubuntu, Windows, and macOS: A Complete Setup Guide
Contents
FFmpeg is a powerful command-line tool that lets you process video and audio files. If you’re building your own video editing tool or automating video tasks, FFmpeg is definitely one of the best tools you can use.
In this guide, I’ll walk you through how to install FFmpeg on Ubuntu/Linux, Windows, and macOS. We’ll look at the easier way using package managers, as well as the manual installation method if you prefer compiling it yourself. Let’s get started!
What is FFmpeg
FFmpeg is a powerful cross-platform command-line tool used for handling video and audio files. It can decode, encode, transcode, mux, demux, stream, filter, and play media in just about any format, and it works on all major platforms, including Linux, macOS, Windows, and more.
FFmpeg comes with a set of tools that let you convert, play, and analyse media files, as well as libraries for developers to use in various applications. These include:
- libavcodec
- libavutil
- libavformat
- libavfilter
- libavdevice
- libswscale
- libswresample
You can use them to convert videos from one format to another, extract audio from video, add subtitles, and more.
🐱 Meow Memo: These libraries come bundled with FFmpeg, there's no need to install them separately.
How to Install FFmpeg on Ubuntu/Linux
As a Linux distribution based on Debian, using Debian’s default Advanced Package Tool (APT) package manager to install FFmpeg from the official repository is the simplest way to install it.
Before installing FFmpeg, open a terminal on your Ubuntu system and update the package manager's repository by running the command below:
sudo apt update
Then, run the command below to install FFmpeg:
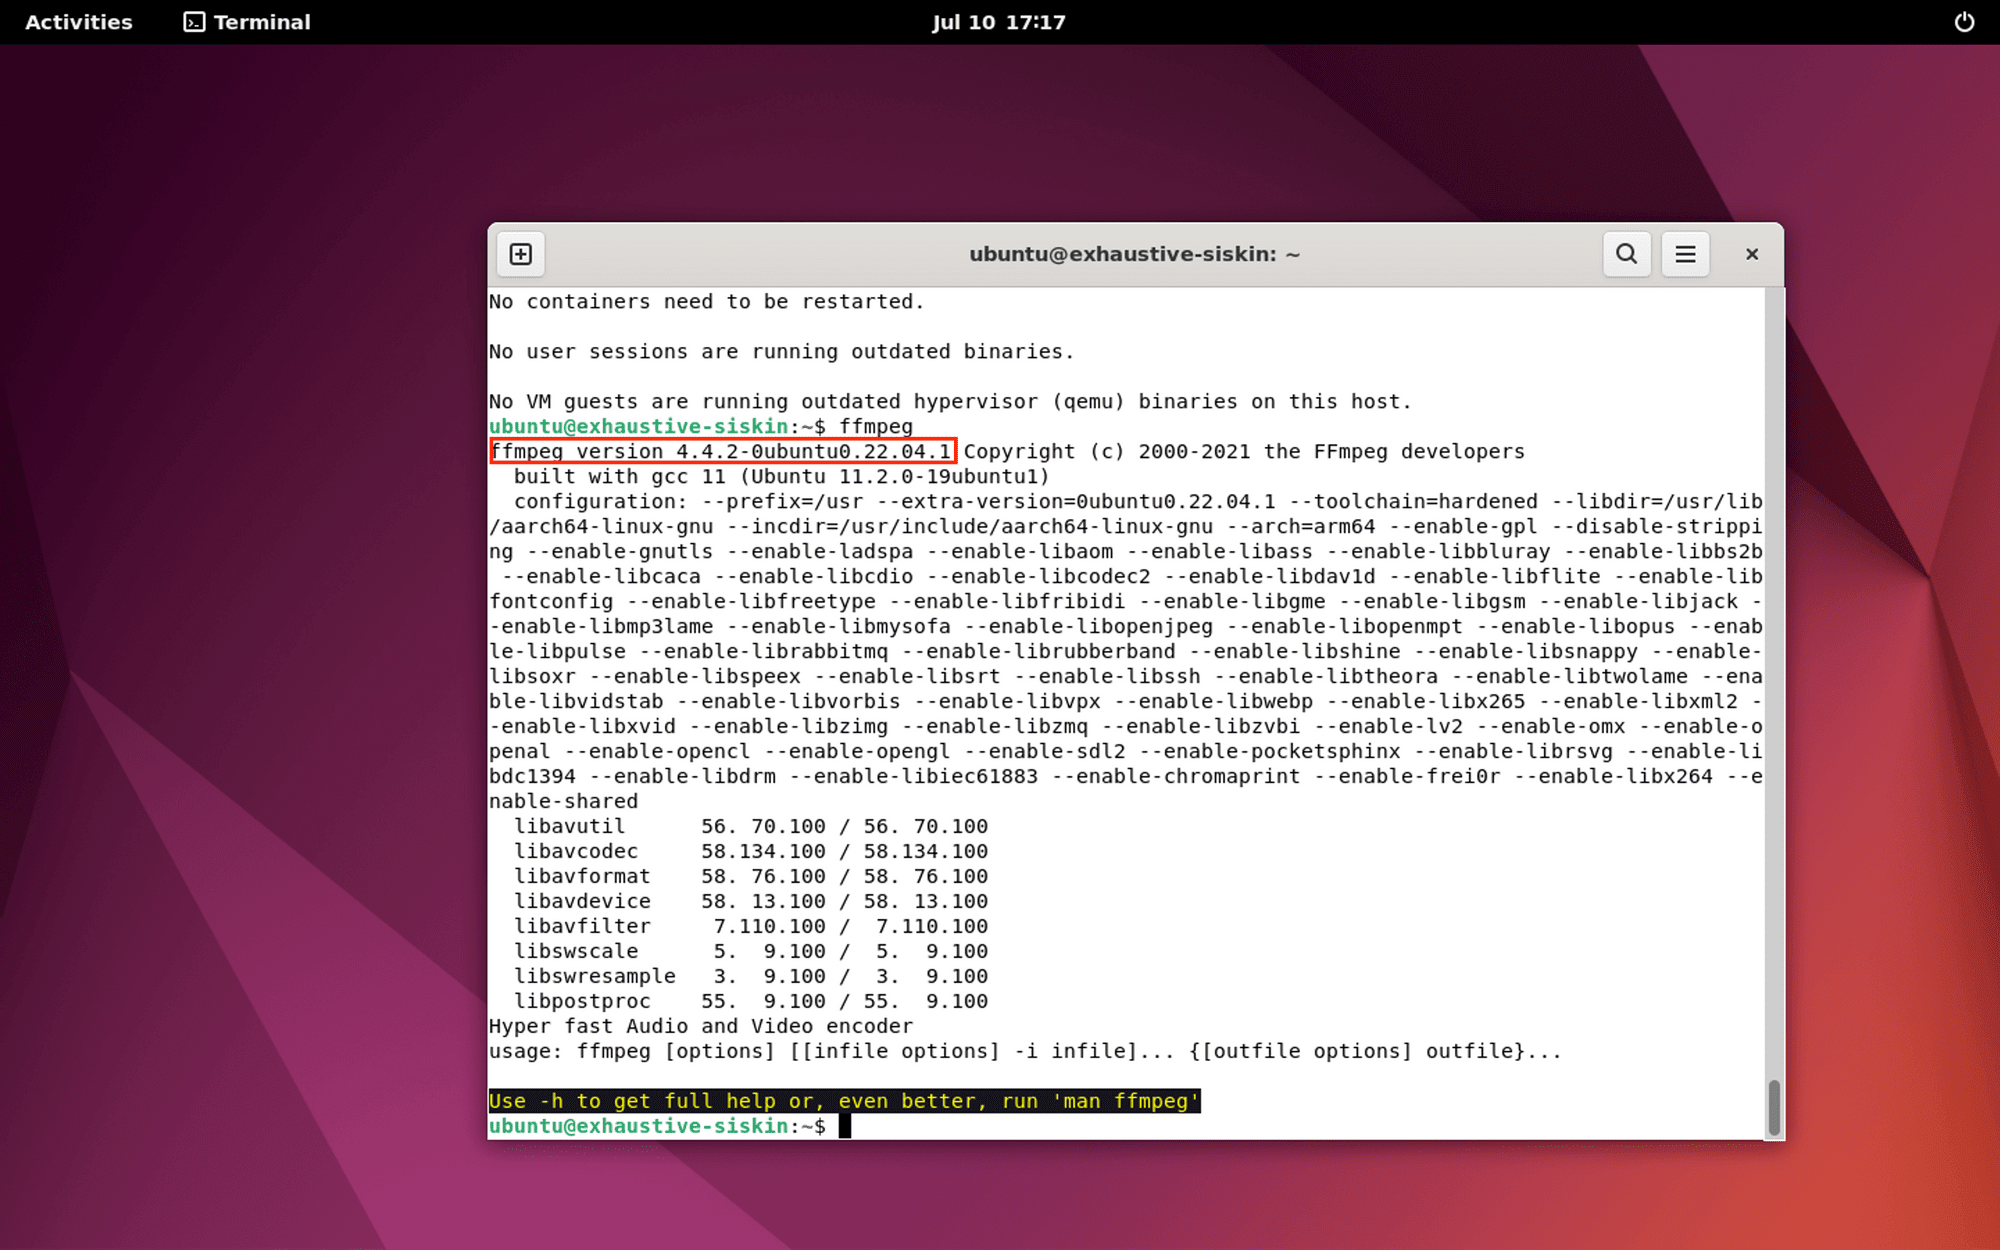
sudo apt install ffmpeg
Once it’s installed, you can run ffmpeg or ffmpeg -version in the terminal to verify the installation. If the installation is successful, the version number and other information will be displayed:
How to Install FFmpeg on Windows
Method 1. Using Chocolatey (Easy)
The easiest way to set up FFmpeg on Windows is by using the Chocolatey package manager, which simplifies the installation process. In your Command Prompt or PowerShell, run the command below:
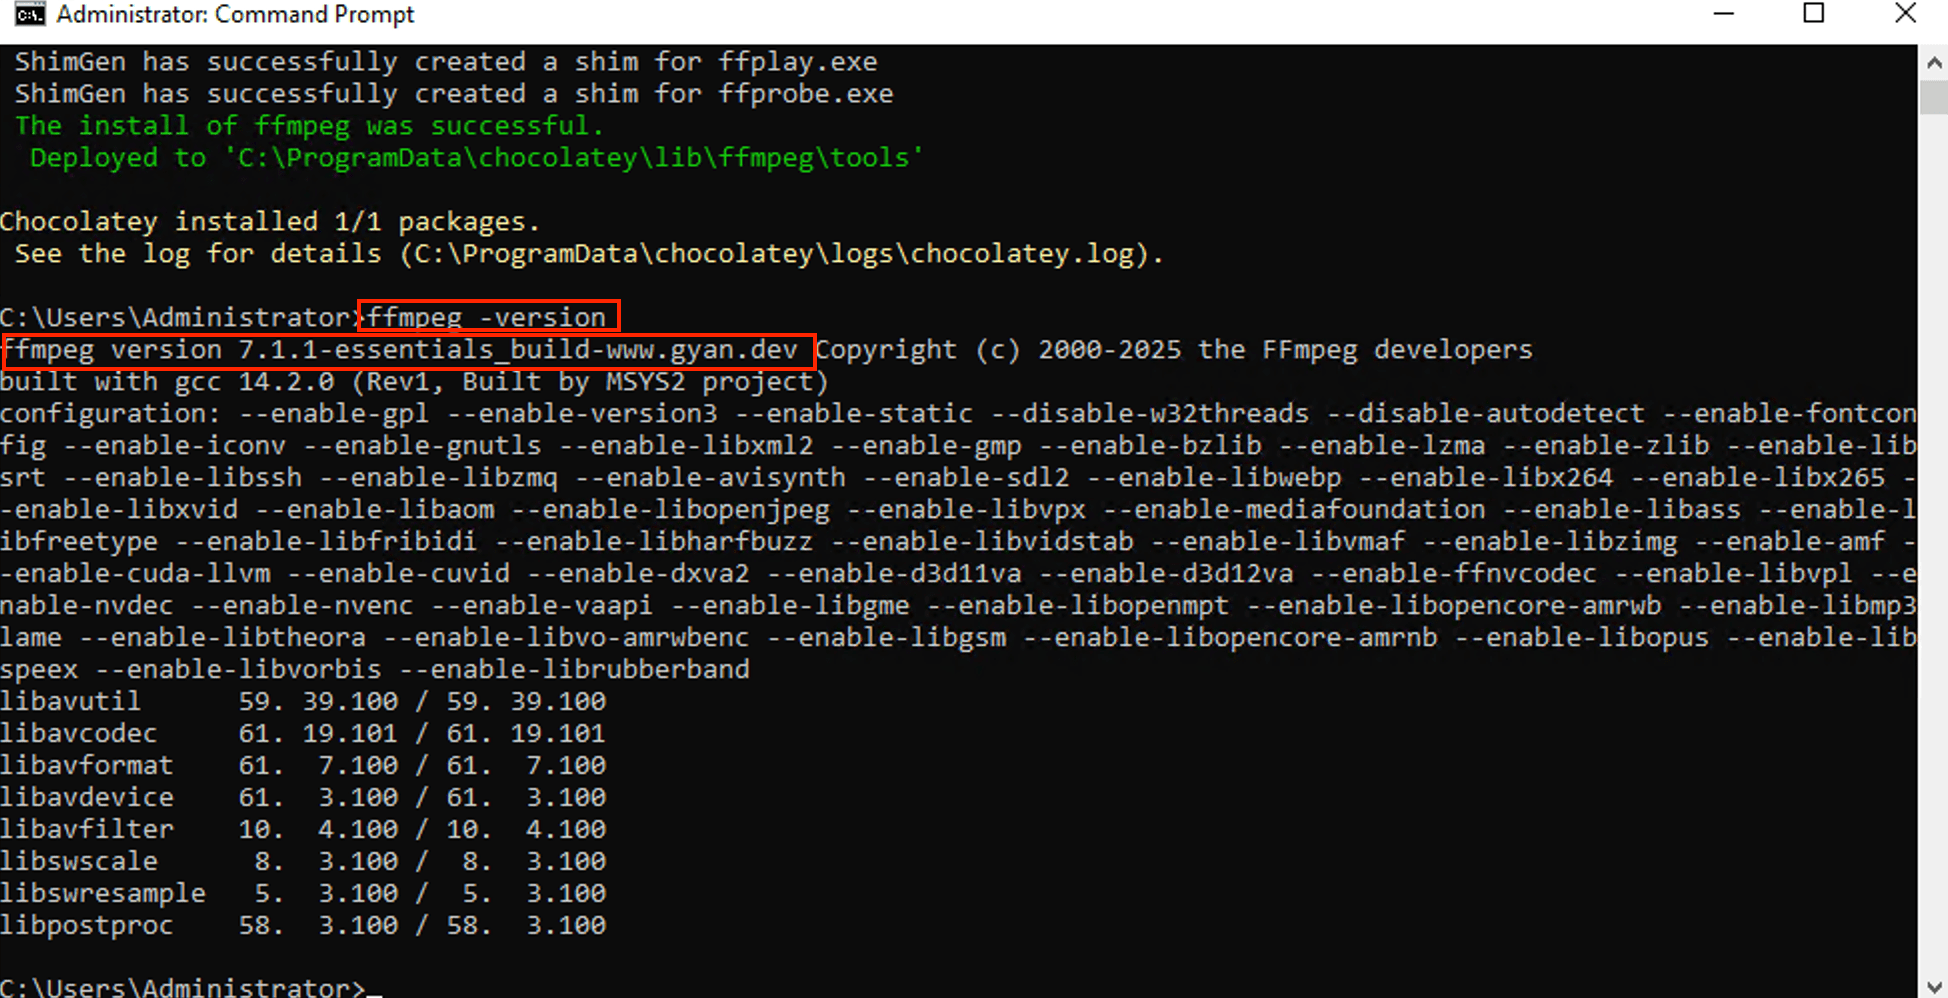
choco install ffmpeg
Then, you can verify the installation by running ffmpeg or ffmpeg -version:
🐱 Meow Memo: Don’t have Chocolatey? Follow this guide to install Cholatey and the steps above to install FFmpeg.
Method 2. Manual Installation
If you’re not using Chocolatey, you can still manually install FFmpeg on your Windows without a package manager.
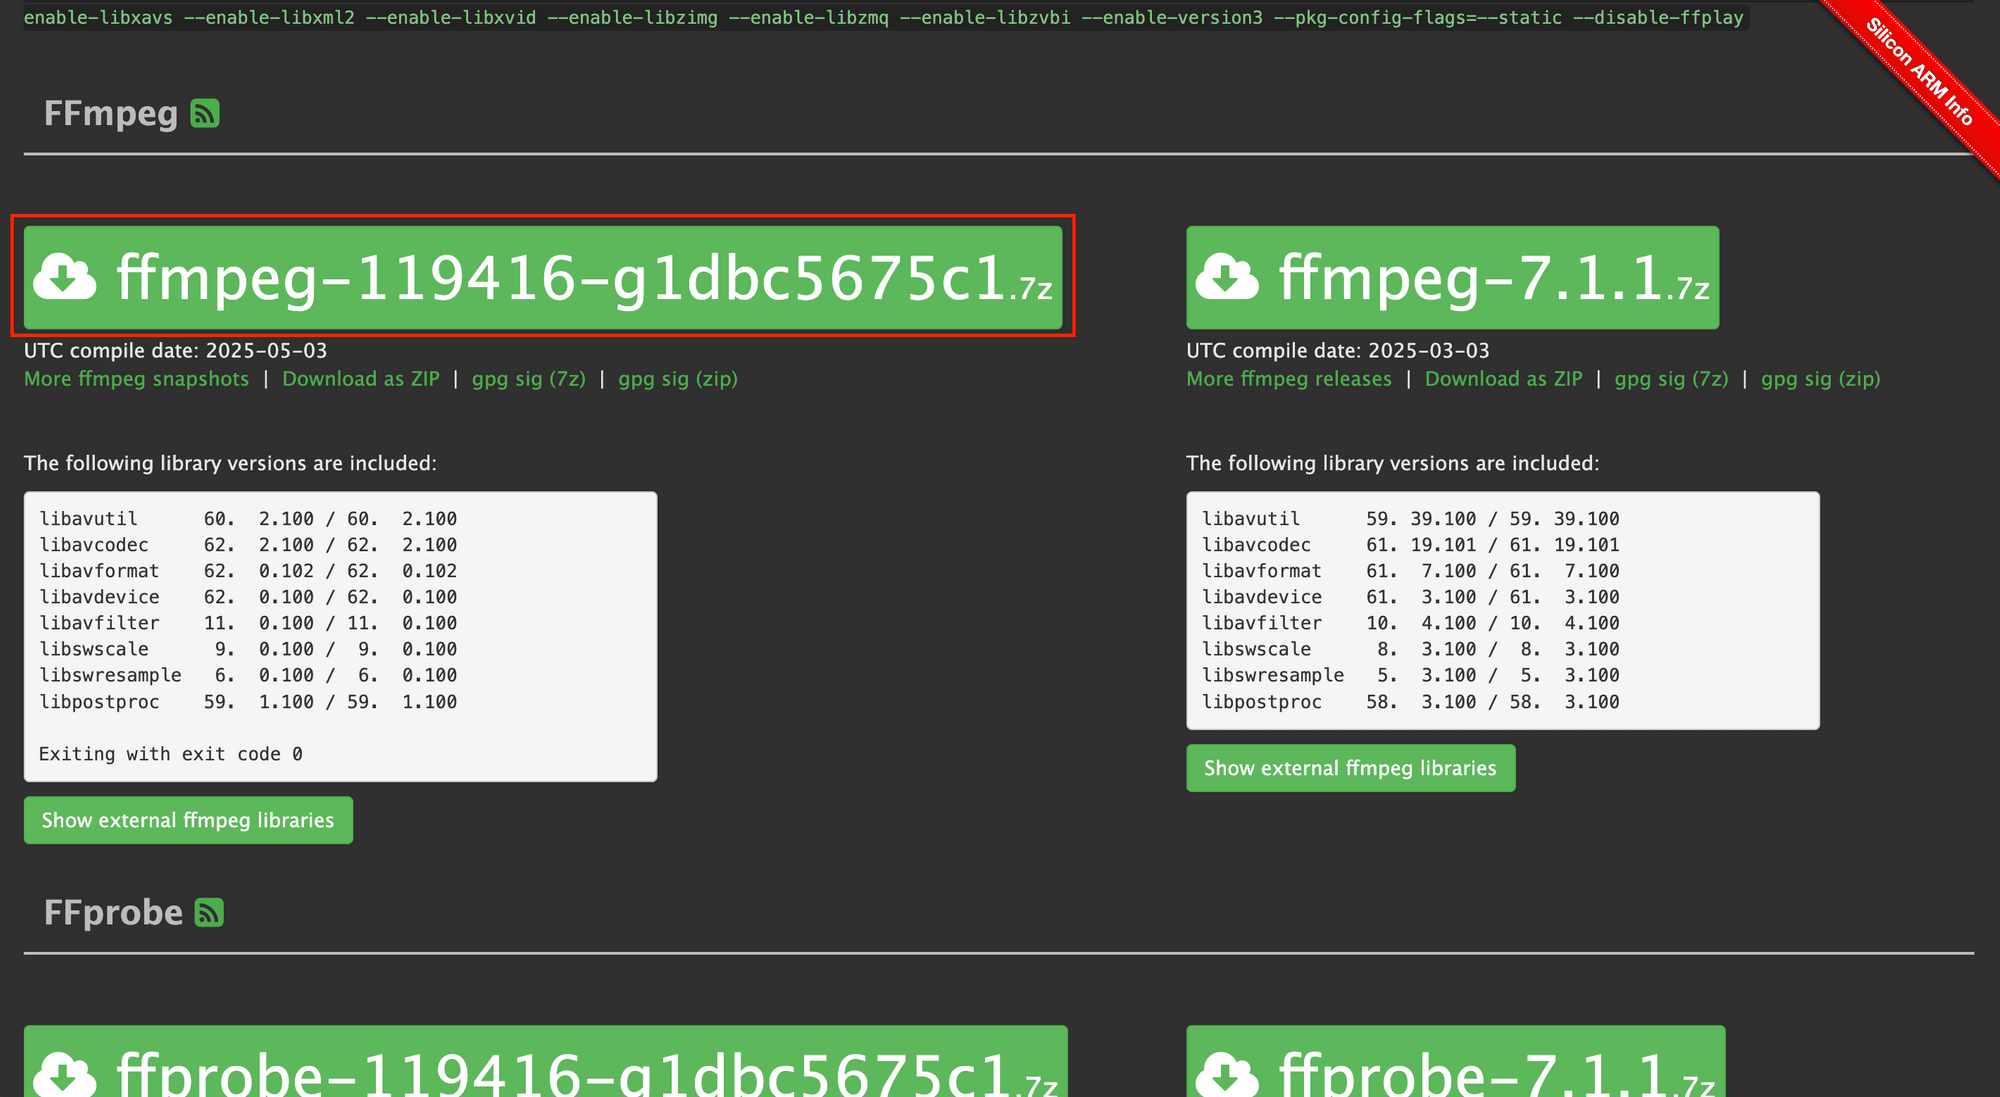
Go to the FFmpeg Windows builds page and download the latest build file:
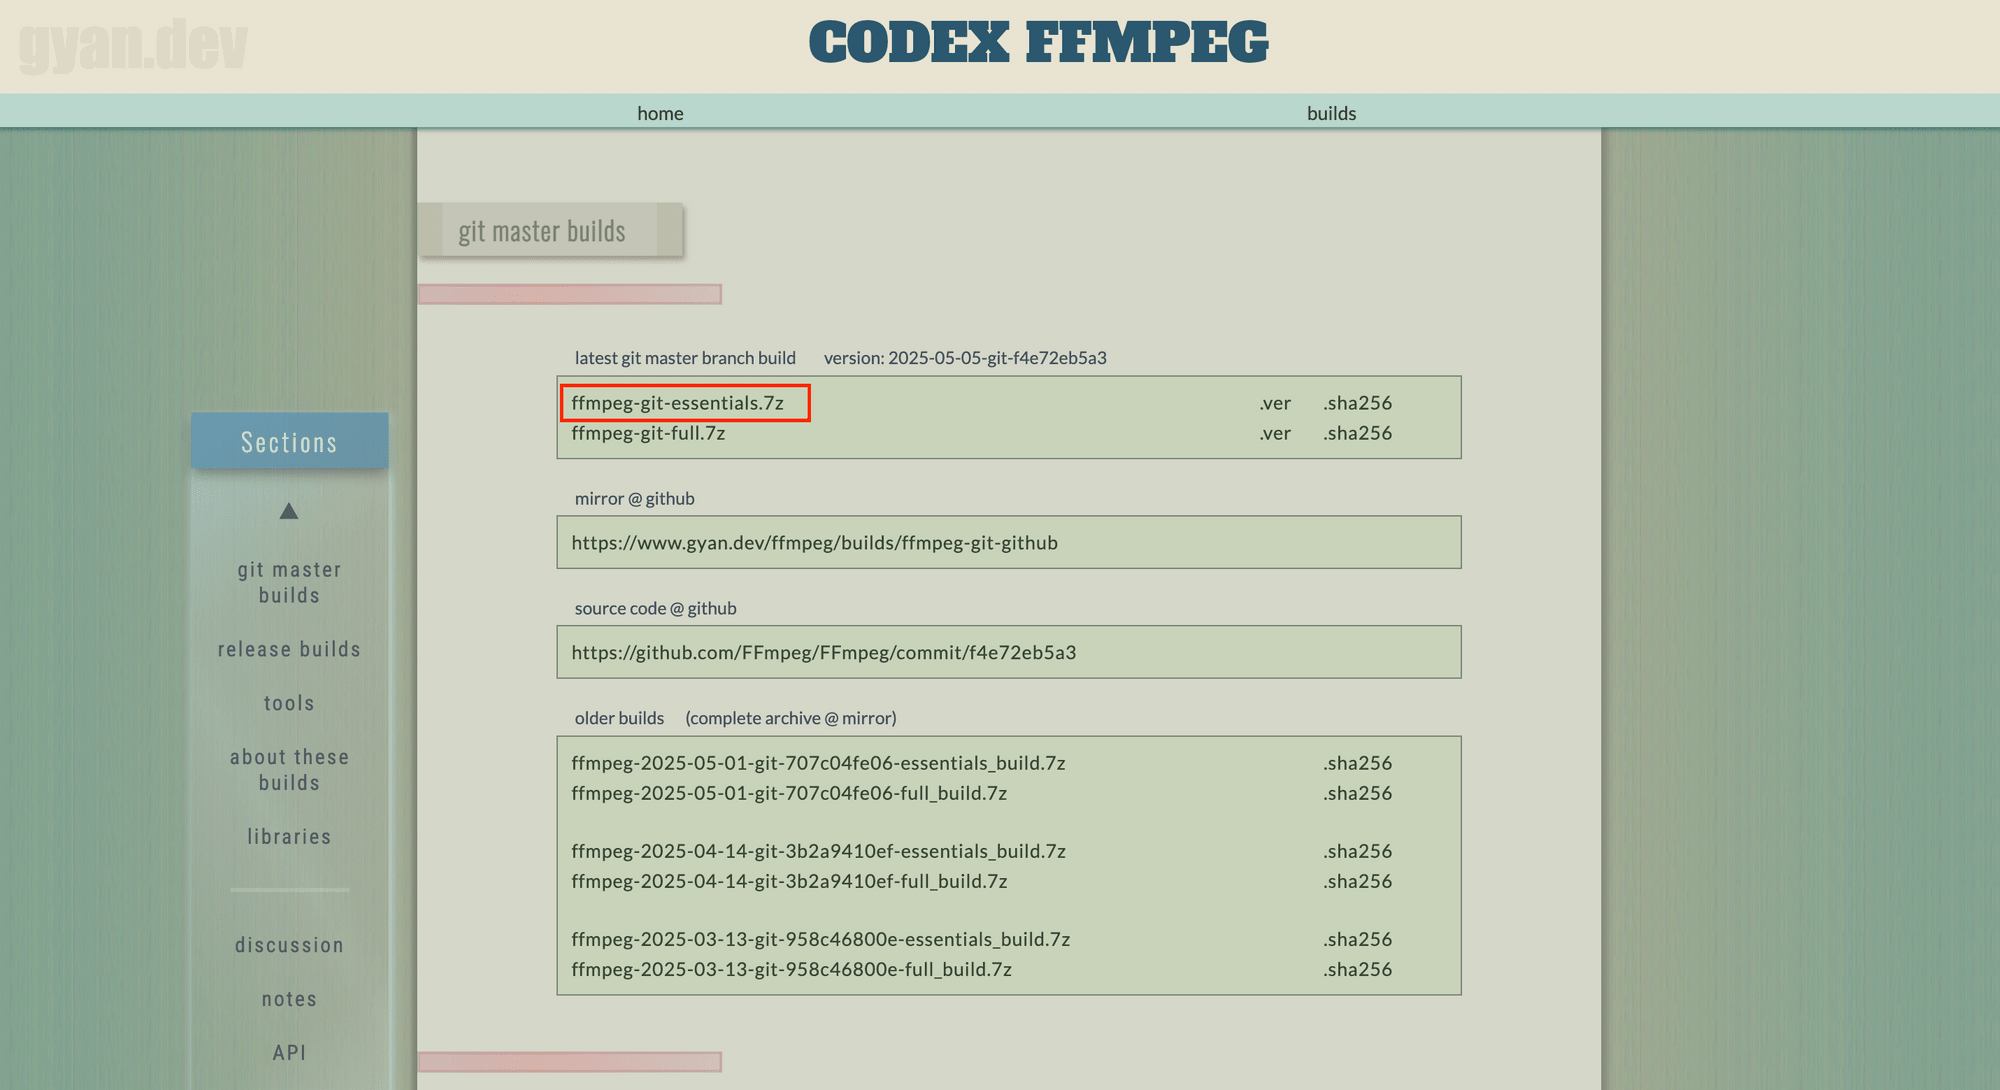
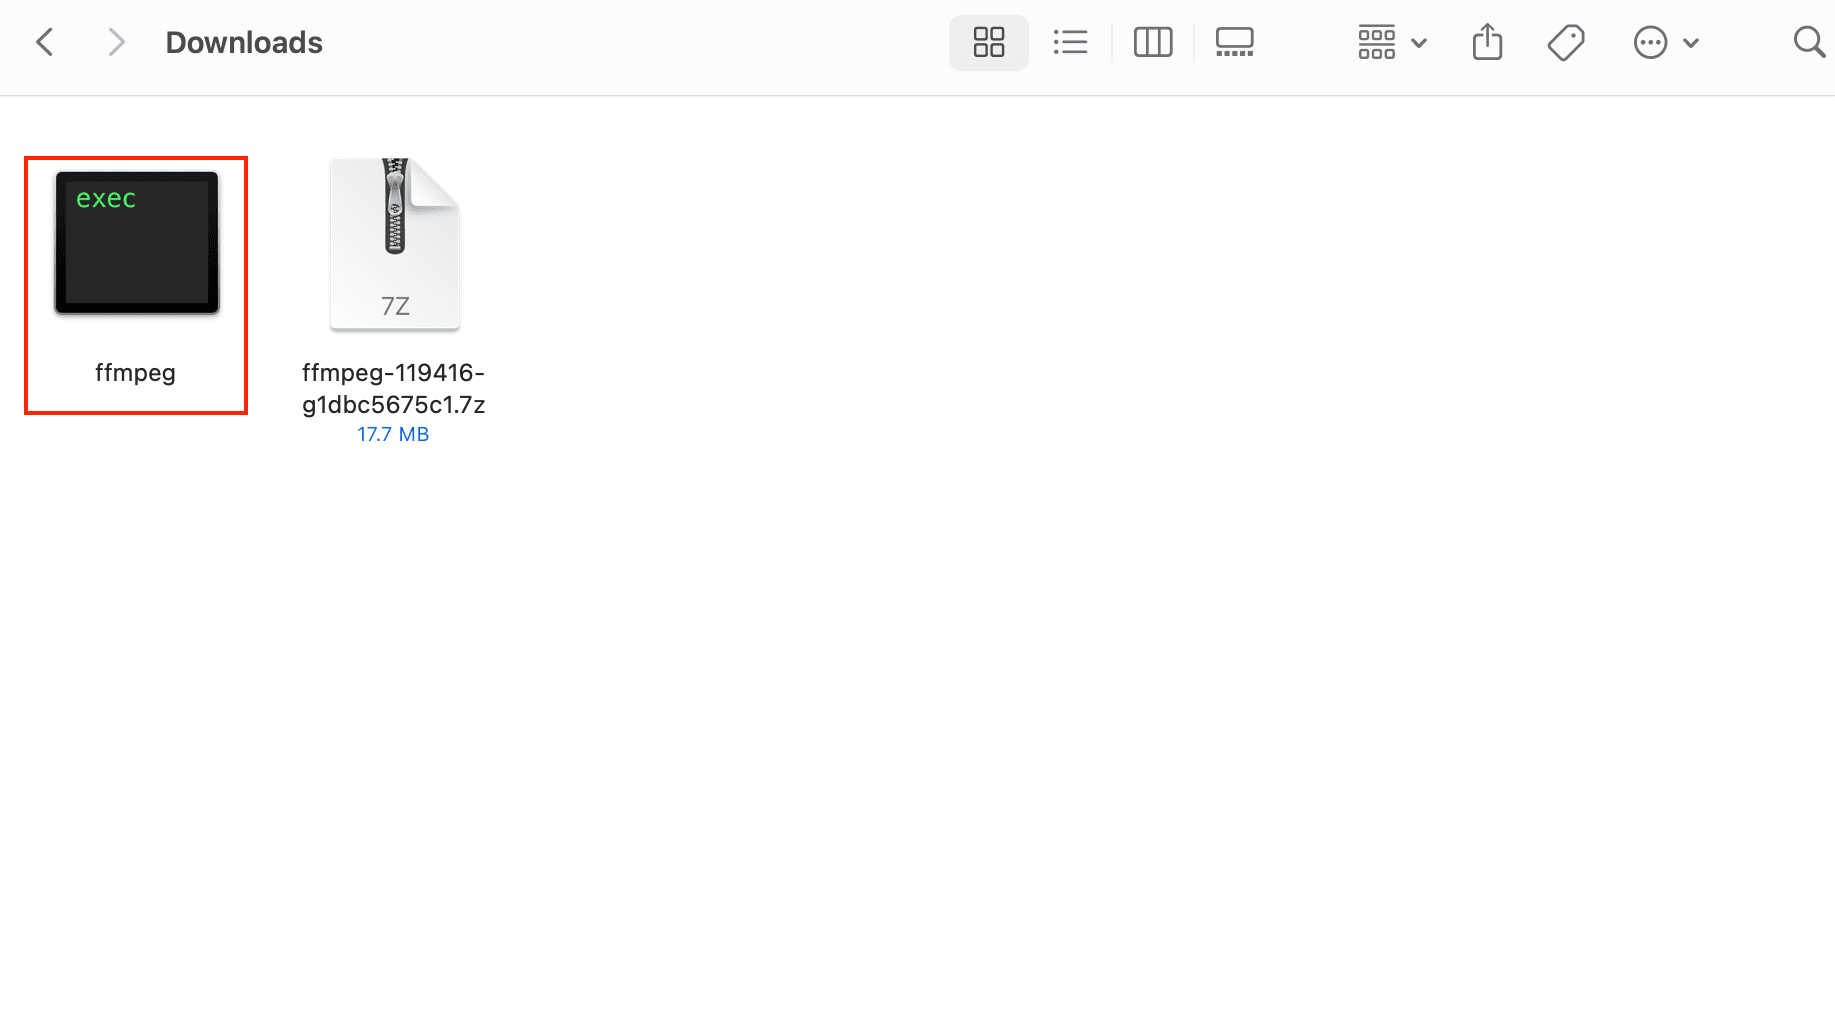
Once the download has been completed, extract the content from the .7z file and copy the bin folder’s directory.
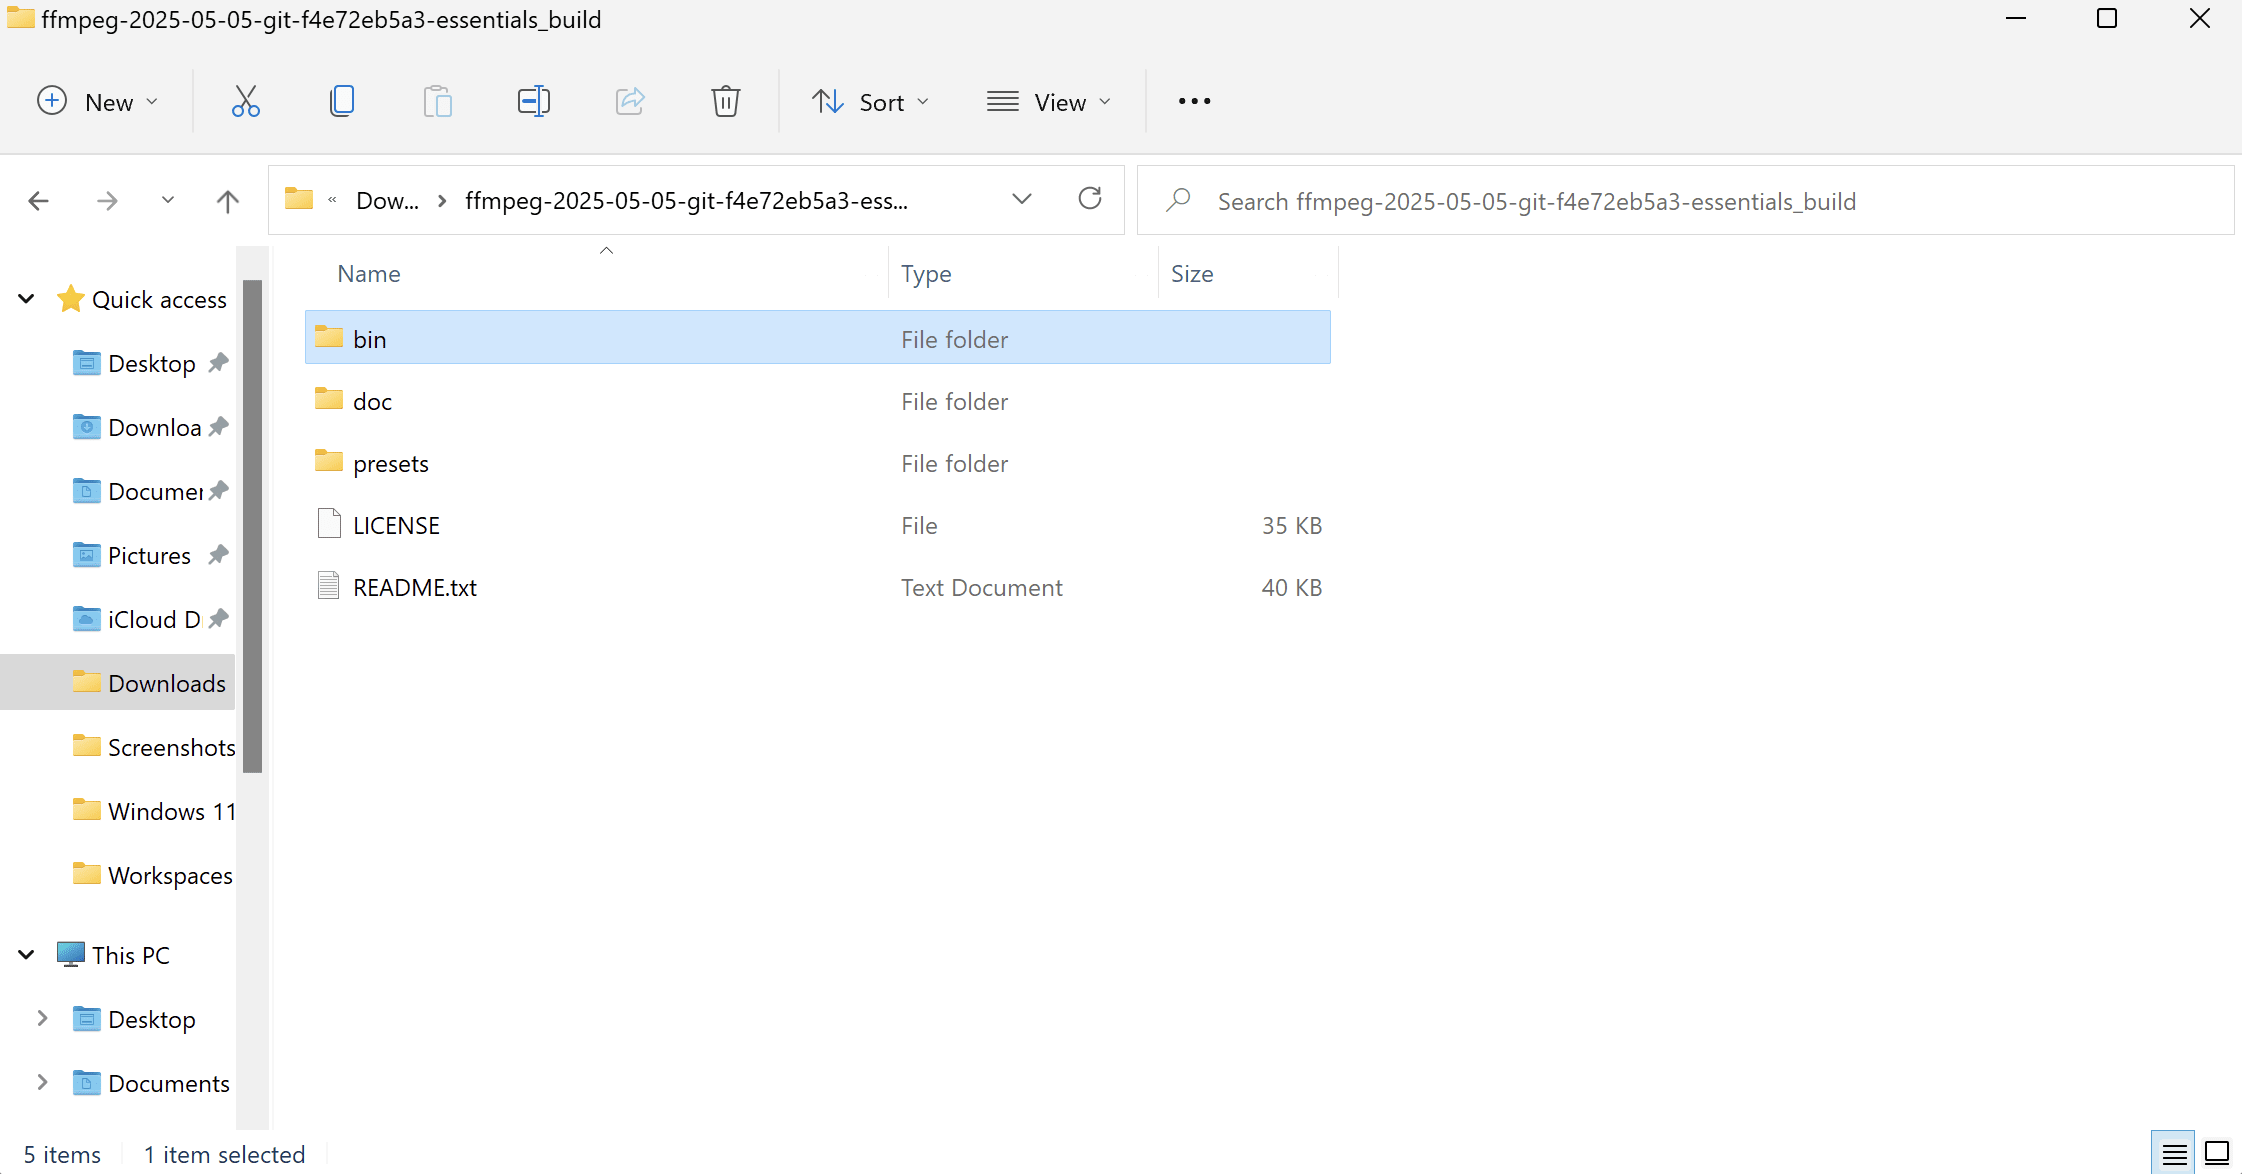
🐱 Meow Memo: The executable files are stored in this folder. To install and run FFmpeg from anywhere, we need to add the directory to the PATH environment variable.
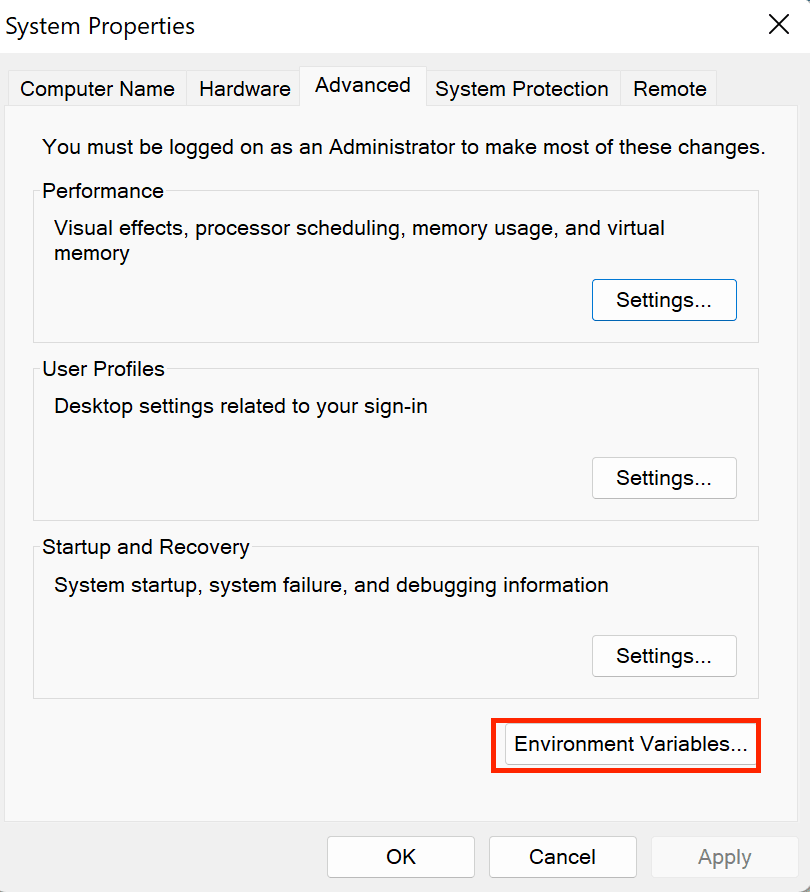
Open “System Properties”, go to the “Advanced” tab, and click on “Environment Variables”:
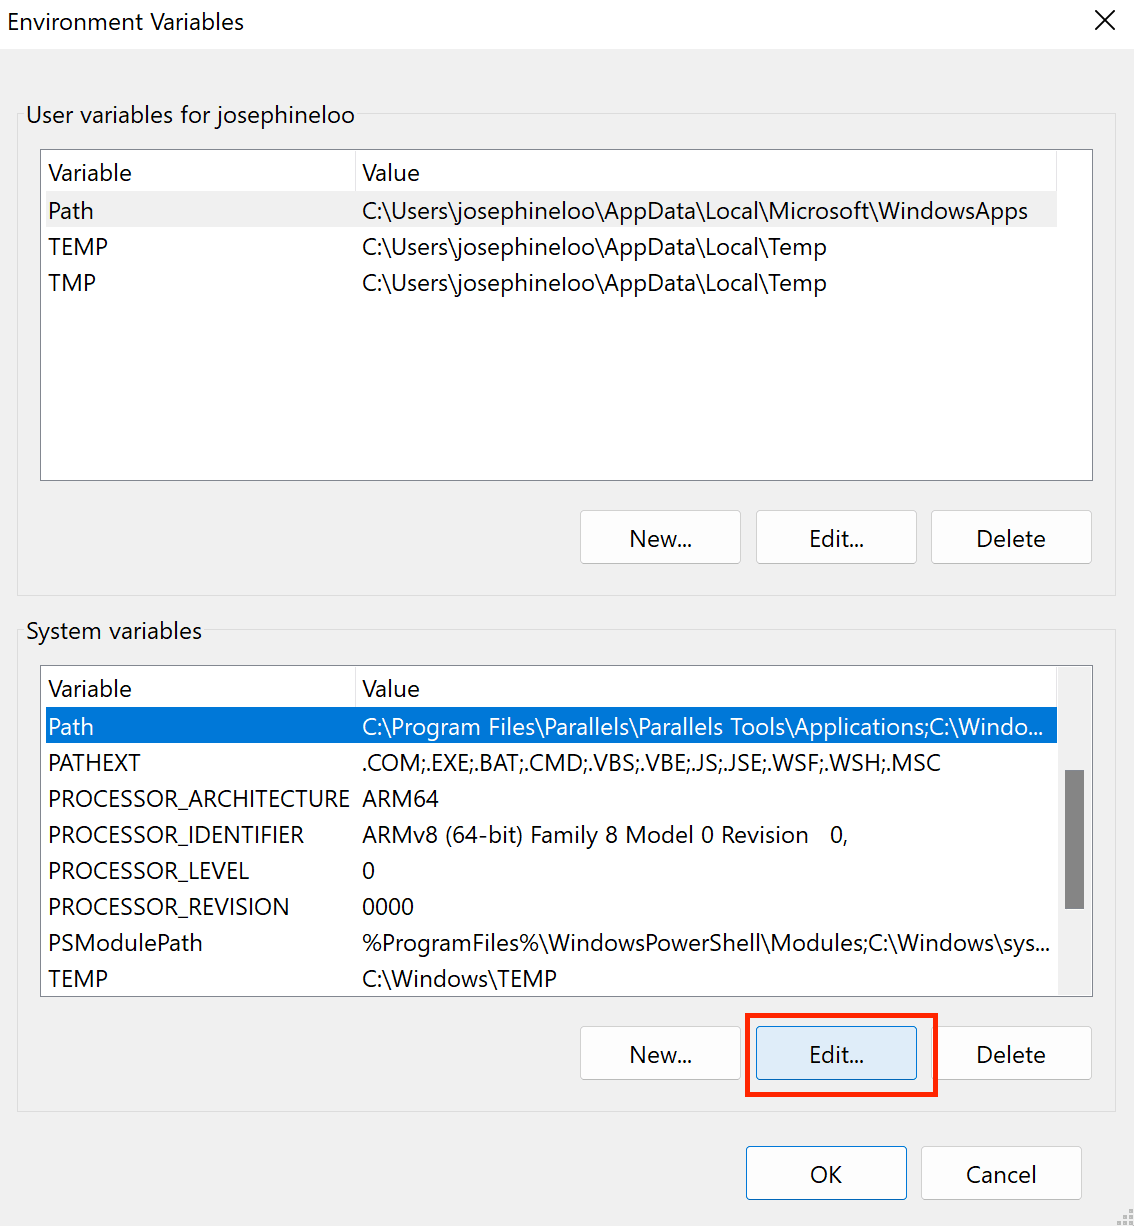
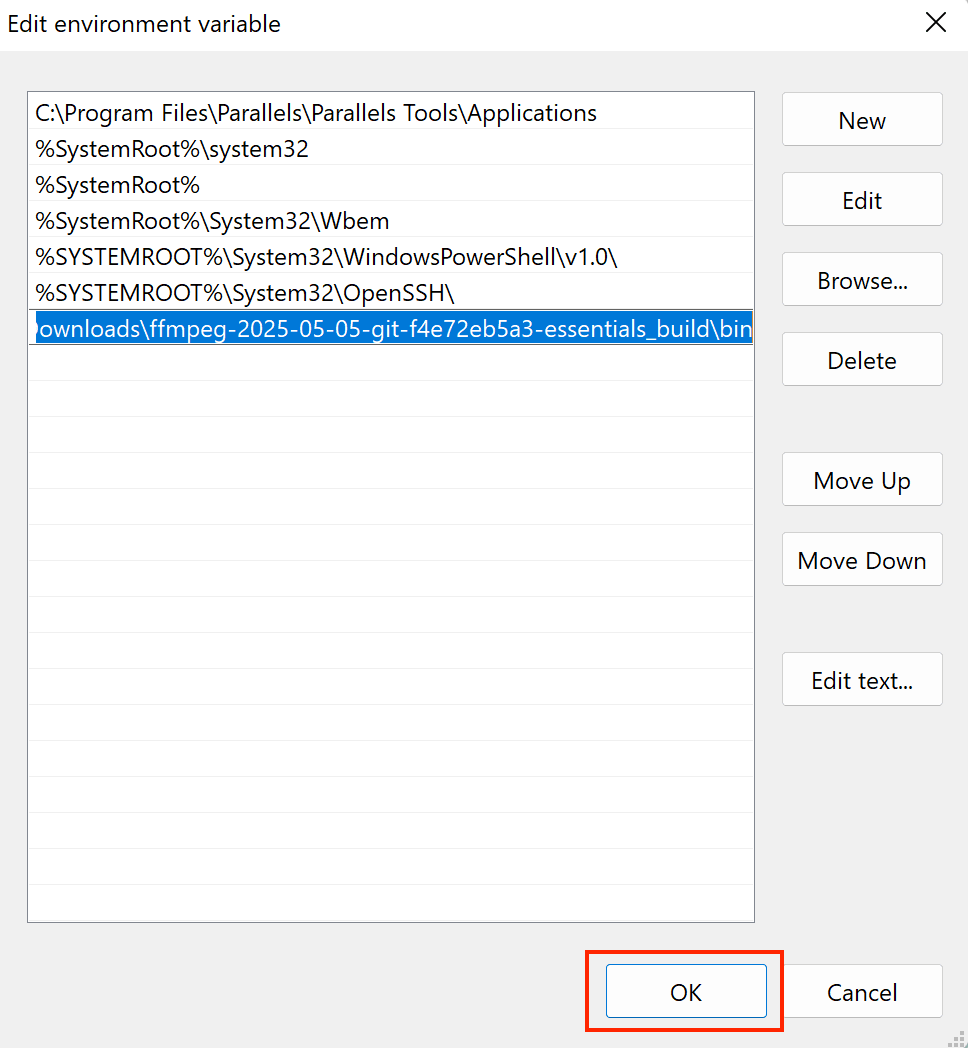
Under “System Variables,” find and select Path, and click “Edit”:
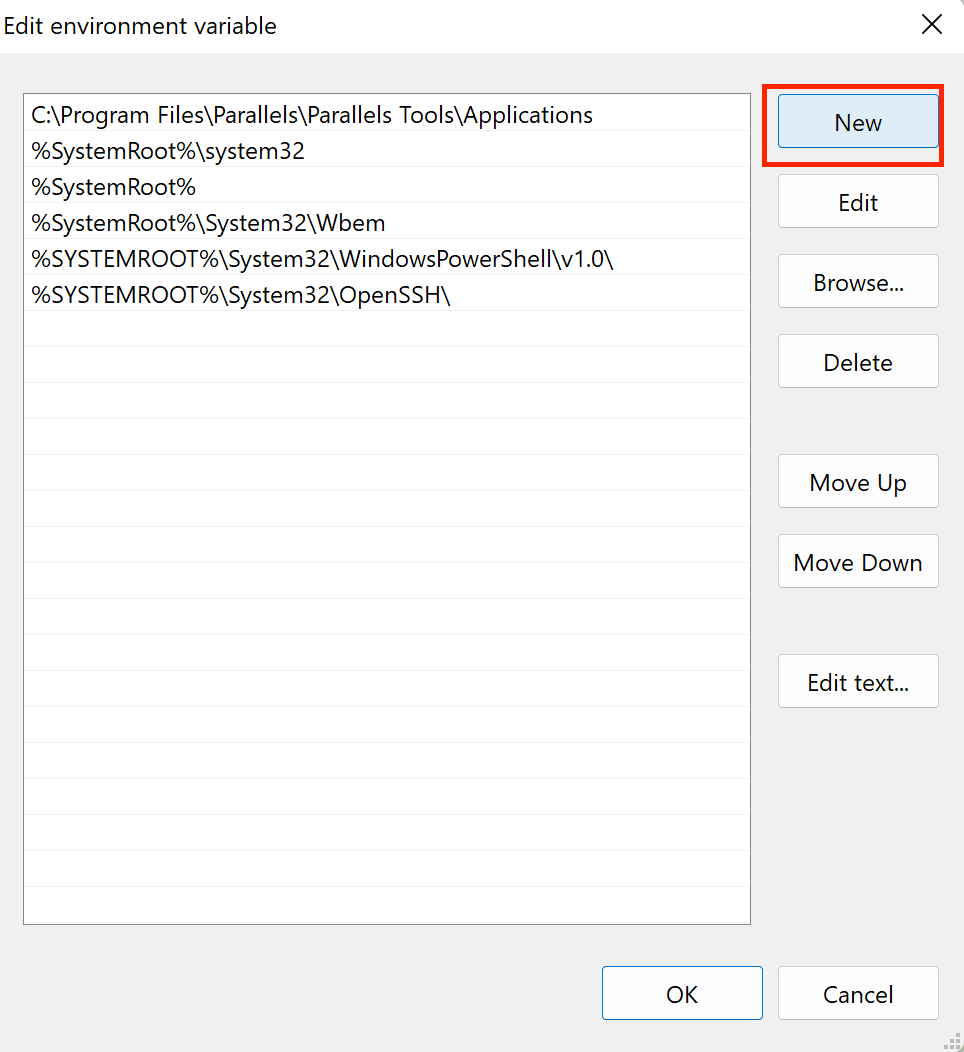
Click “New” and paste the path to the bin directory:
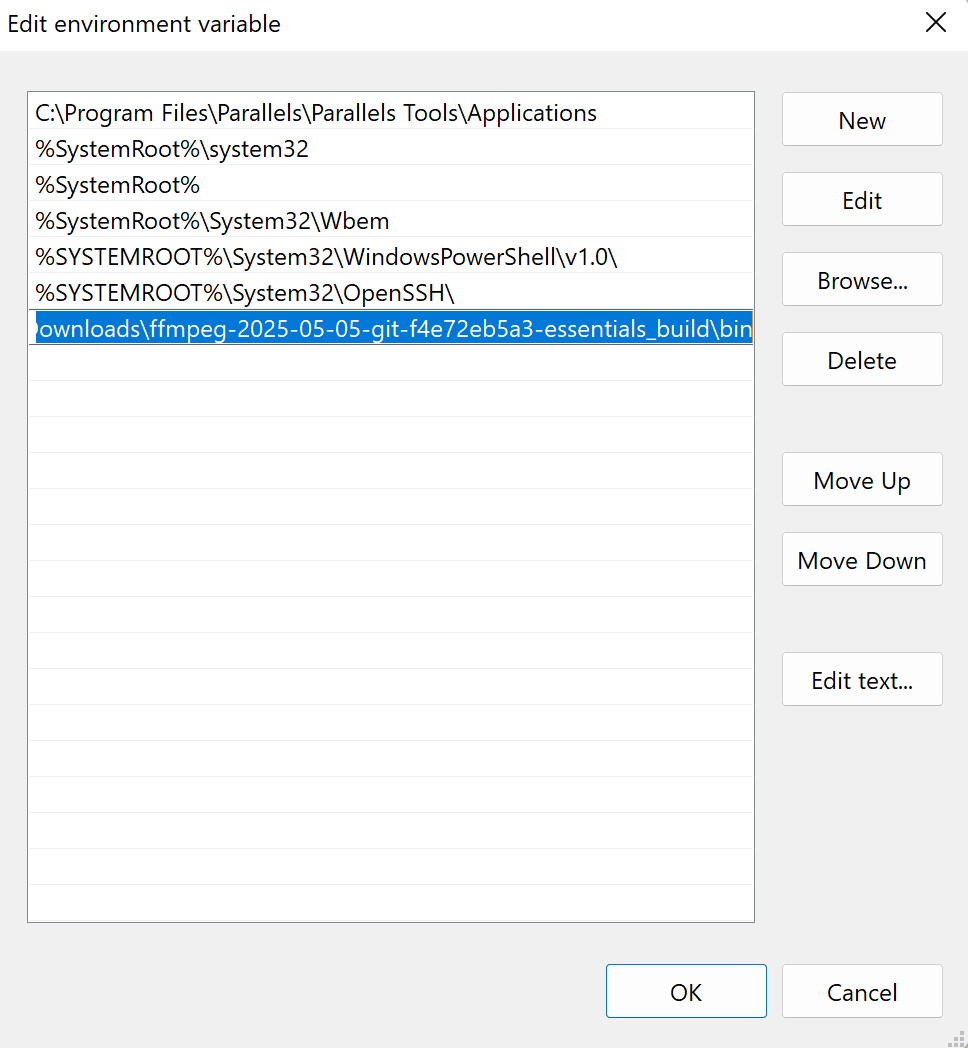
Then, click “OK” to save the changes:
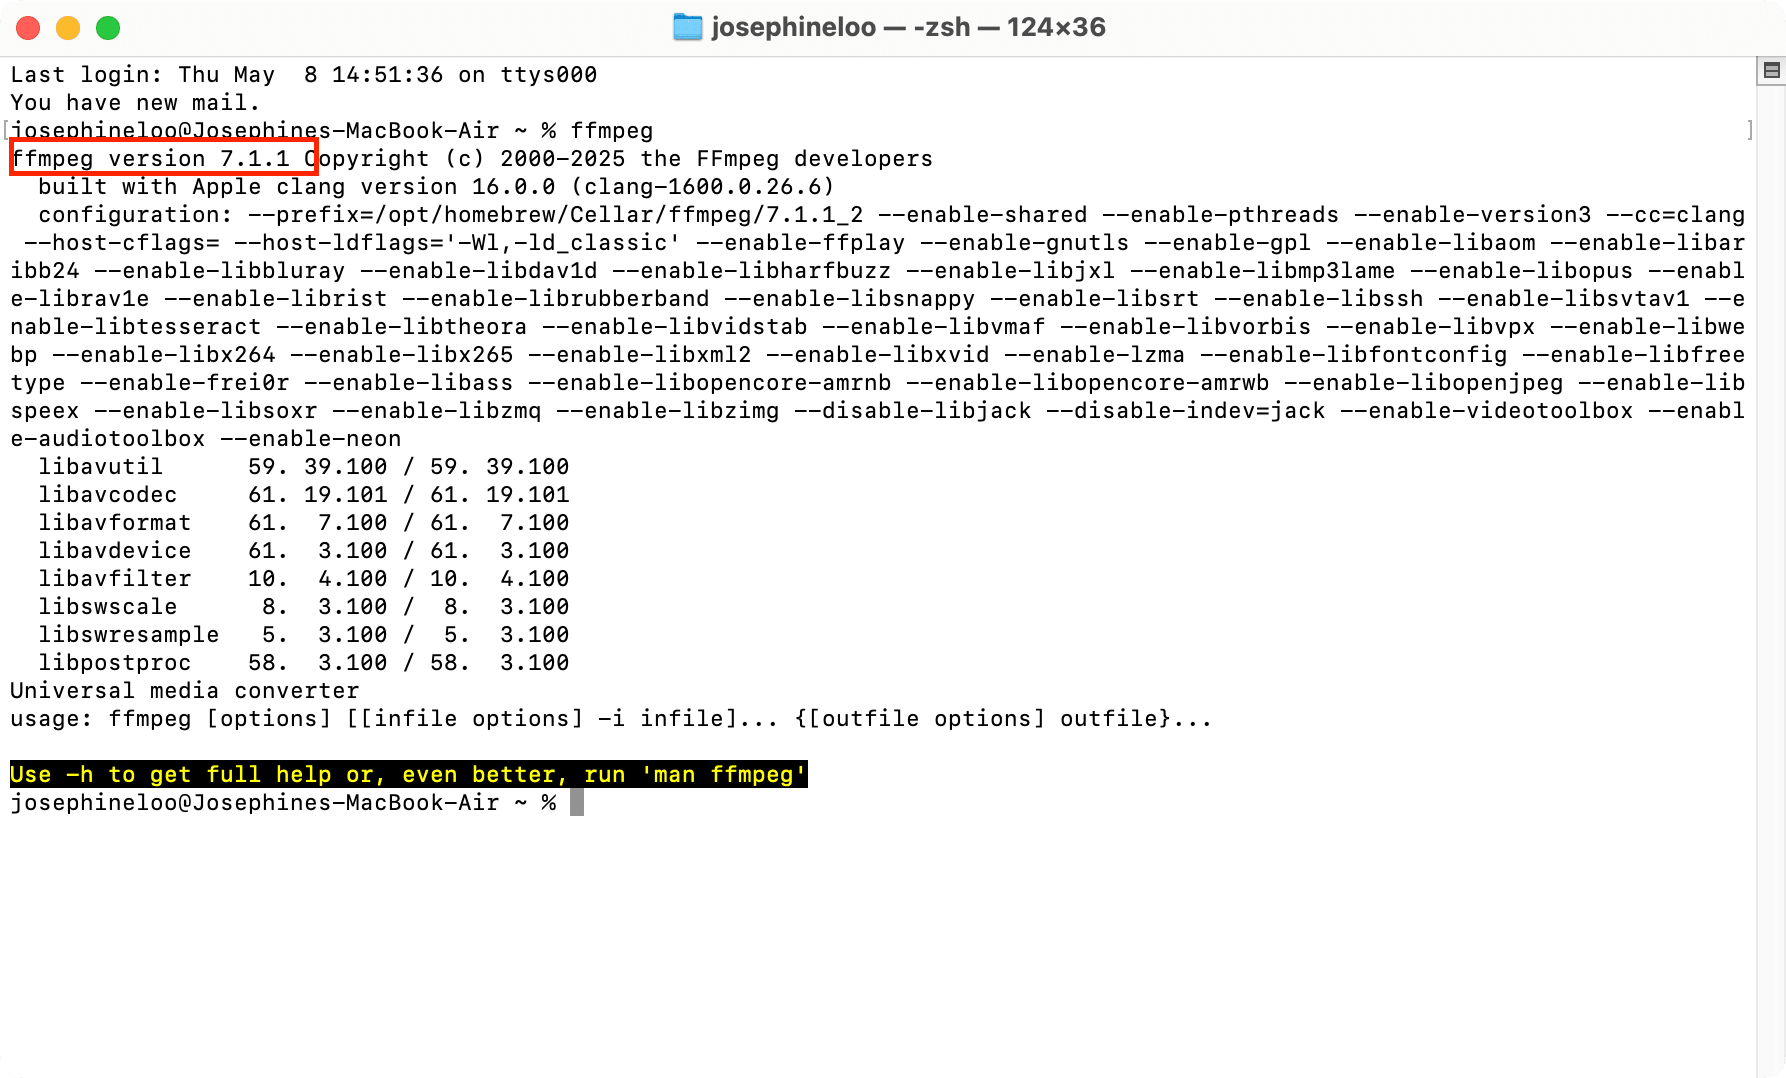
Now, you should be able to run FFmpeg from anywhere. Open Command Prompt and run ffmpeg or ffmpeg-version to verify the installation. If you see the version number and other information, it's working!
How to Install FFmpeg on macOS
Method 1. Using Homebrew (Recommended)
Homebrew is the package manager for macOS. If you already have it installed, installing FFmpeg needs just a single command.
To install the latest version of FFmpeg, run the command below in the terminal:
brew install ffmpeg
🐱 Meow Memo: To install a specific version of FFmpeg, specify the version in the command, following
ffmpeg@, e.g.,brew install ffmpeg@5.
After the installation has been completed, you can verify it by running ffmpeg or ffmpeg -version in the terminal:
Method 2. Manual Installation
The FFmpeg packages and executable files for macOS are available for download on the official website, and you can select the specific version that you want to install.
To install FFmpeg manually, visit the FFmpeg macOS builds page and download the latest build file:
Then, extract the executable file from the .7z file and move it to /usr/local/bin or any other directory in your PATH.
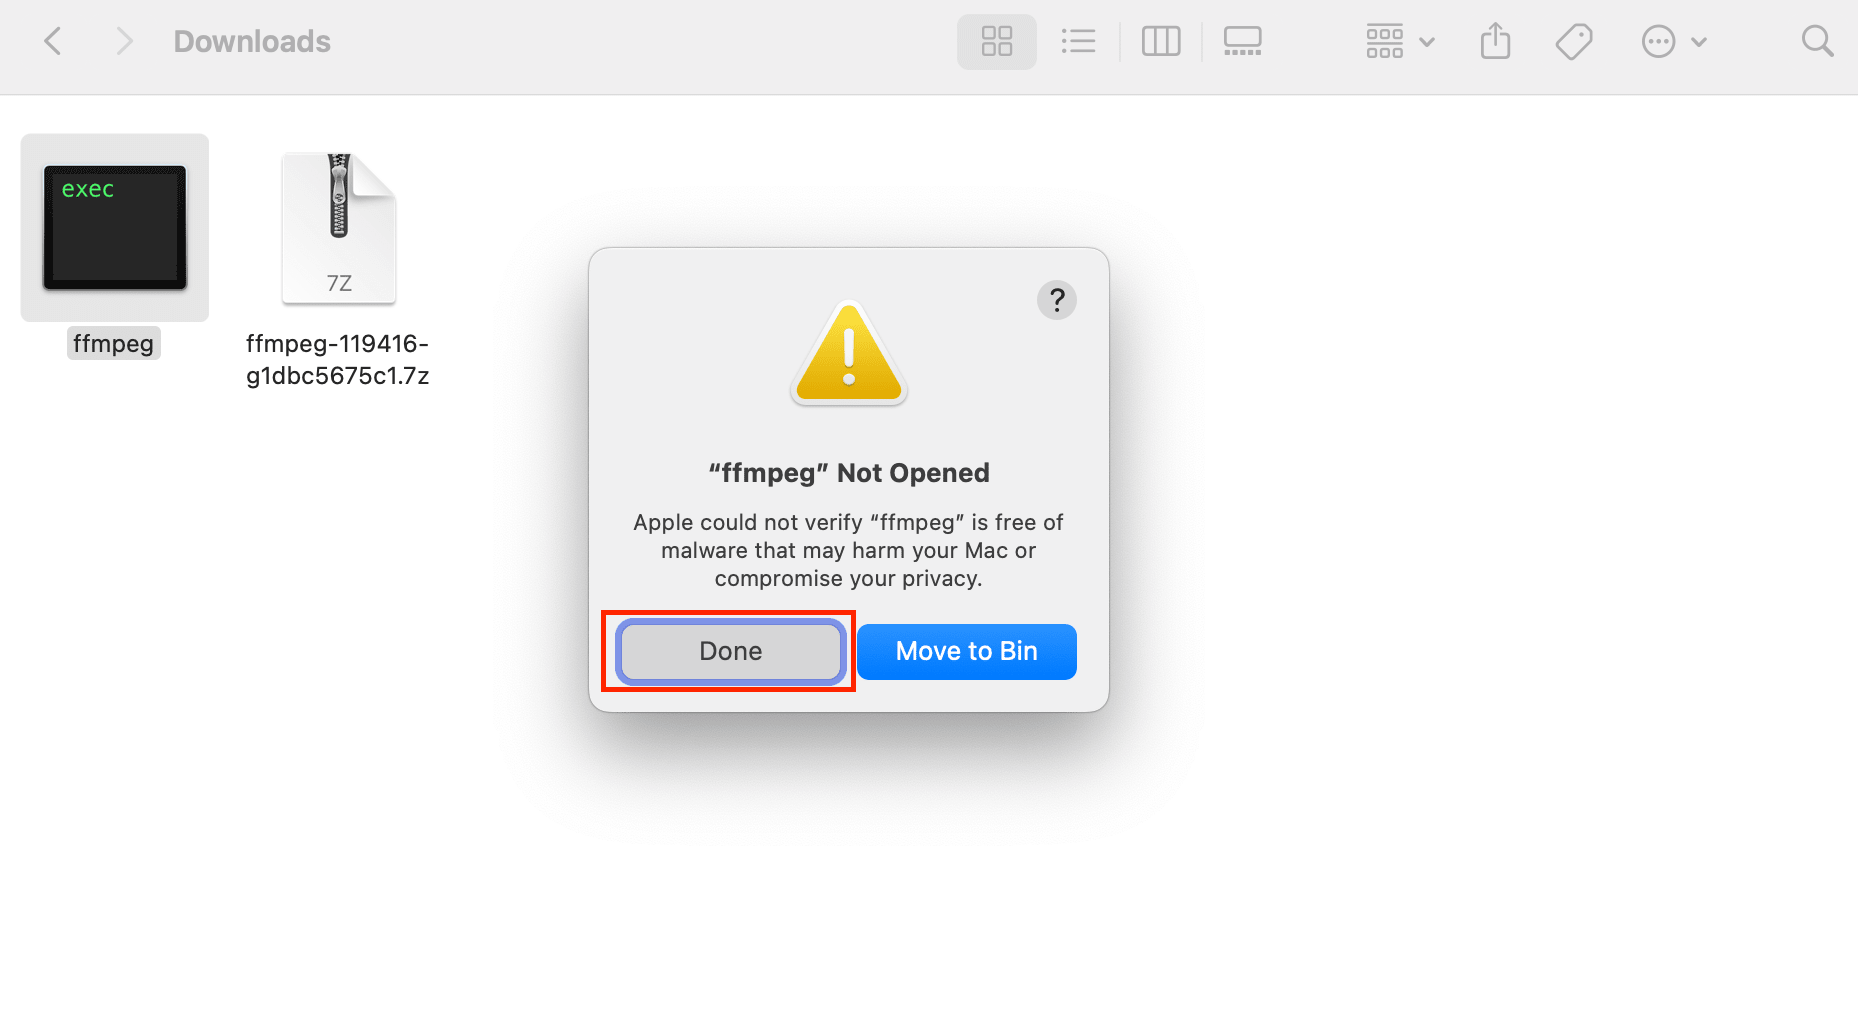
Double-click the executable file to begin the installation. If a pop-up appears saying the file can't be opened because Apple could not verify it, just click "Done" to close it.
Then, go to “Privacy & Security” in your System Settings and look for the message about the blocked application. Click “Open Anyway” to continue with the installation.
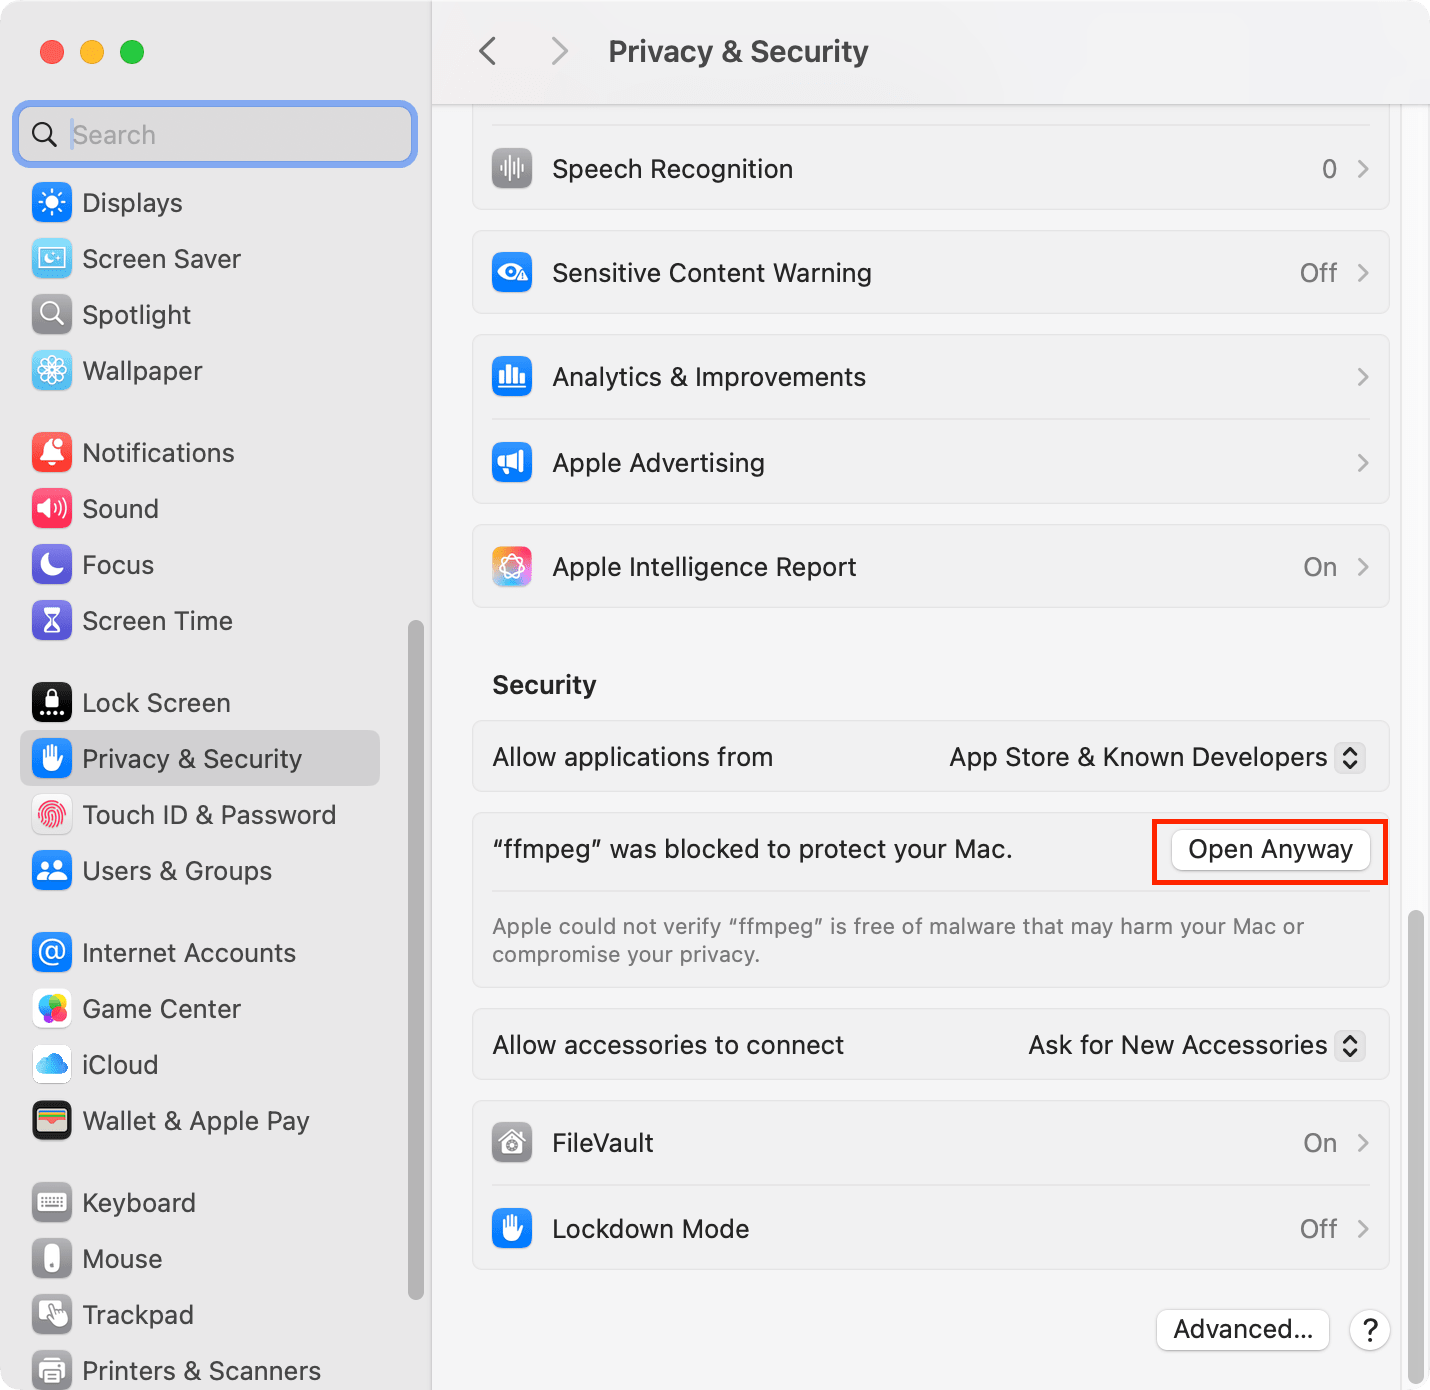
🐱 Meow Memo: If another pop-up warns you about the action, click “Open Anyway” again to continue.
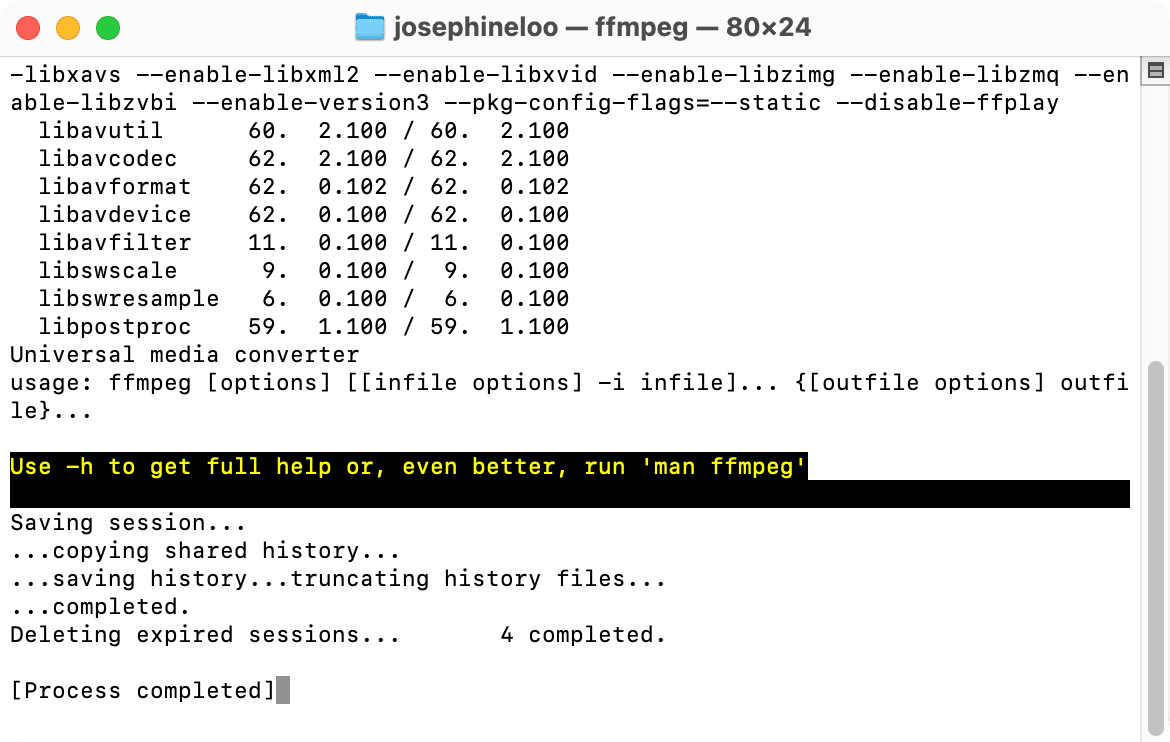
A new terminal should be opened automatically to continue the installation. If nothing happens, just double-click the installer file again. It should launch a new terminal window and begin the installation process.
What to Do Next: Try a Simple FFmpeg Command
Now that FFmpeg is installed, let’s try a simple command to make sure it’s working:
ffmpeg -i input.mov output.mp4
The command above converts a .mov file to .mp4. If that works, you’re all set!
🐱 Meow Memo: Run the command above from the same directory where your input file is saved. Otherwise, make sure that the relative or absolute path to the file is correct.
Common Issues and Fixes
If the ffmpeg command isn’t working as expected, don’t worry. Most of the time, it’s just something small, like a missing path or an outdated version. Here are some common issues you might face after installing FFmpeg, and how to fix them:
“ffmpeg: command not found”
This error means your system can’t find the ffmpeg command. It usually happens when FFmpeg wasn’t installed properly, or the system can’t locate the binary because it’s not in your system’s PATH.
How to Fix It:
- On Linux, make sure you have installed FFmpeg using
aptor your distro’s package manager. - On Windows, check that the
binfolder from your FFmpeg installation is added to your system’sPATHenvironment variable. - On macOS, also check that the folder where your
ffmpegexecutable is located is included in your system’sPATH.
🐱 Meow Memo: You might also see the error message written as “ffmpeg is not recognized as an internal or external command”.
“Unknown encoder ‘xxx’”
This error in FFmpeg usually means FFmpeg doesn't recognise the encoder you're trying to use. Most of the time, this happens because that encoder wasn't included when FFmpeg was installed.
How to Fix It:
You can either…
- Double-check your command for typos:
libx264(correct) vslib264(wrong). - Reinstall FFmpeg with full codec support or the specific encoder enabled (e.g.,
--enable-encoder=h263p). - Switch to a supported encoder.
🐱 Meow Memo: Use
ffmpeg -encodersto check the list of encoders supported.
Conclusion
And that’s it! FFmpeg is now installed on your system, whether you're using Ubuntu, Windows, or macOS. Now that everything’s ready, you can start using it to convert video and audio formats, trim videos, resize videos and much more, all just by using the command line.
👉🏻 Check out our blog for more FFmpeg tutorials on how to edit, convert, and manipulate media files through the command line.