How to Generate Clipcat Videos From Airtable Data (Using a Zapier Task)
Contents
Video content is in high demand, and that means it’s crucial to build processes that enable scalable creation. There are many ways to do this, from implementing content batching methods to creating reusable templates. But what if you could automate video generation directly from your data management system?
Using your database to trigger video generation runs can offer several benefits, such as:
- Only generating videos on-demand
- Allowing for edits and human checks
- Making it easy to systematically store data and video output
This tutorial shows how to transform Airtable spreadsheets into dynamic Clipcat videos using Zapier—turning tedious manual work into a streamlined, repeatable process.
Why Airtable?
Airtable stands out as a user-friendly database-spreadsheet hybrid that caters to teams prioritizing flexibility, collaboration, and customization. Unlike traditional spreadsheets, it offers dynamic ways to view and organize information, with built-in automation capabilities that elevate it beyond a simple data storage tool. Its native integrations with numerous apps—as well as those enabled by workflow automation platforms like Zapier—enable teams to create complex no-code solutions that streamline their work processes.
As a content generation tool, Airtable shines by its ability to store and link data across multiple tables and fields, transforming it from a basic database into a comprehensive workflow management platform. The real power lies in its adaptability and interconnectedness.
Some ideal scenarios for generating Clipcat videos with Airtable data are:
- Workflows with multiple interconnected data points
- Projects needing on-demand video generation
- Teams seeking seamless integration with existing tools
While the versatility of Clipcat and Airtable offers remarkable potential, it's crucial to assess your specific workflow needs and technical capabilities before implementation. Some factors may limit the effectiveness of this solution: Large databases can become difficult to work with, and some advanced integrations might require paid plans. There can also be a learning curve for teams that have never worked with nocode automation tools before.
If your workflow is a good candidate for database-triggered video generation, you’re in luck—this guide’s process is straightforward and can be set up in minutes!
3 Steps to Generating Clipcat Videos From Airtable
You can connect Clipcat and Airtable using a workflow automation platform like Zapier. In a simple two-step zap, you’ll retrieve data from Airtable and then trigger video generation in Clipcat. Here’s how to set it up:
Step 1 - Design a Clipcat Template
Starting with a Clipcat template ensures you know what data points need to be stored in your database. Log into your Clipcat account (or sign up for a free trial—no credit card required! 🥳), and create a template.
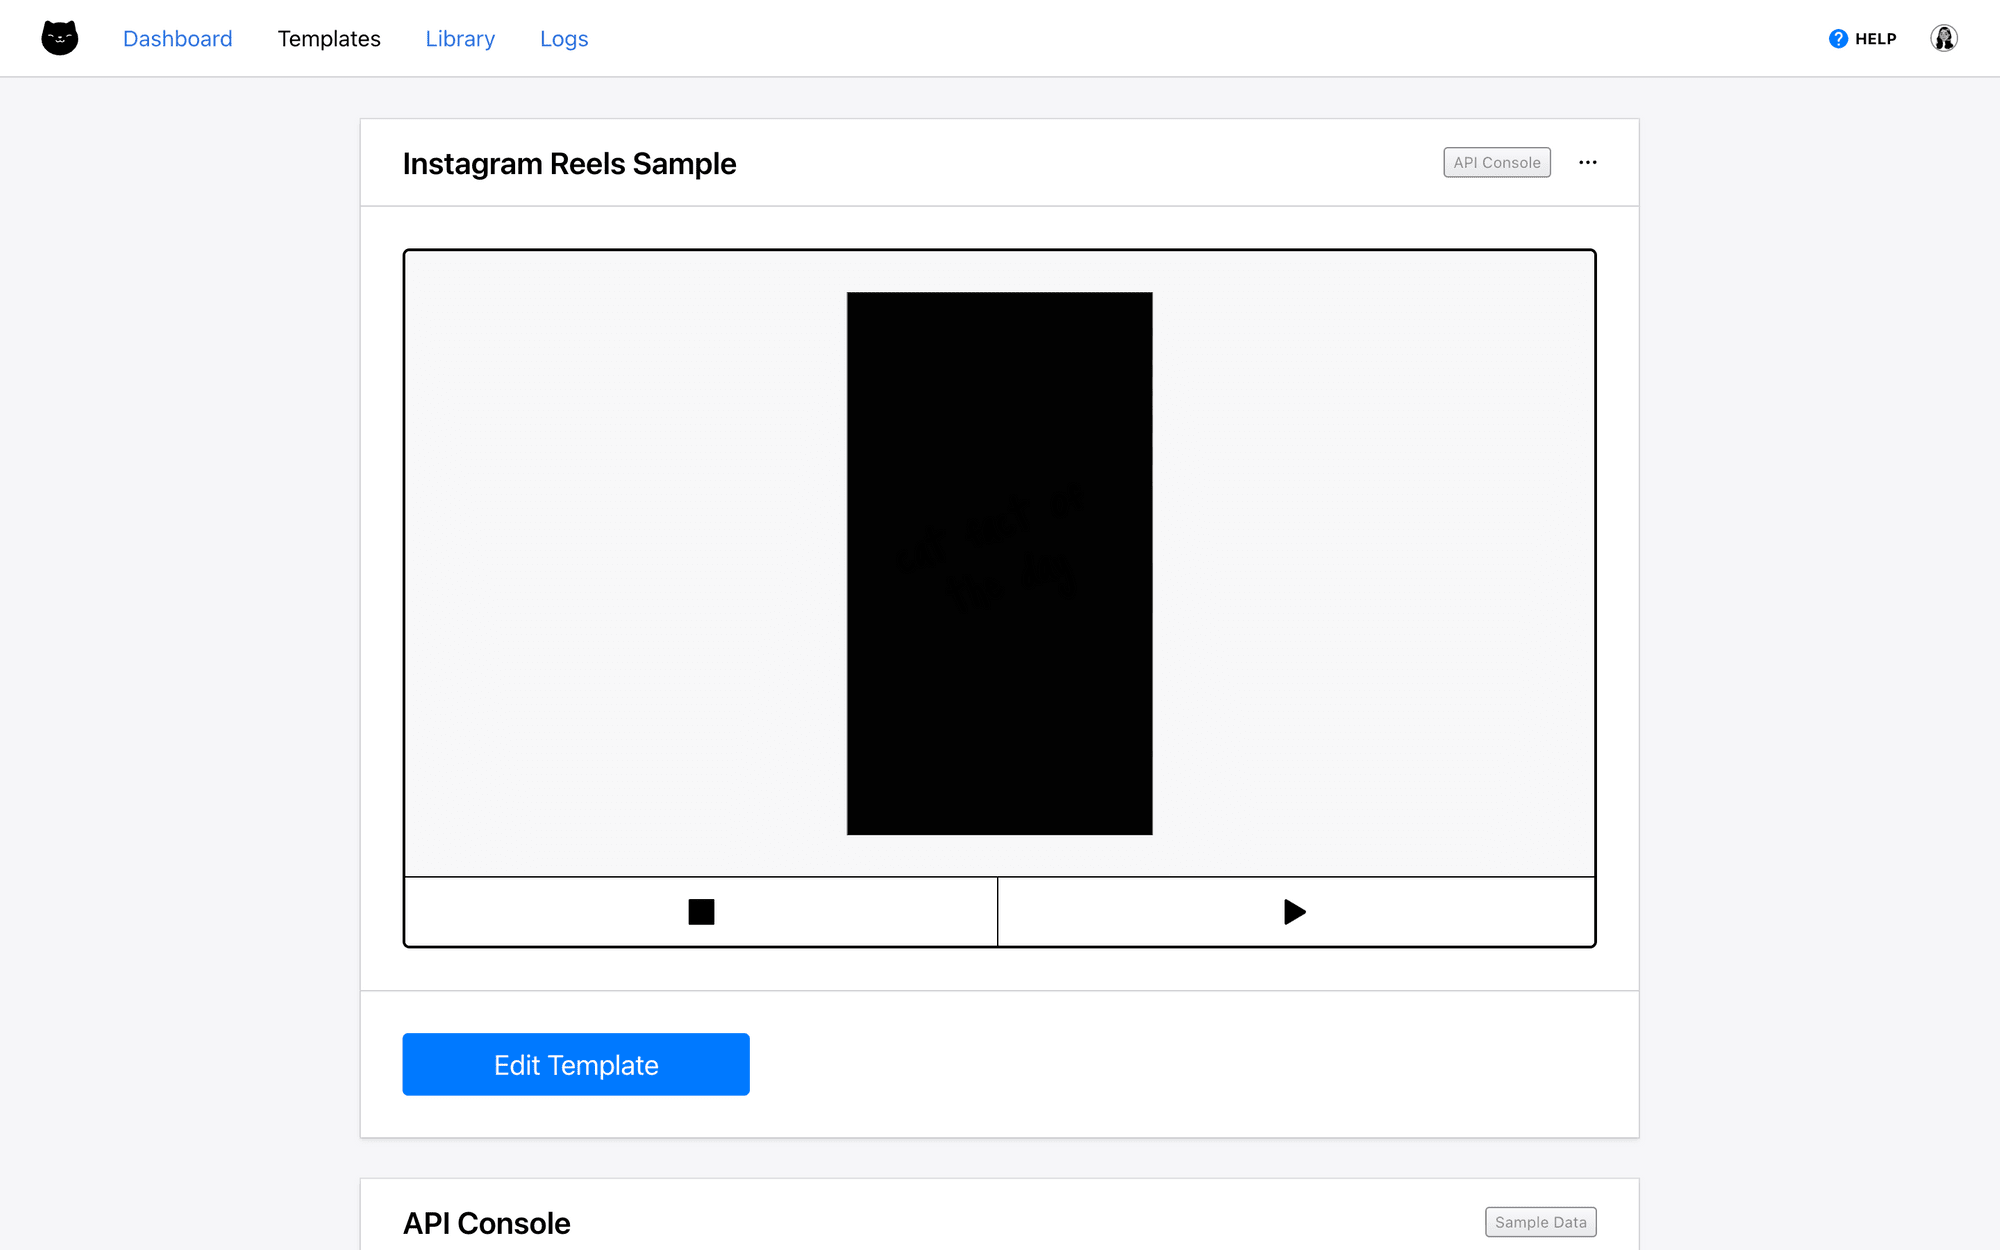
Customize it according to your needs, with as many scenes, objects, and keyframes as necessary.
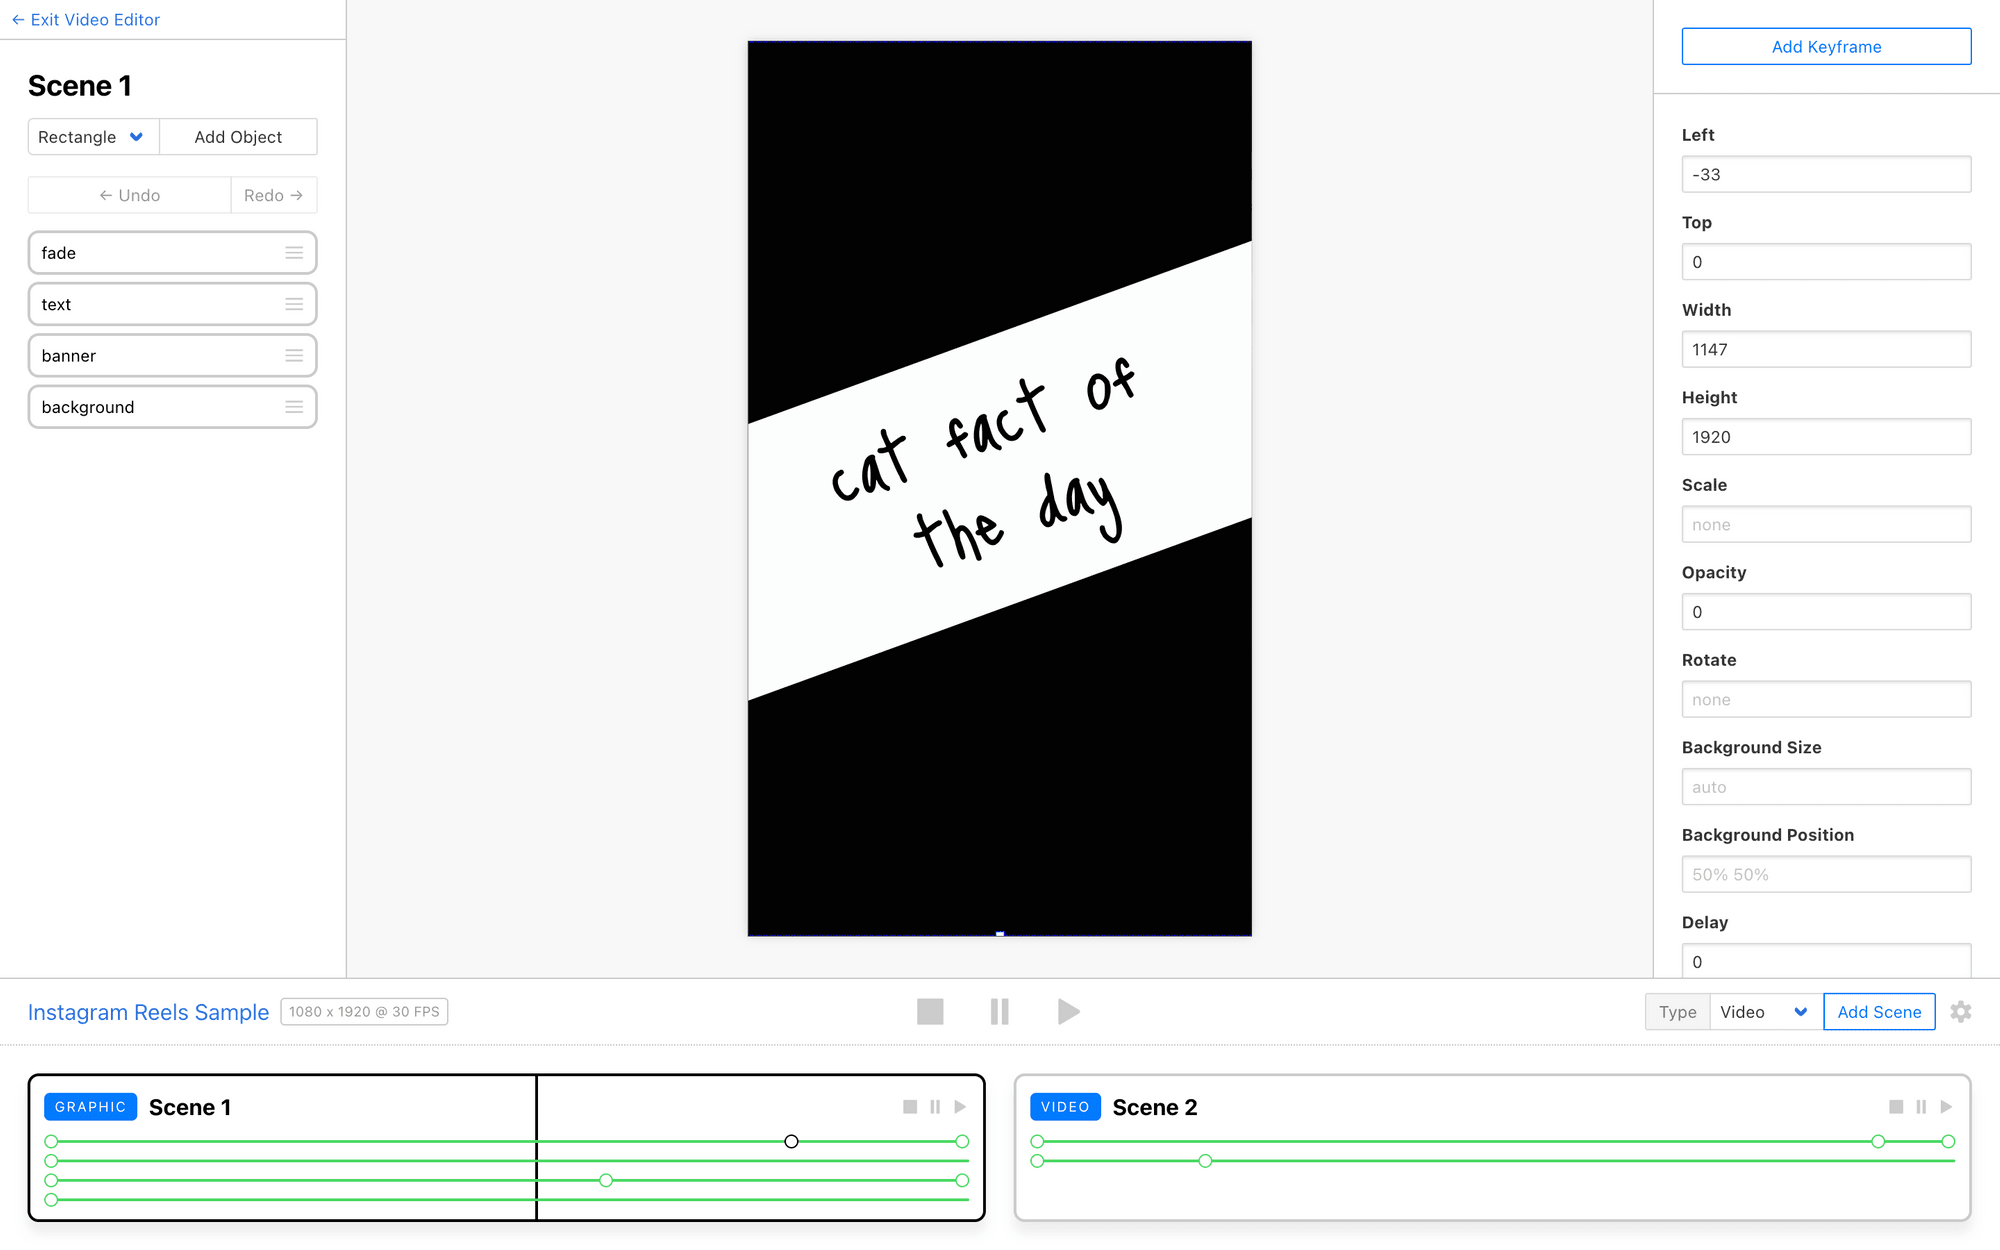
Keep in mind that any modifications (text, text color, shapes, images, etc.) that will differ from video to video will need to be stored in your Airtable base.
Meow Memo : 🐱: New to Clipcat? Our guide to customizing a video template can help you get started.
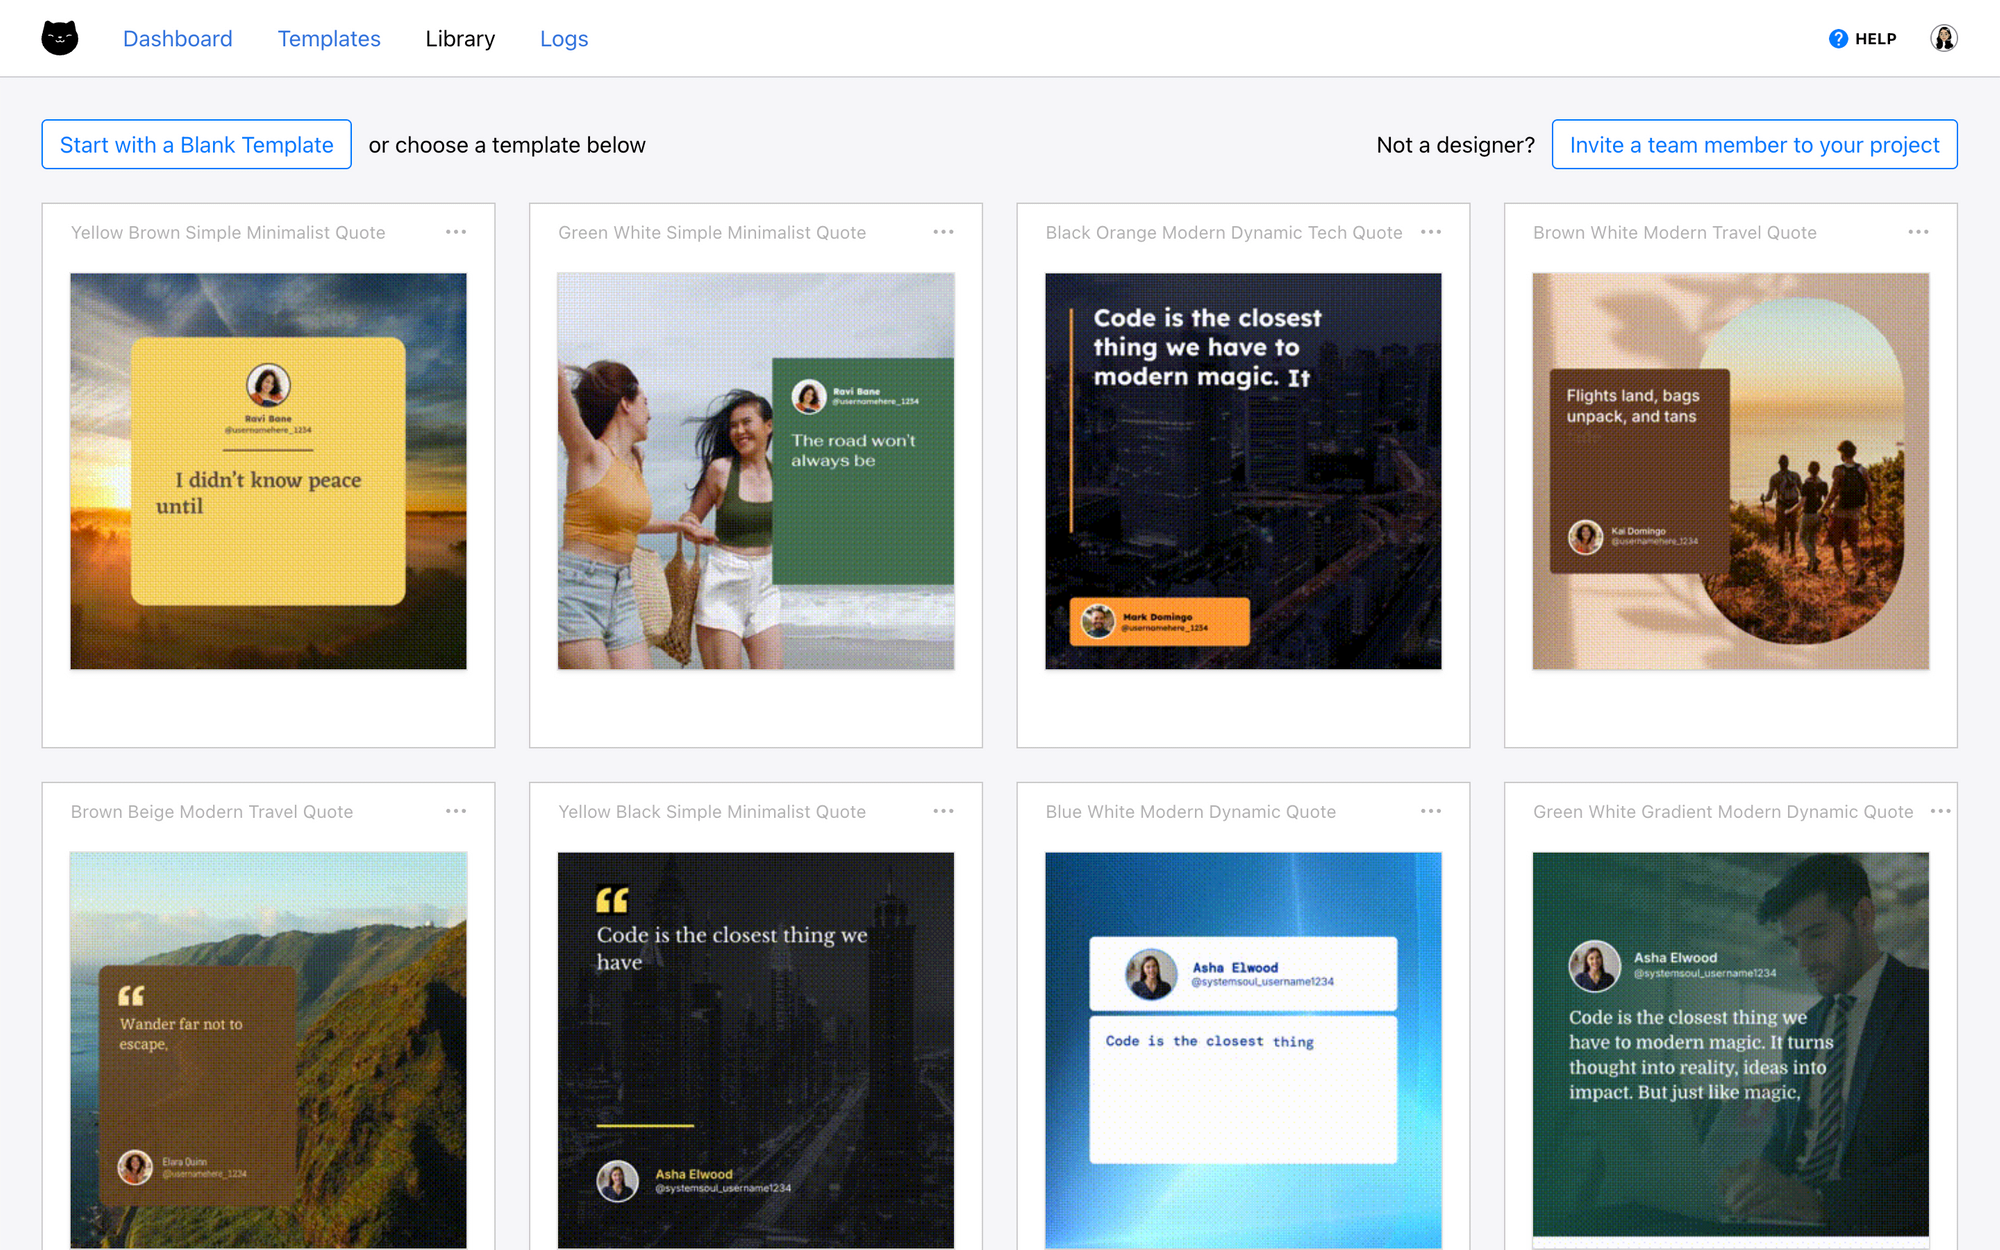
Don’t want to start from scratch? Check out our library for quote templates, social media templates, real estate listings, and much more!
Step 2 - Prepare Your Airtable Database
Now, it’s time to set up your Airtable database for generation. This means ensuring you have fields created for all necessary data points and your information is organized for generation.
There’s no right or wrong way to lay out your Airtable base. You can start from scratch and create something specifically for content creation, or adapt an existing database by adding new fields and tables.
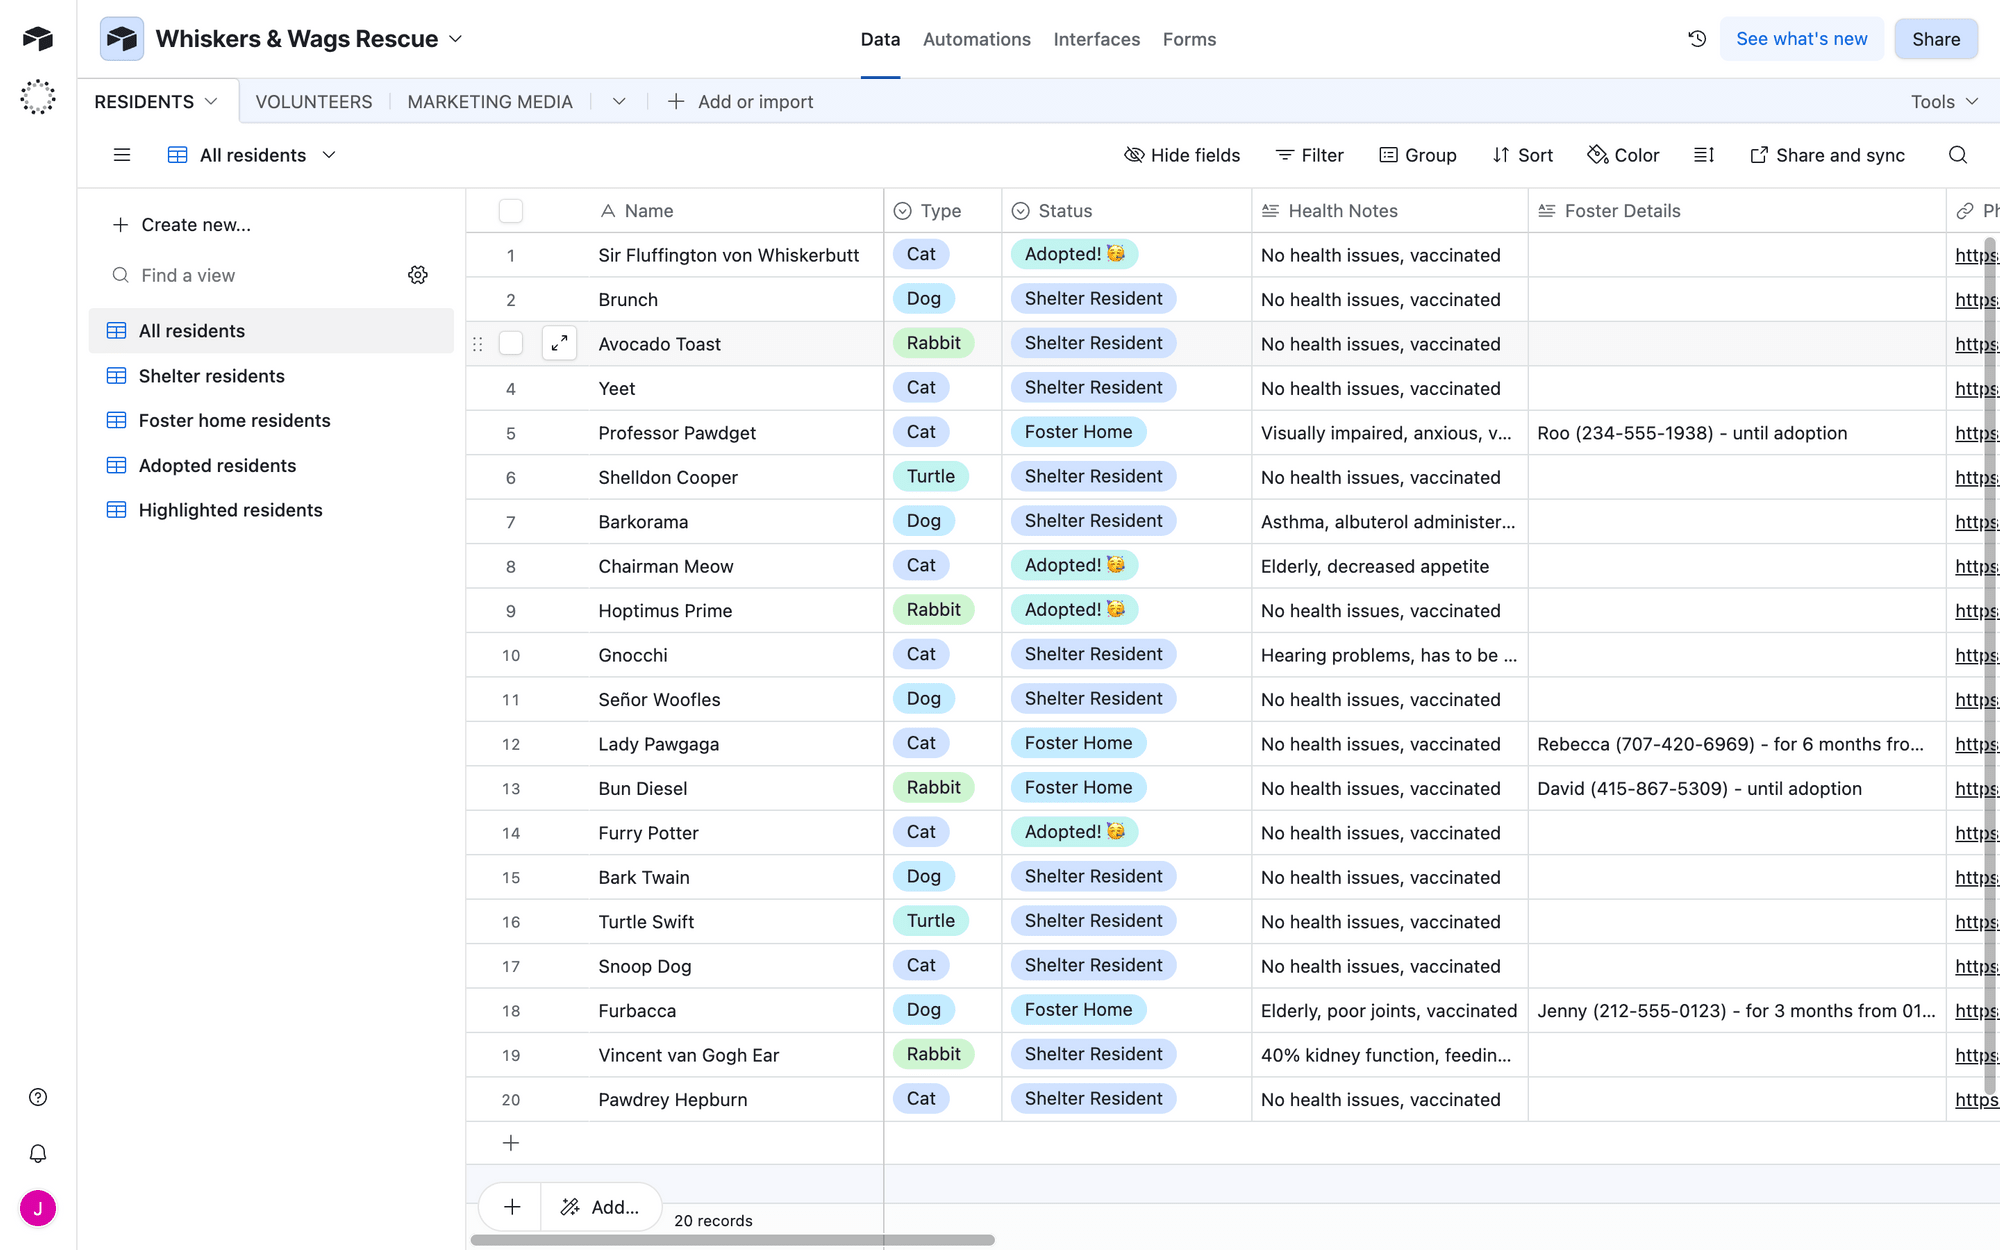
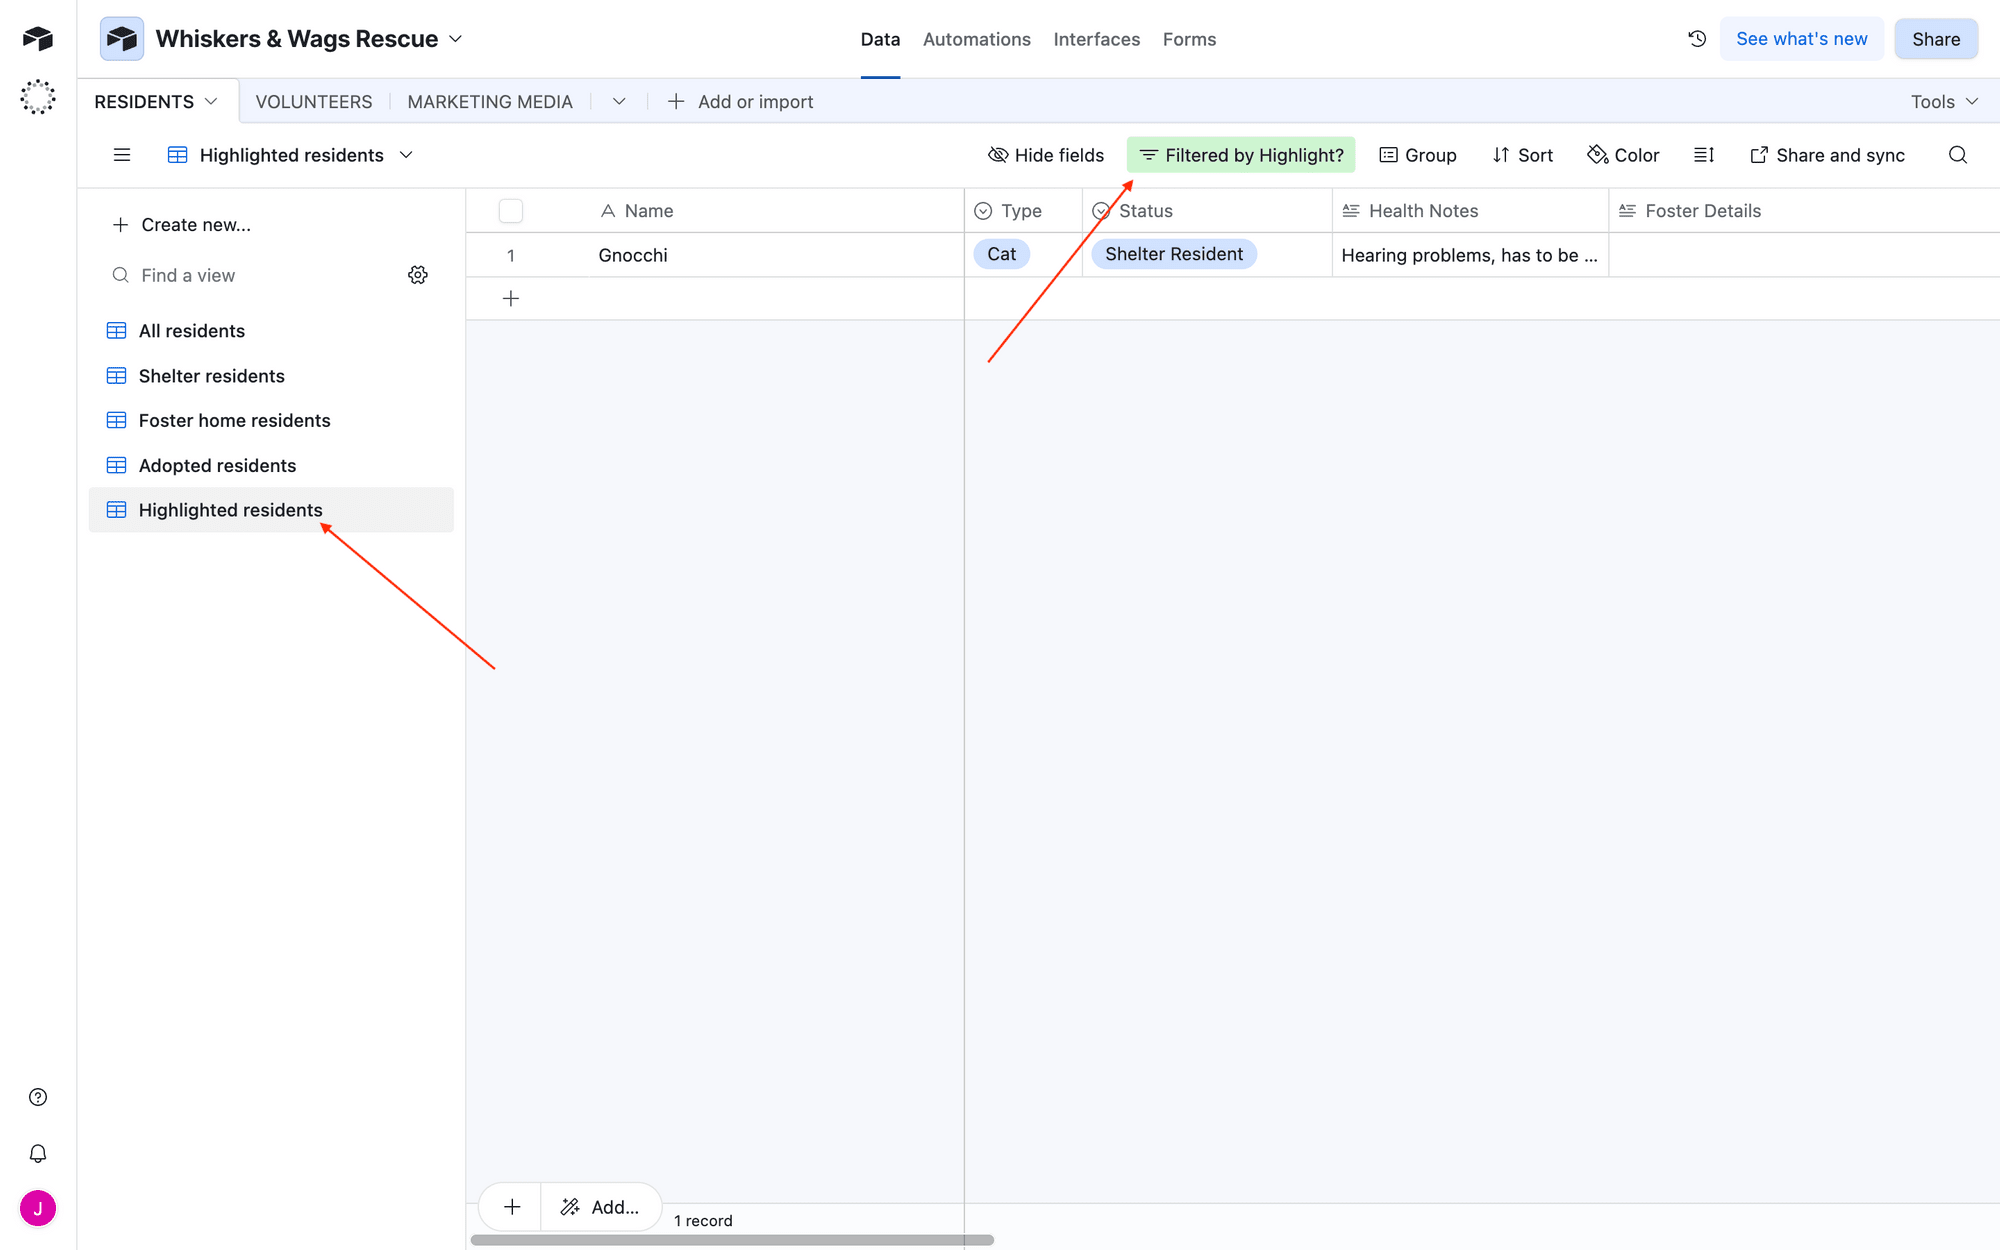
To trigger video generation according to the method in this tutorial, you'll need to set up a specific view in Airtable that identifies which records are ready for rendering. We’ll do this by adding a view that filters only for the records that match our conditions.
This approach requires consolidating your data points within a single table, and it has the added benefit of allowing for edits before a video is created.
If you’re working with data that is used in other processes, link them from other tables or use the rollup field type to process them into the form you need.
Meow Memo : 🐱: Additional data fields will not affect your video generation workflow, so add as many as you need!
Make sure you have at least one record populated with data and ready for testing.
Step 3 - Set Up a Zap that Generates Videos
The components have been readied, and all that’s left is to set up a zap that brings it all together. A simple two-step zap will retrieve new records from your Airtable base, then create a render in Clipcat.
Log into Zapier dashboard, create a new zap, and set up the following events:
Trigger: New Record in Airtable
Choose Airtable as the app and New Record as the event. If you haven’t connected your Airtable account yet, you will be prompted to enter a personal access token with the necessary permissions.
Configure the event by selecting the correct base, table, and view.
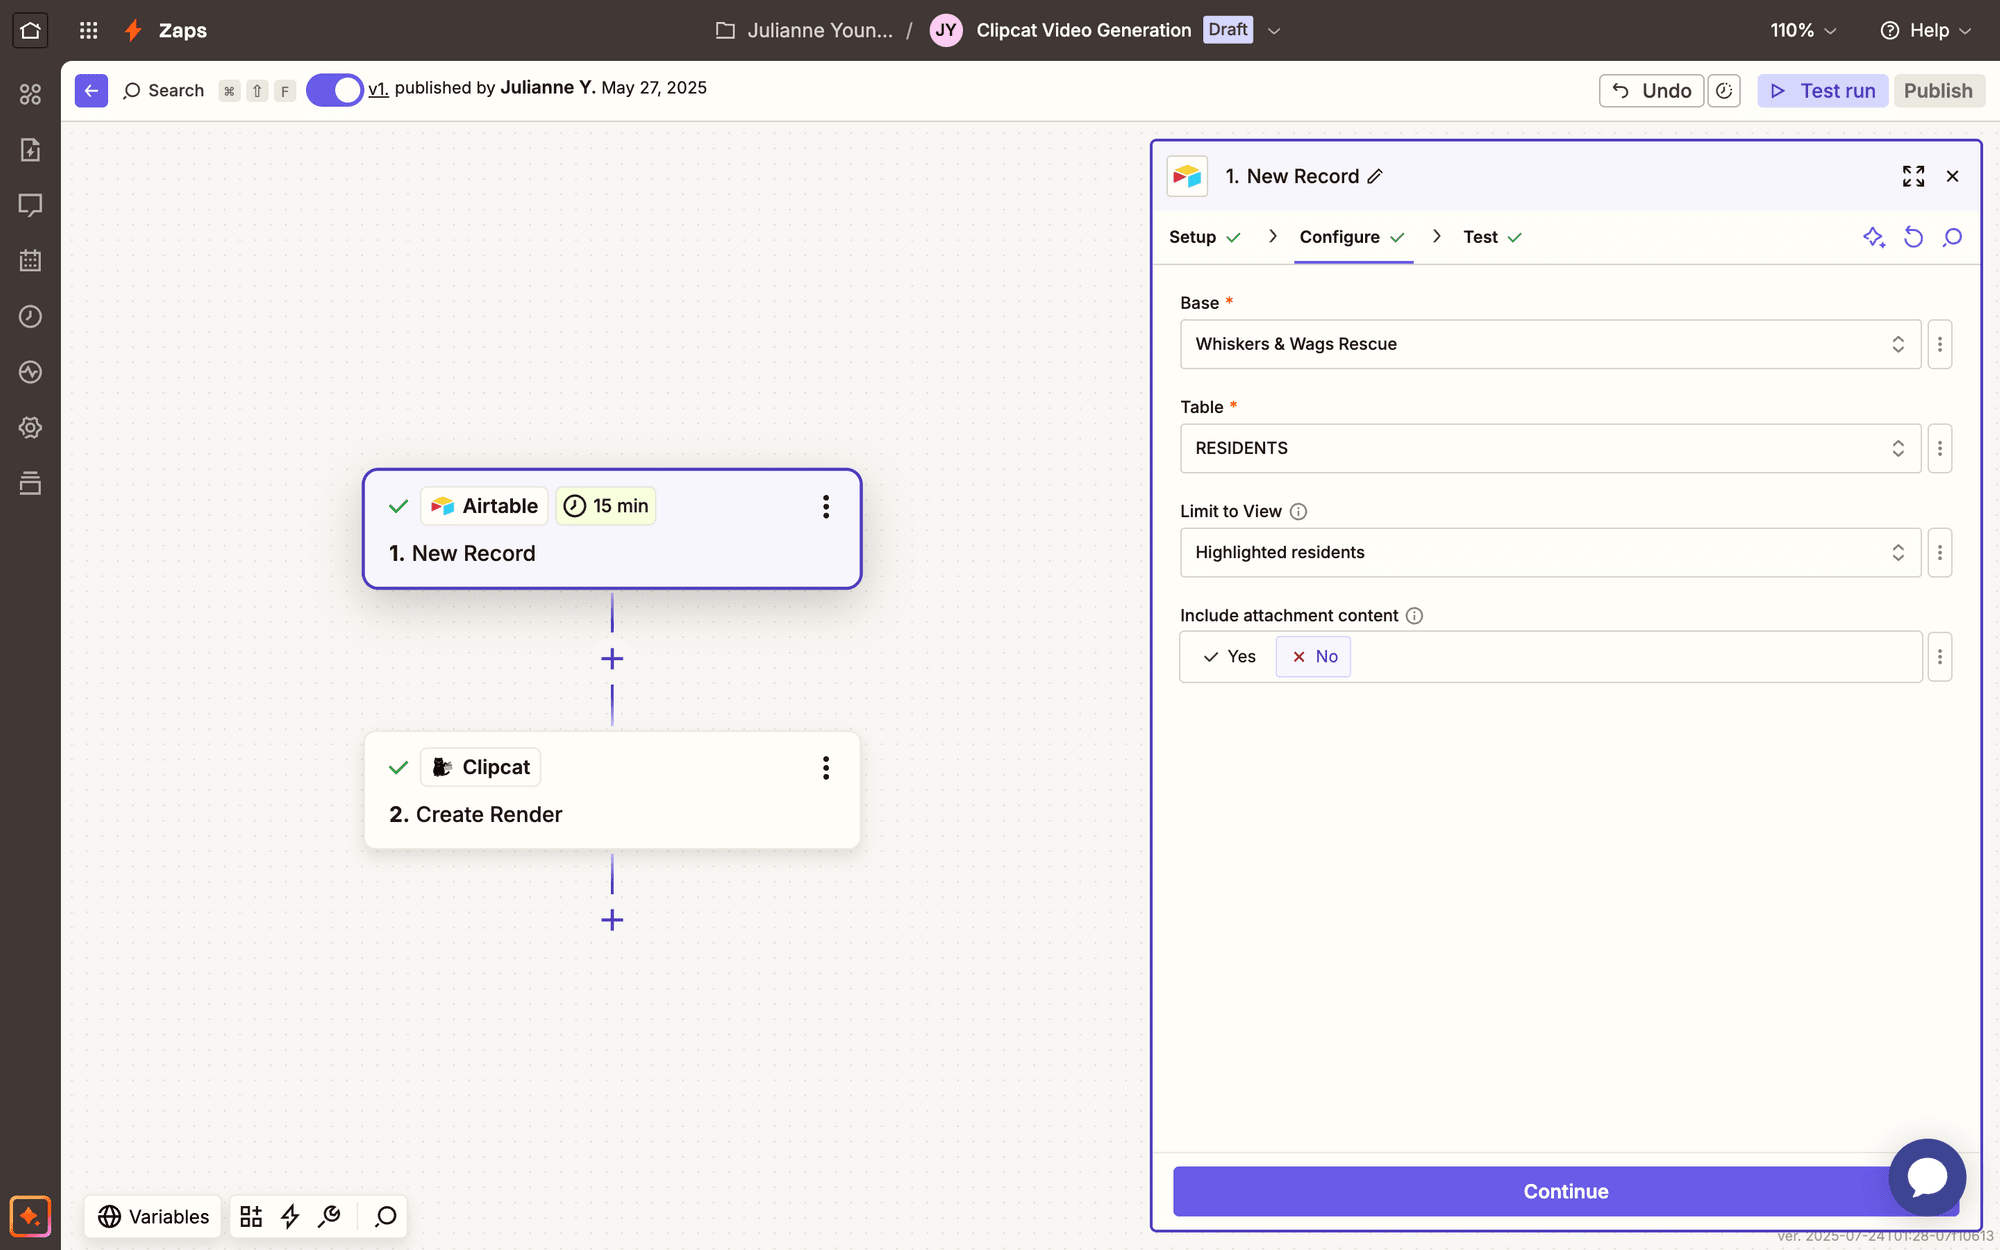
Test the step to ensure Zapier is able to find a record.
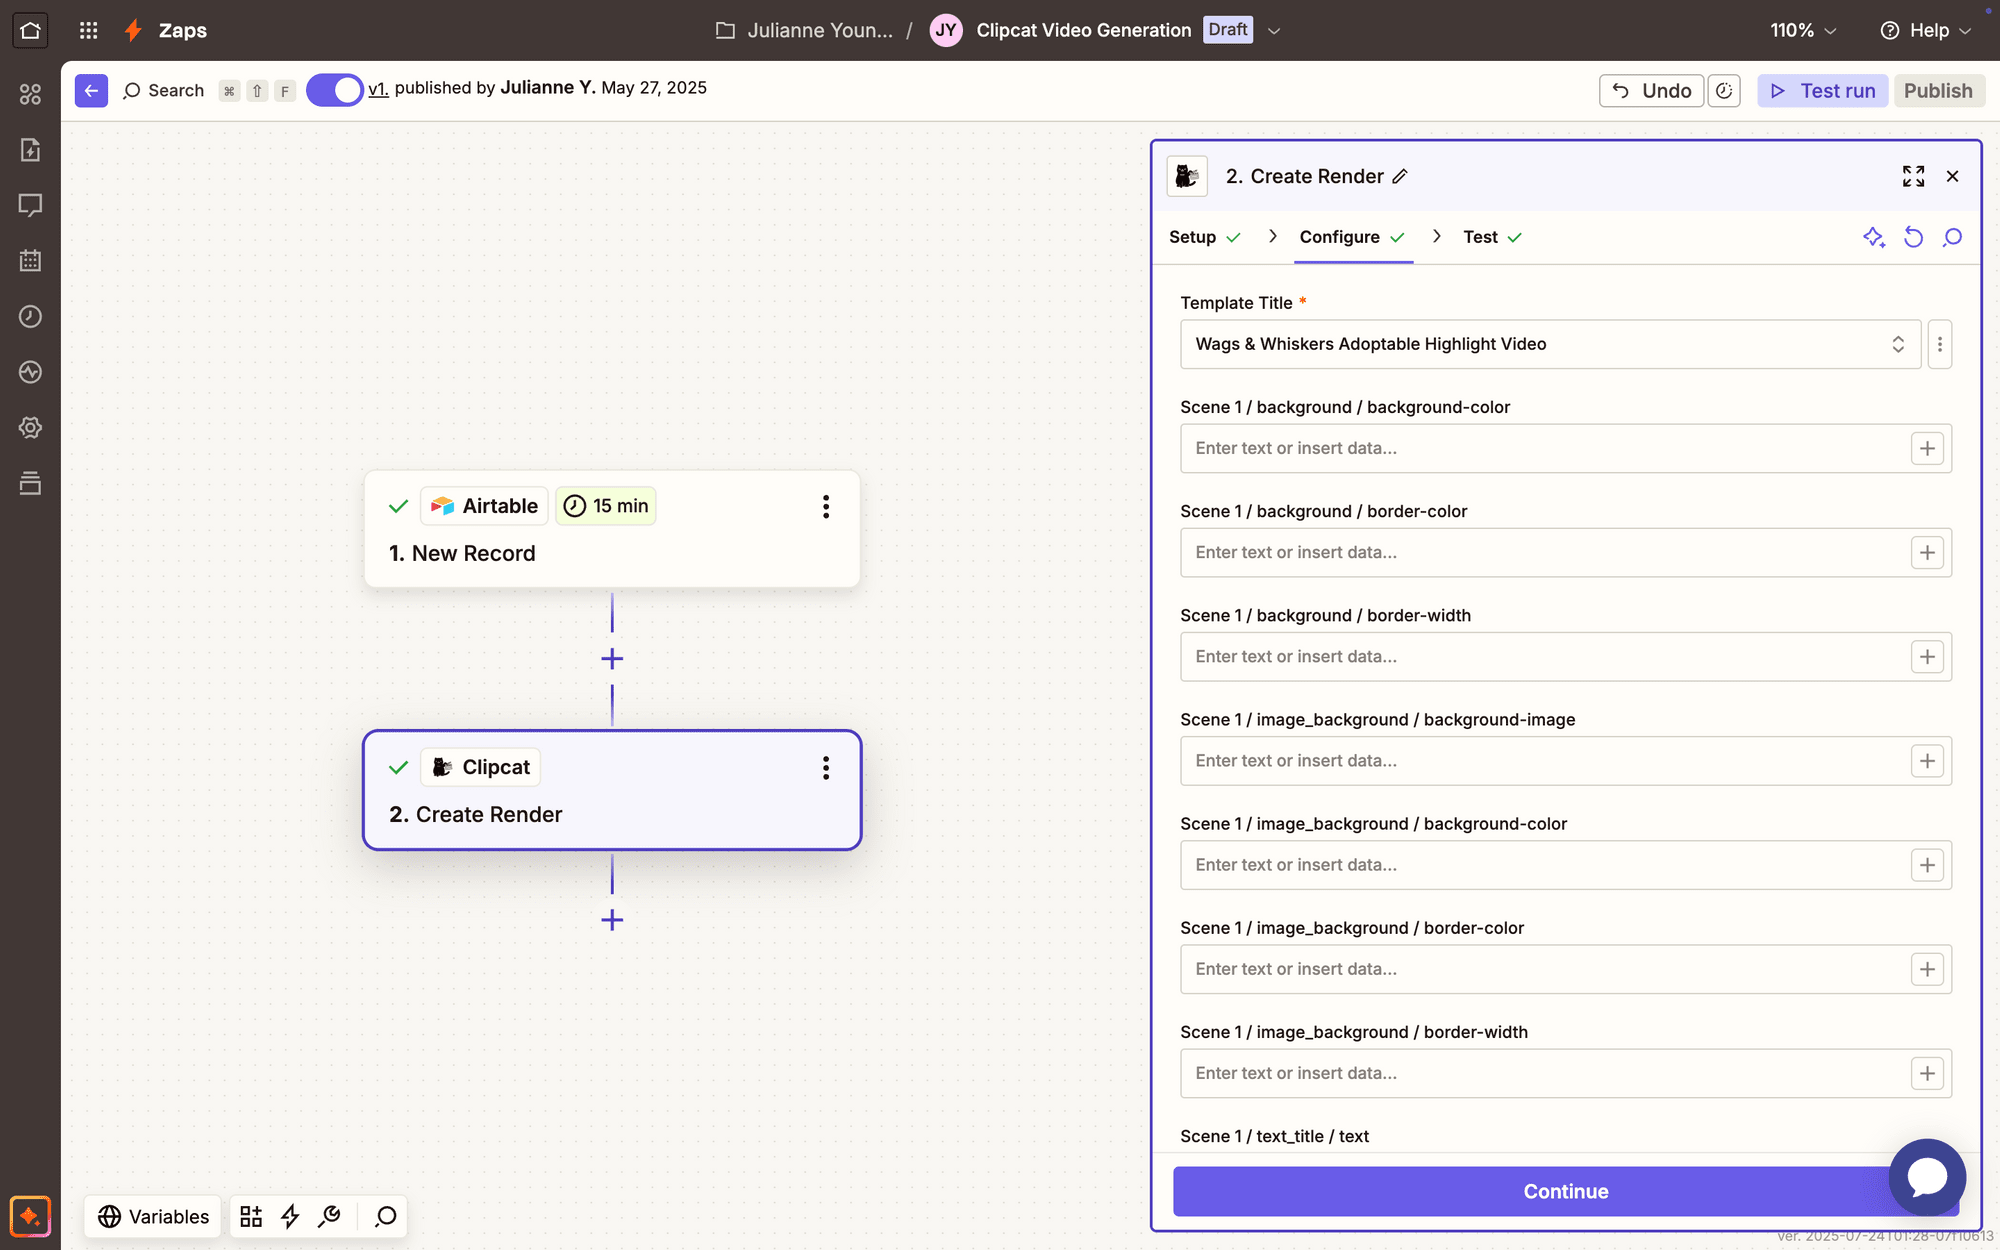
Action: Create Render in Clipcat
Choose Clipcat as the app and Create Render as the event. You’ll be asked to connect your Clipcat account using an API key, which can be found in the API Keys page when clicking your profile button in the app.
Configure the event by selecting your template, then mapping any Airtable data points to their corresponding Clipcat fields.
Test the action. A render should be sent to Clipcat, which you can view from your Logs.
Meow Memo 🐱: Need more help? Read our guide on How to Automatically Render a Clipcat Video with Zapier (in 2025) .
Conclusion
Automating video generation through Airtable and Zapier transforms content creation from a manual, time-consuming process into a streamlined workflow. By connecting your data directly to a video template, you can produce consistent, professional-looking videos with minimal effort.
Clipcat makes this powerful automation accessible to teams and creators who might not have extensive technical skills. Whether you're a marketer, business owner, or content creator, our nocode platform empowers you to turn data into engaging visual stories quickly and effortlessly.
Ready to revolutionize your video workflow? Get started with Clipcat today and discover how easy automated video generation can be!