How to Dynamically Watermark Videos with Clipcat
Contents
Watermarks are powerful tools for creative professionals and brands, serving as digital signatures that protect intellectual property and ensure proper attribution. By strategically placing these identifiers into their videos, creators can safeguard their work without obscuring it.
Watermarking media has become increasingly common, but the process can often feel tedious. Fortunately, modern tools and workflows have emerged to streamline the process, especially if the content being produced is fairly consistent in terms of formatting and branding. Some—like Clipcat—even offer the flexibility of further discouraging prohibited use by animating the design.
From independent wedding videographers seeking efficient client preview methods to enterprise teams standardizing internal communications, innovative solutions enable creators to generate uniquely watermarked videos at scale. In this guide, we’ll walk you through the precise steps to dynamically watermark your videos using Clipcat so that you can more efficiently protect and personalize your digital content.
What You Will Create
There’s no standard way to watermark digital content, meaning you can customize your identifier however you want. Generally, what we will be doing in this tutorial is creating a Clipcat template, then adding a watermark layer (or layers) that is applied on top of any media put into the template.
Your watermark might look like some simple text over video…
…animated text over video…
…or even an unobtrusive logo.
The design possibilities are endless! But let’s get started with creating a template.
How to Add a Watermark to Your Clipcat Videos
Clipcat automates video generation while giving you a wide range of customization options. The template editor allows you to design your own watermark and use it to generate as many watermarked videos as needed!
Here’s how to set a watermark template up in three easy steps:
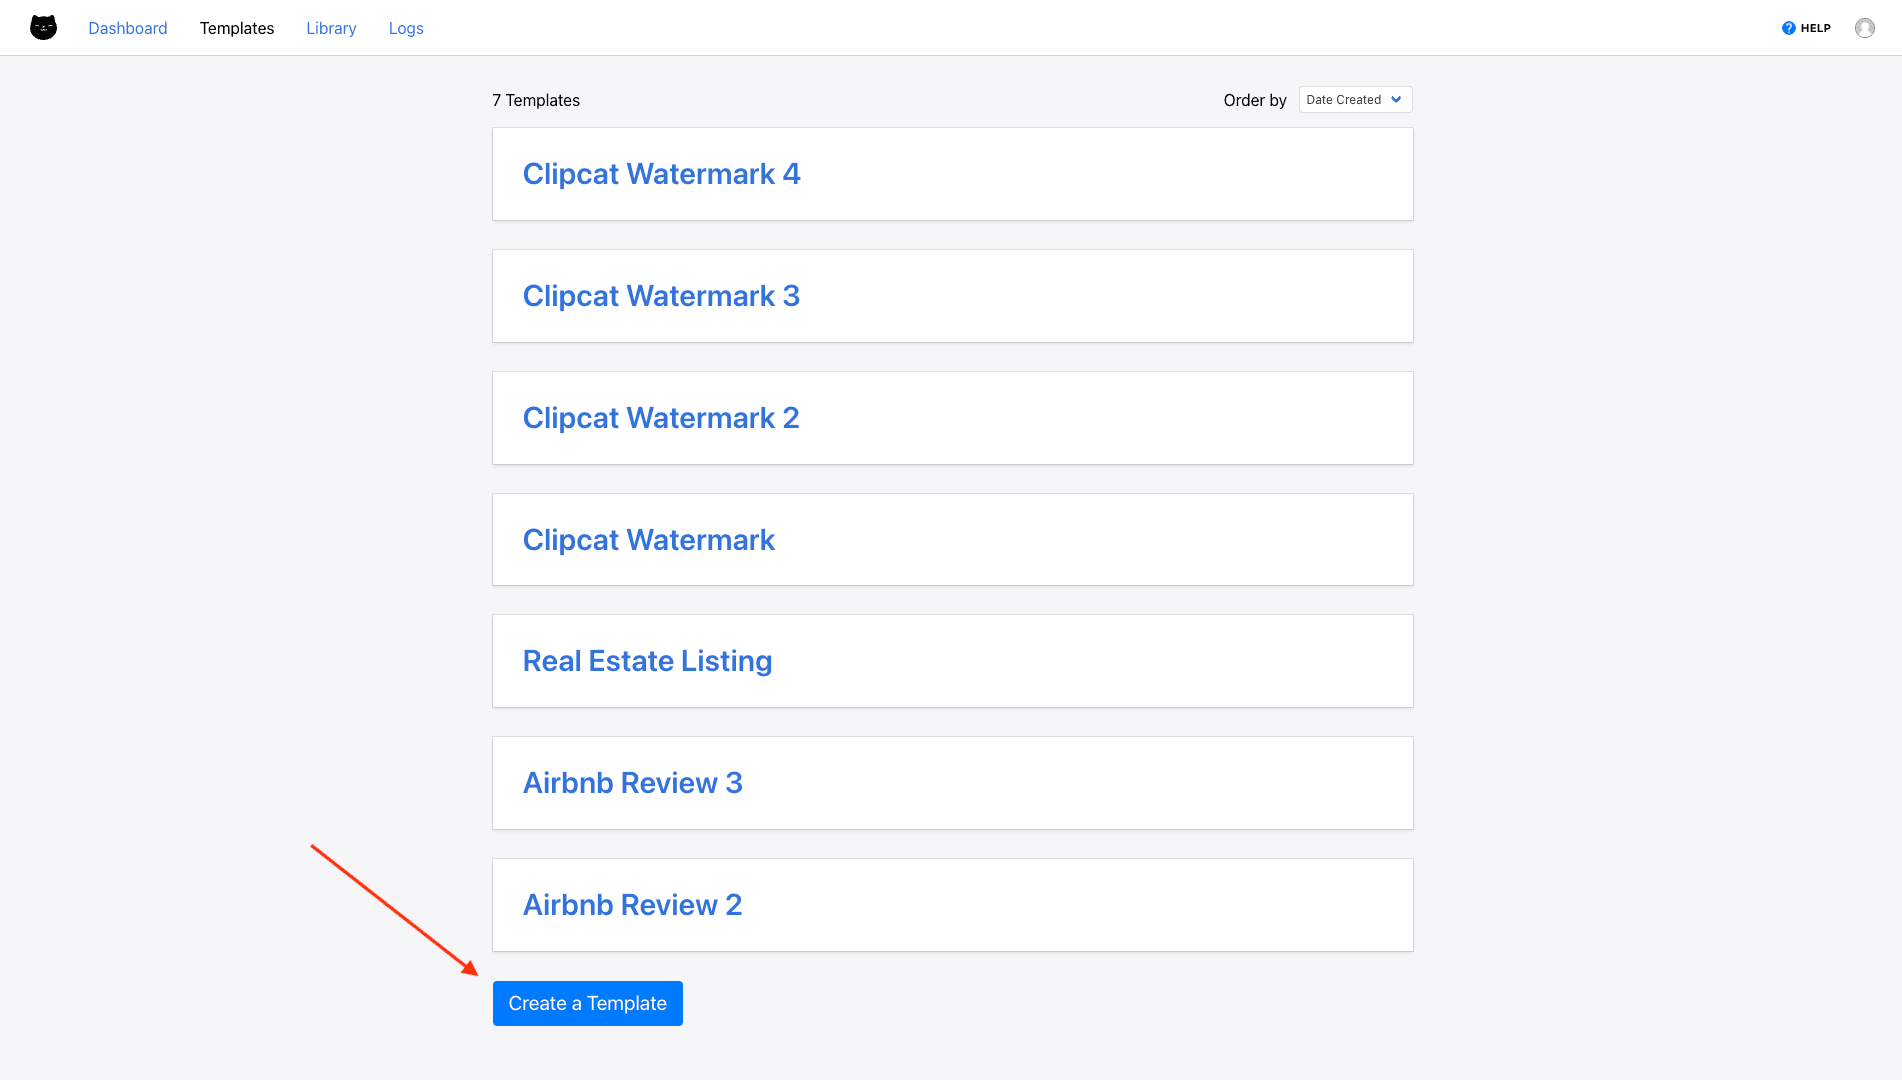
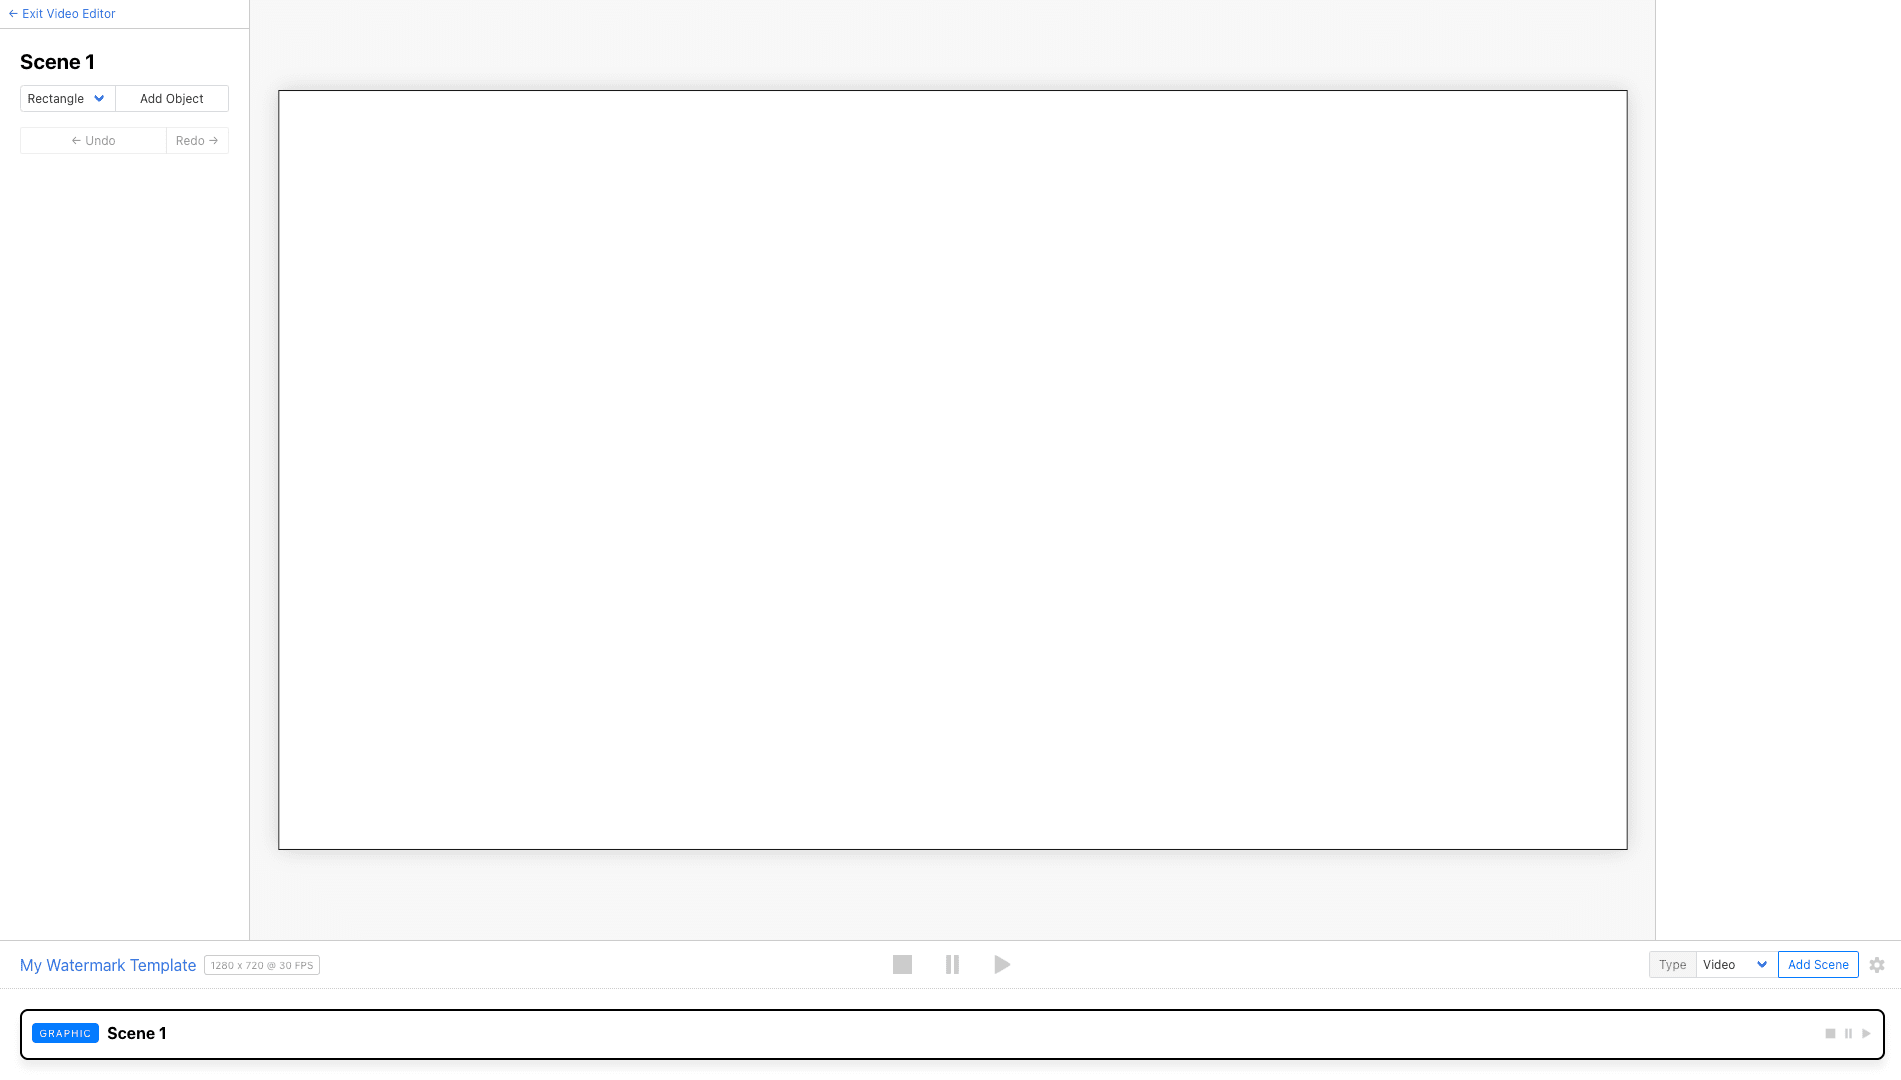
Step 1. Create a New Template
Log into the Clipcat app (or start a free trial if you don’t have one—no credit card required! 🎉), then create a template from the Templates tab.
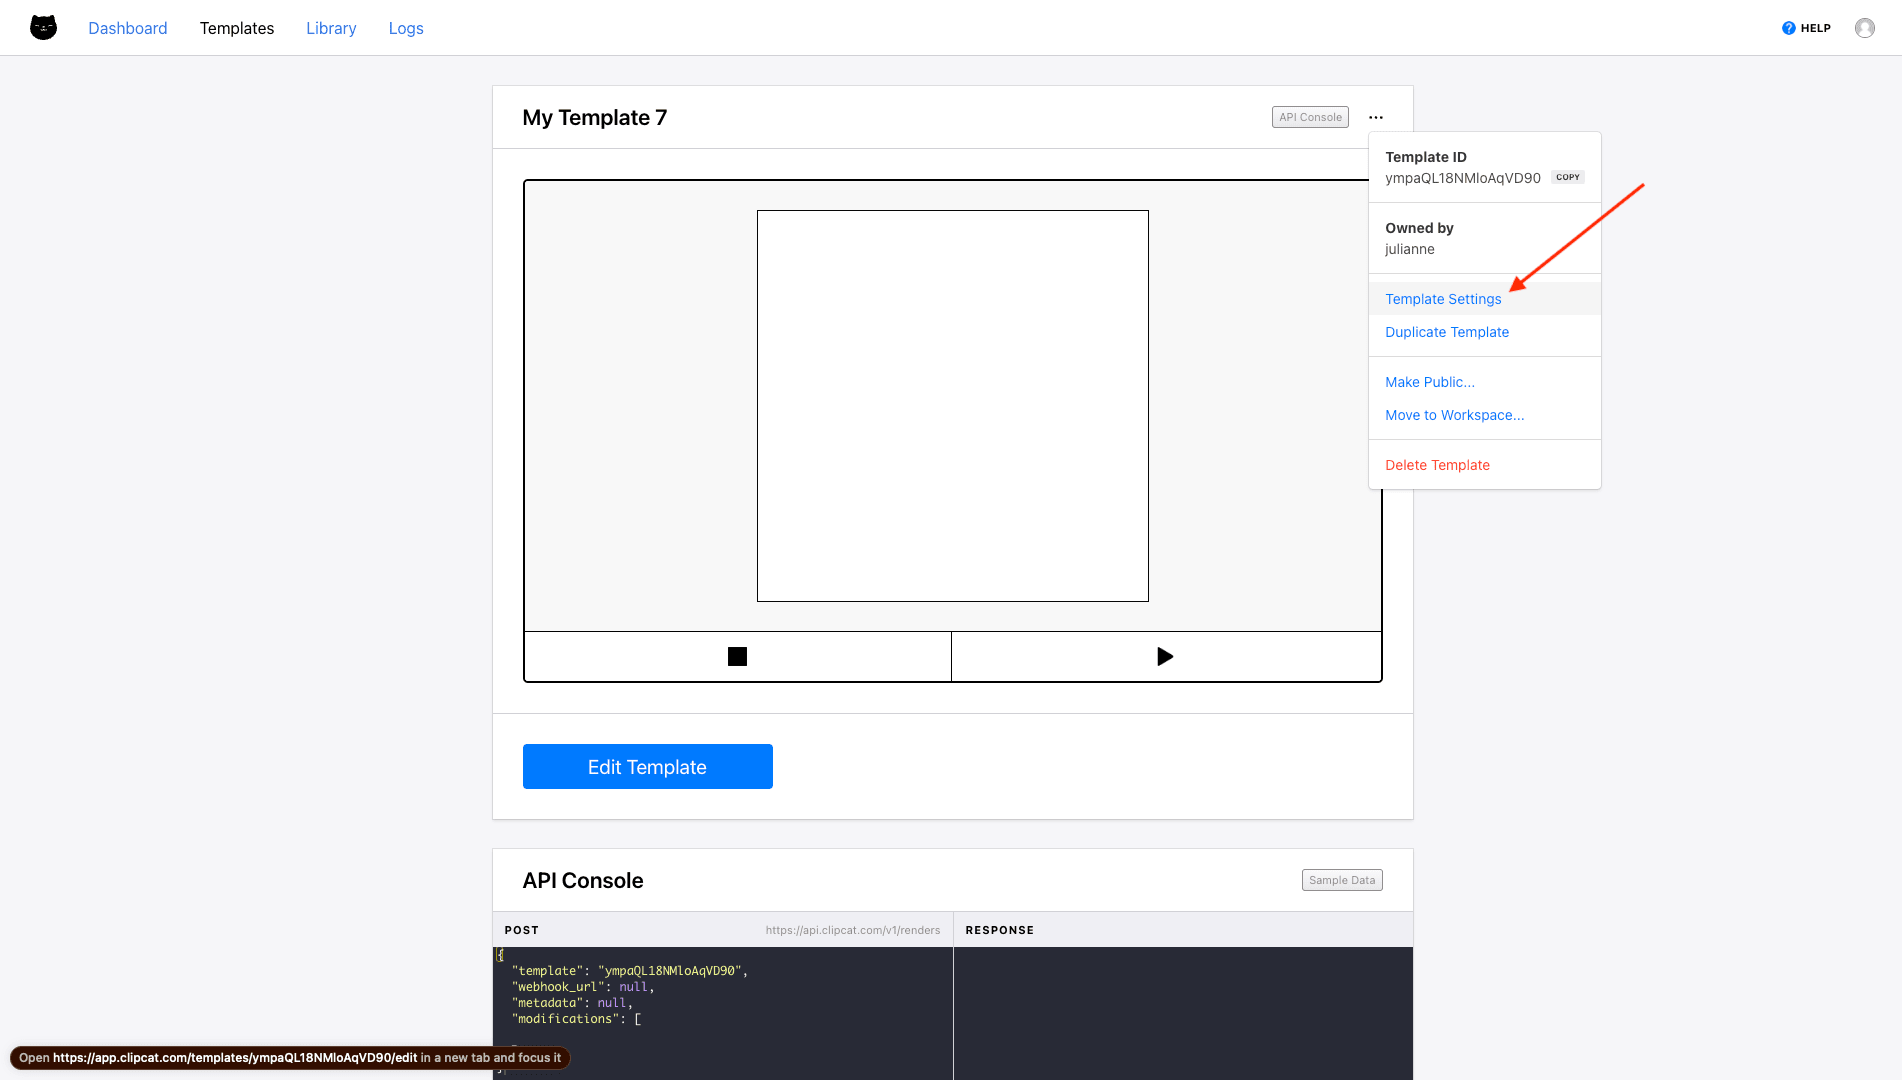
You should now be on the template page, where you can see a preview of your template, access the API console, and view renders.
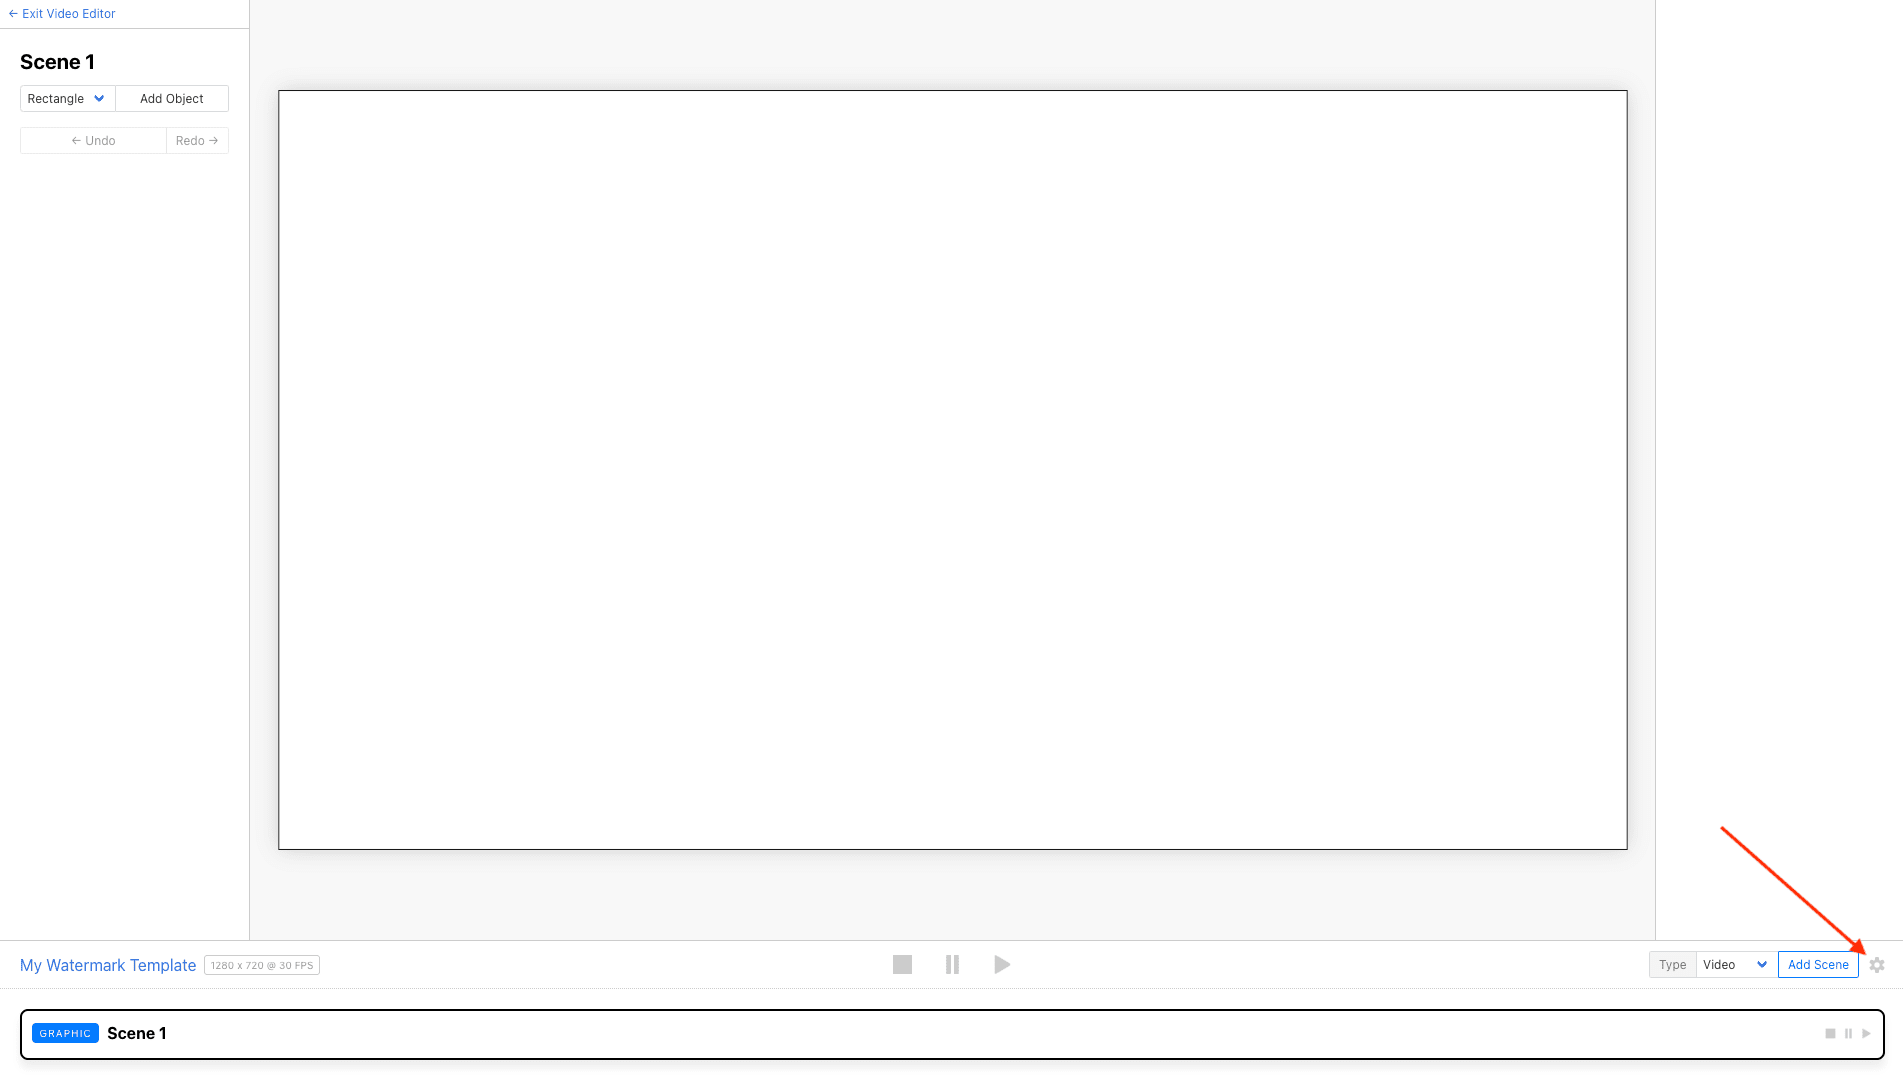
Click the three-dot menu to navigate to Template Settings.
Here, you can rename your project and adjust video size and FPS.
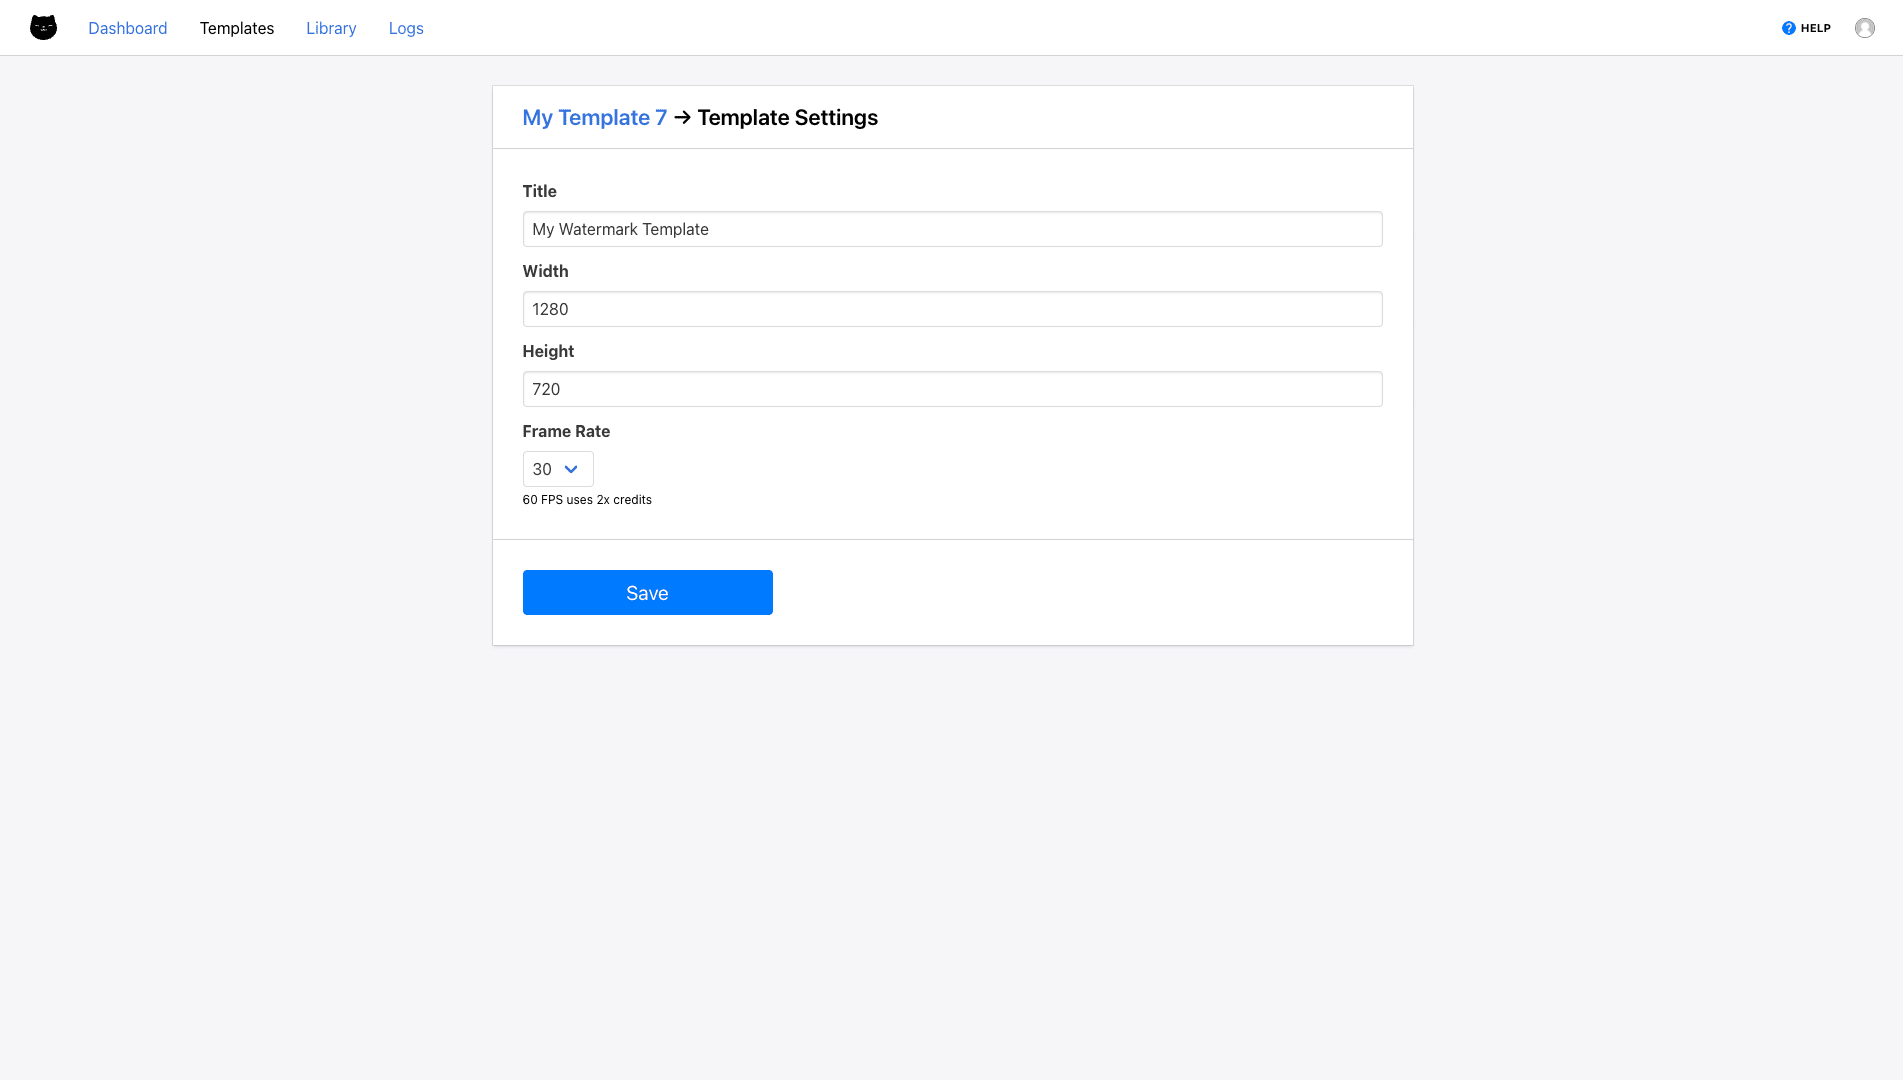
Click Save.
Step 2. Design the Watermark Layer
From your template page, click Edit Template.
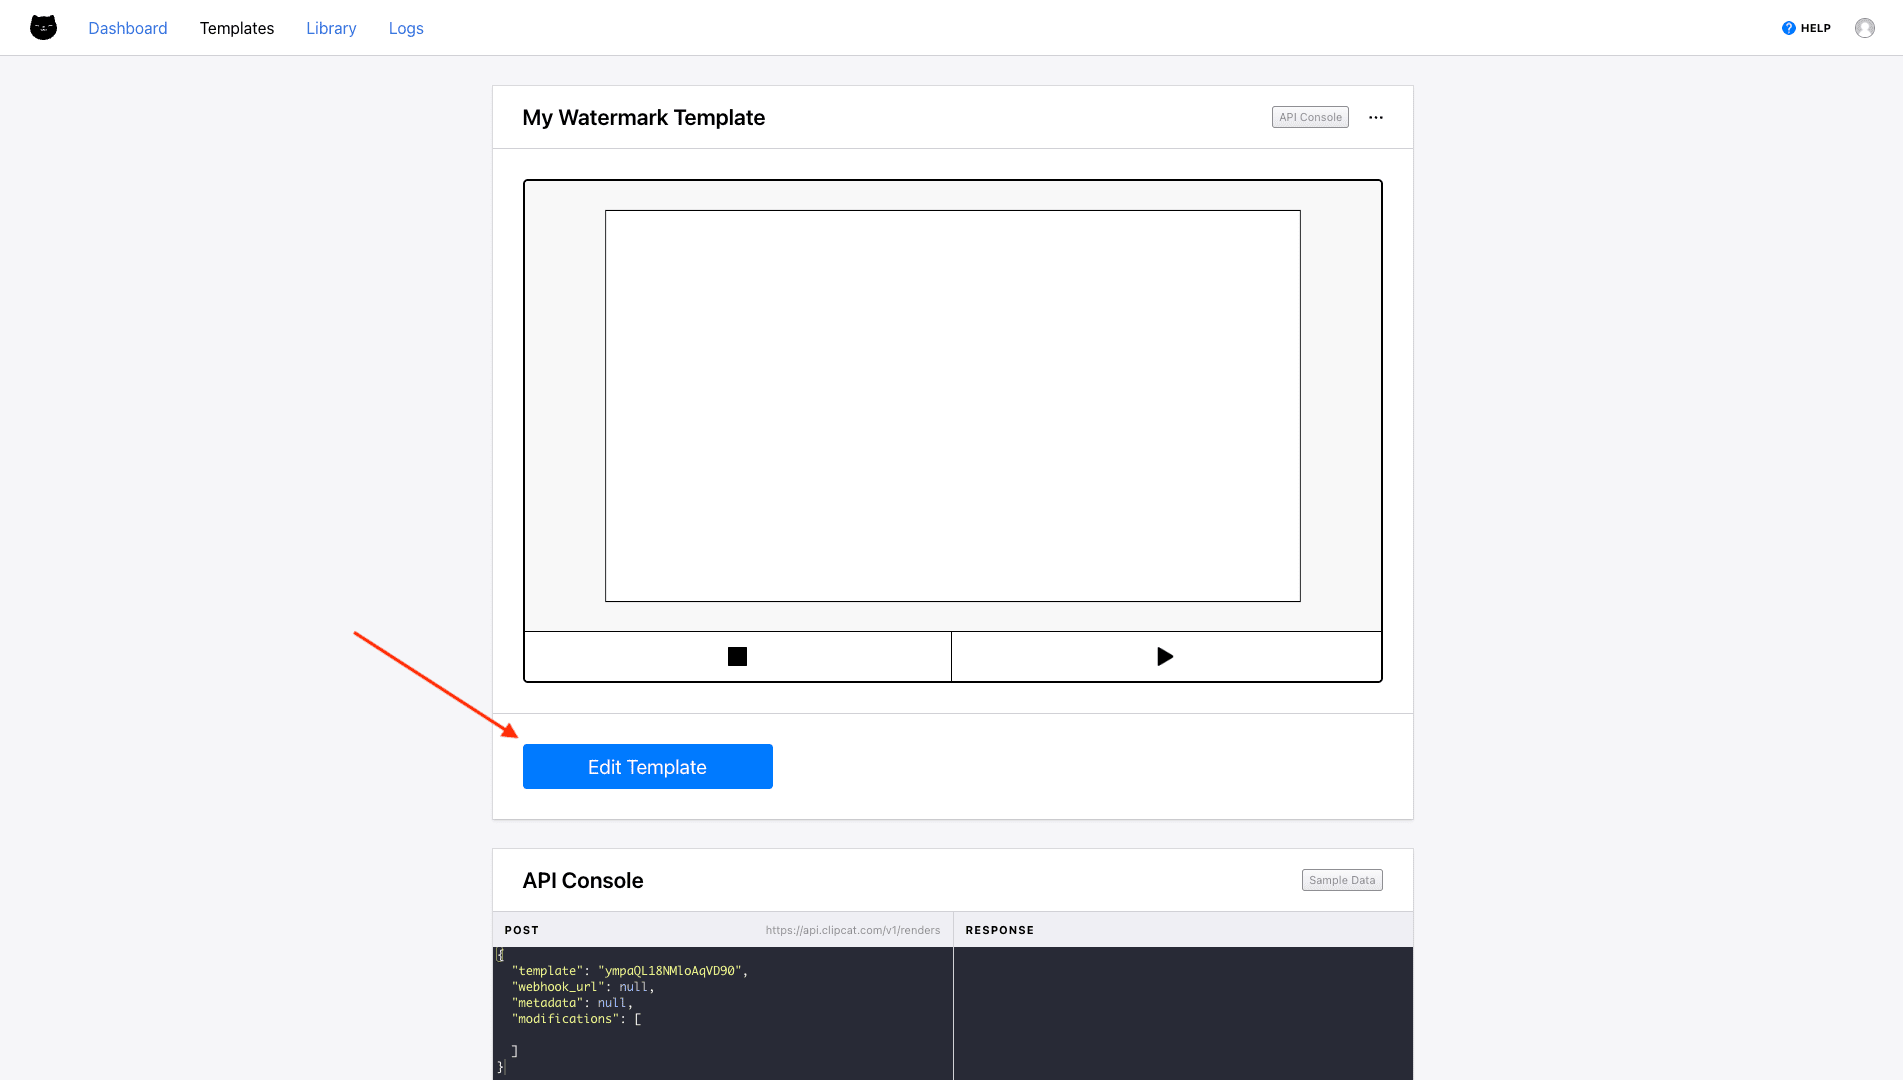
You should now be on the editor, where you can add new scenes, create layers, and customize your video.
Keep in mind that each scene is either a Graphic or Video scene, and you will need to set it up according to the media you intend to put into the template. Change these settings by clicking the gear icon on the right side of the playback panel.
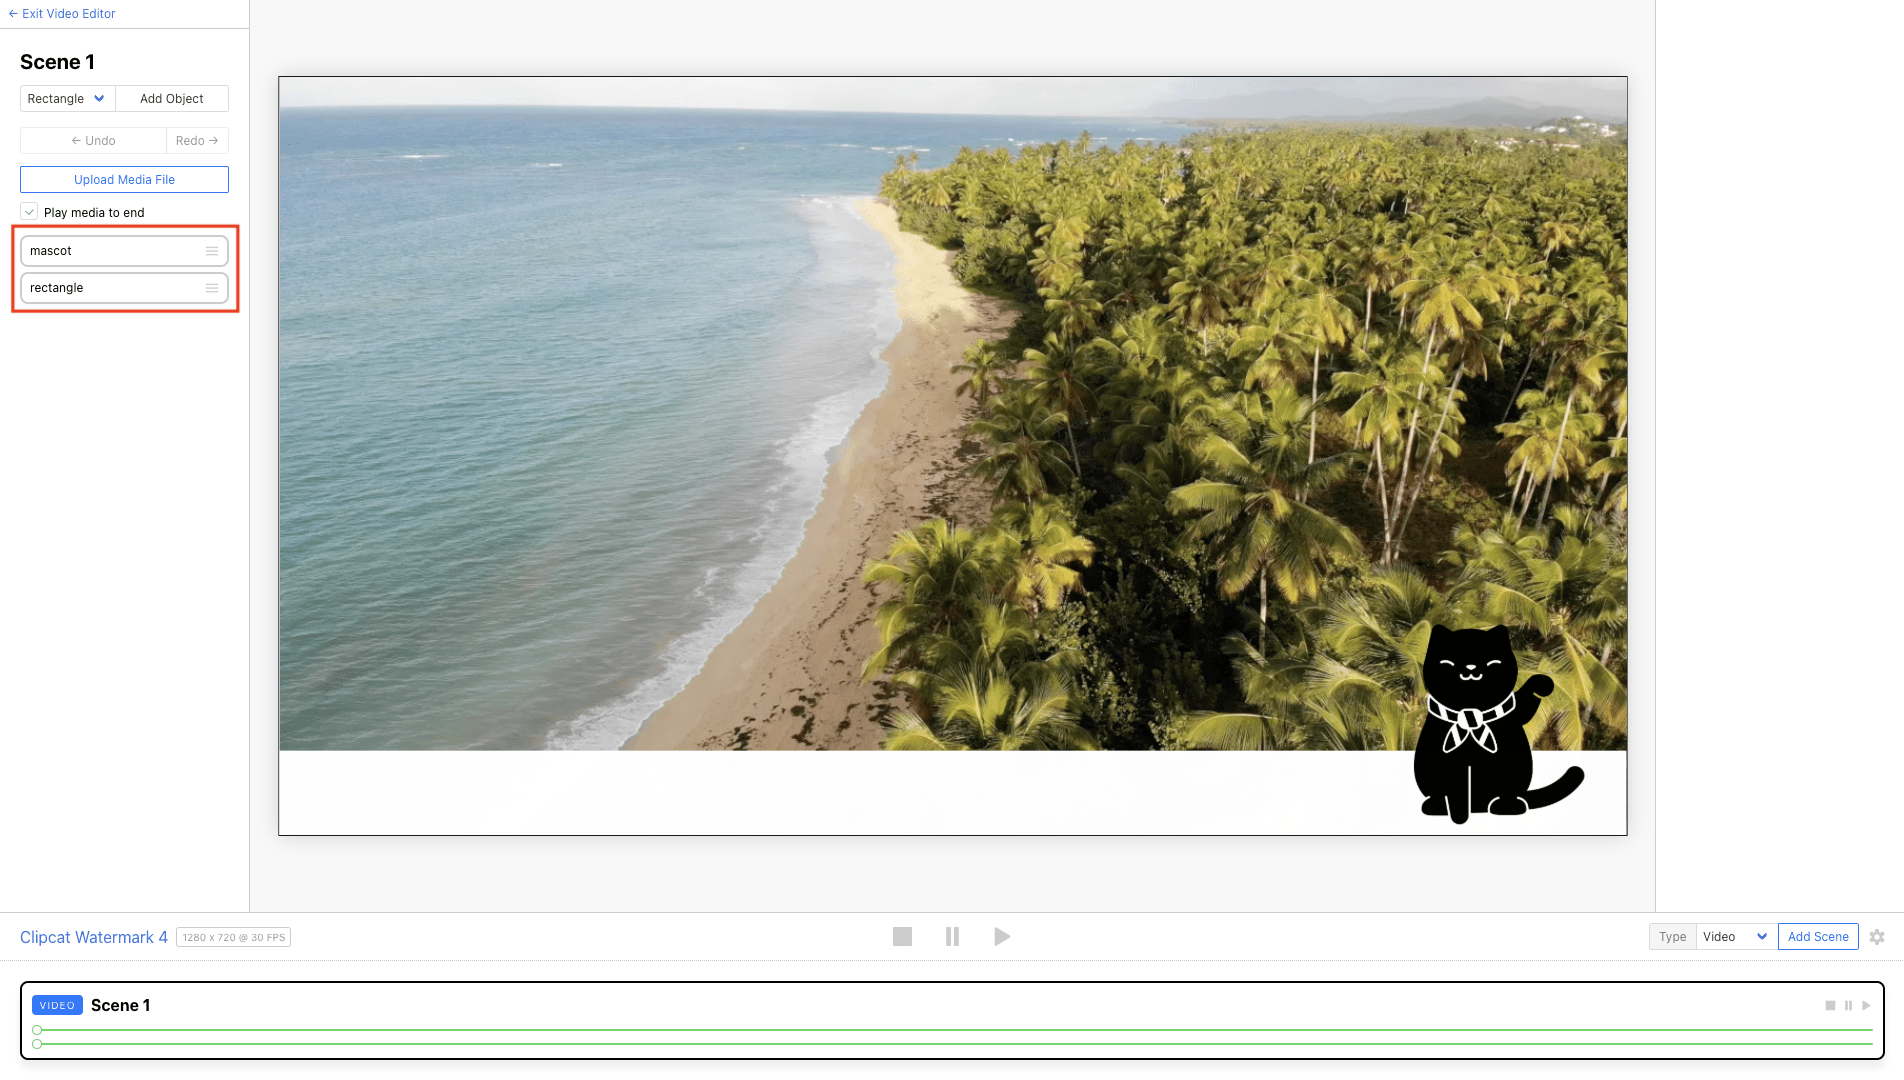
On the left of the editor is a panel where you can select from Rectangle, Circle, and Text when adding a new object to your canvas.
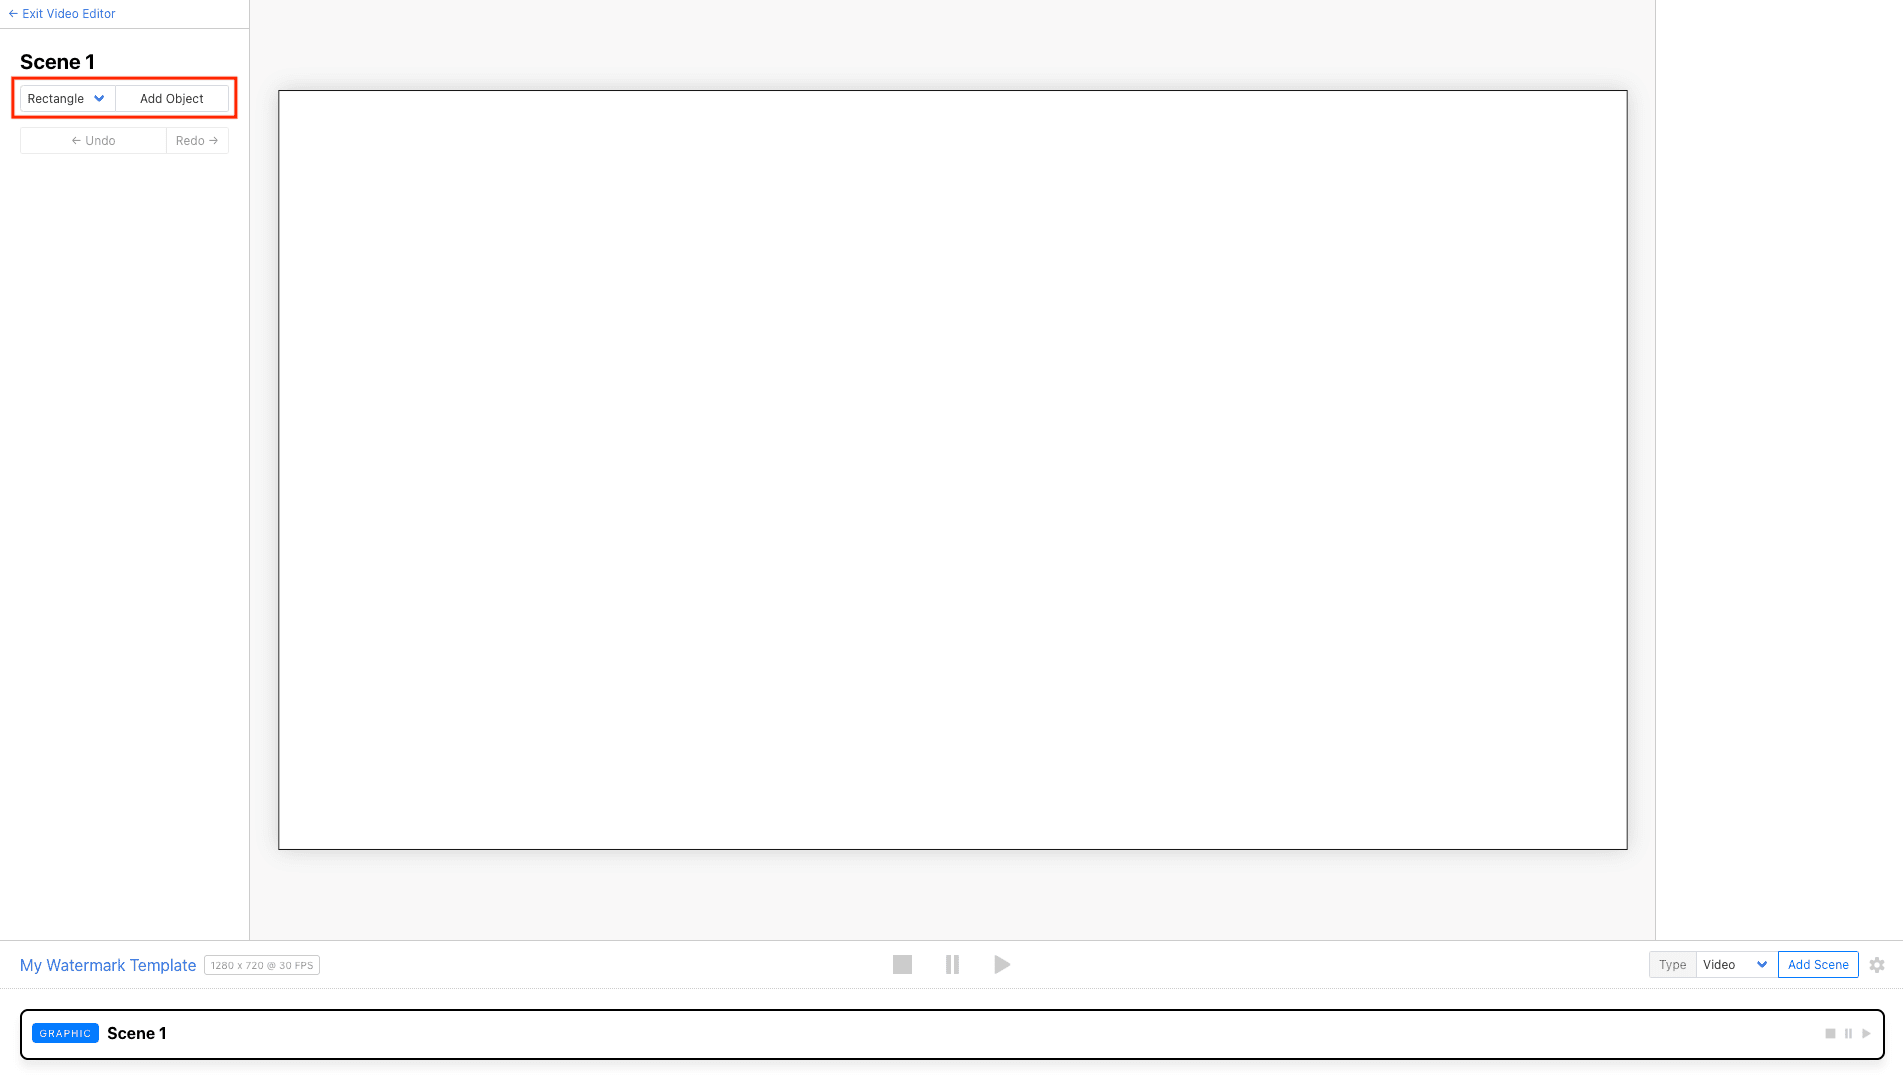
Rectangle and circle objects can also act as frames for graphics, meaning you can use them for icons and logos.
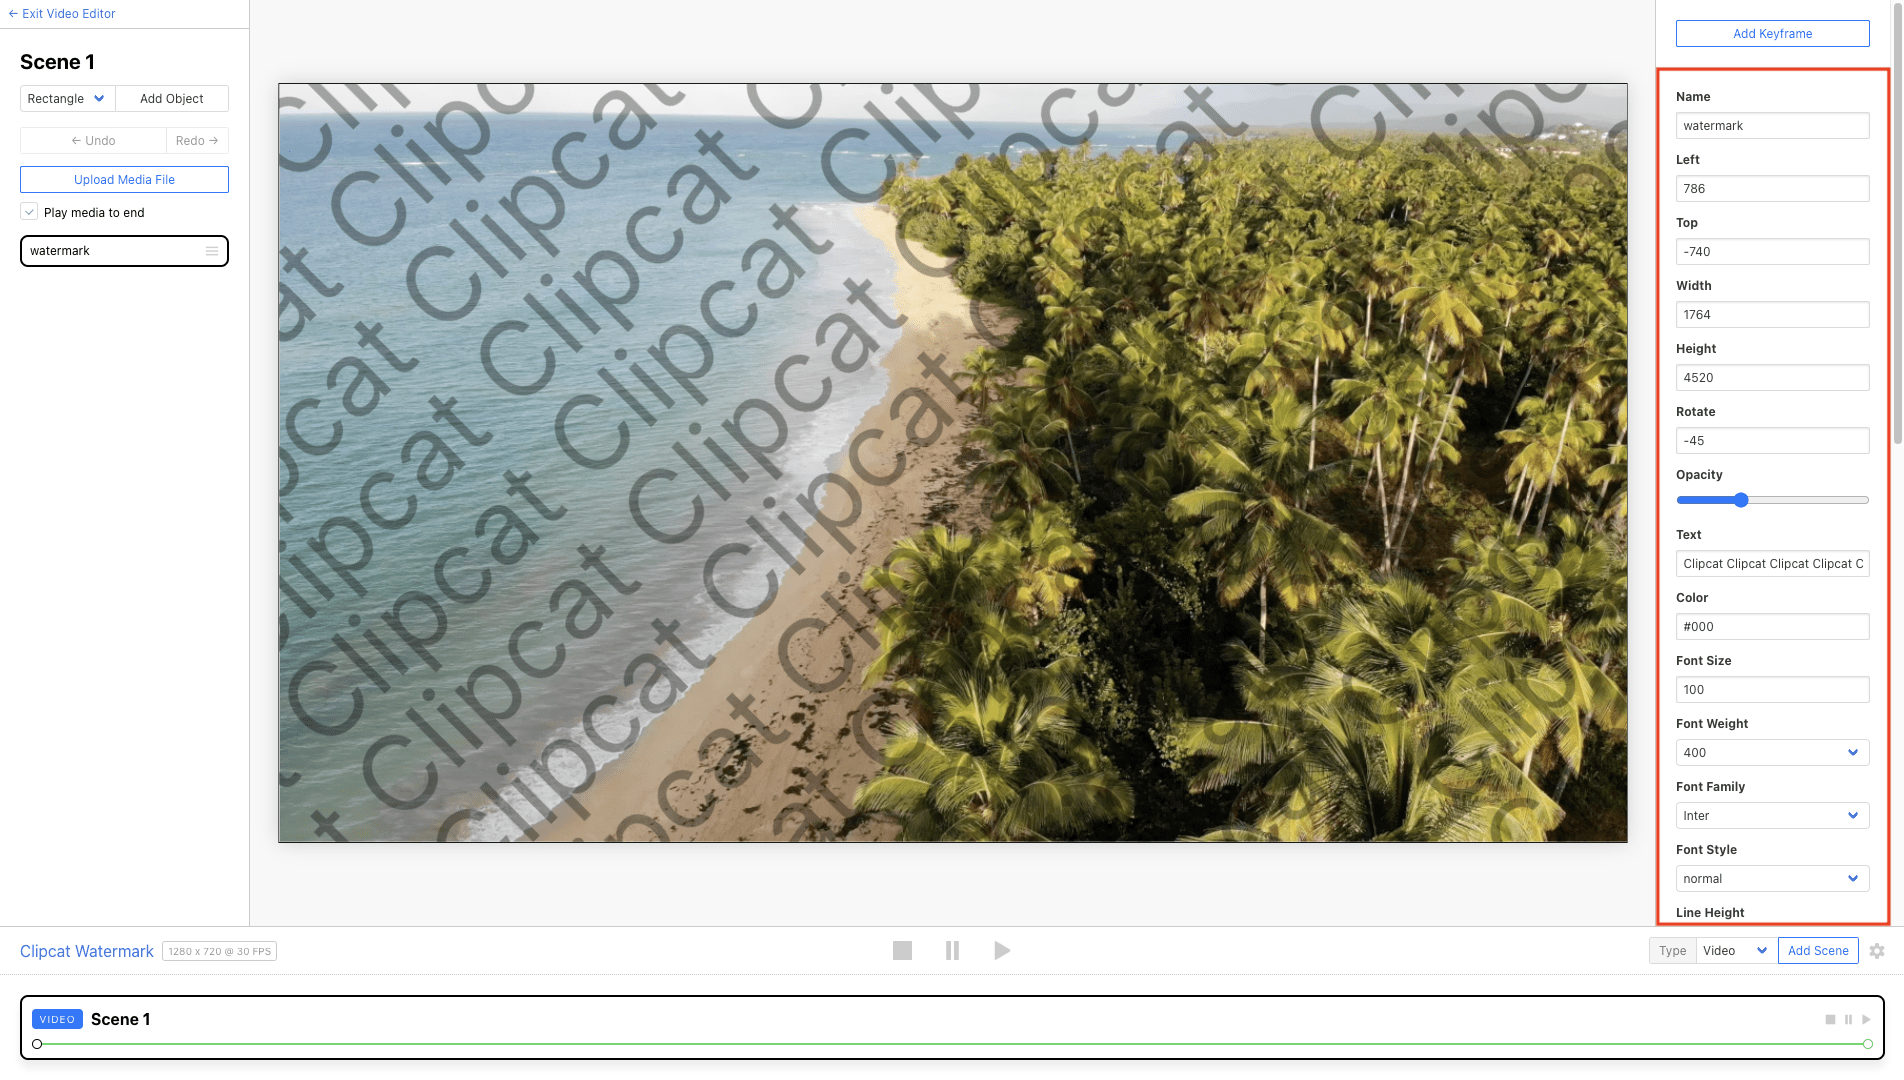
As you add each object, the control panel will appear on the right side so you can customize it with any content, size, opacity, and more.
Meow Memo 🐱: Learn more about customizing your template in this guide!
You can even add keyframes to animate it.
Add as many objects as needed to design your watermark—it can be one simple layer, or multiple different types of objects put together!
Meow Memo 🐱: Need to watermark videos in several different sizes? Save time by duplicating your first template, then changing the size and making any necessary adjustments for each one.
Step 3. Render With New Media
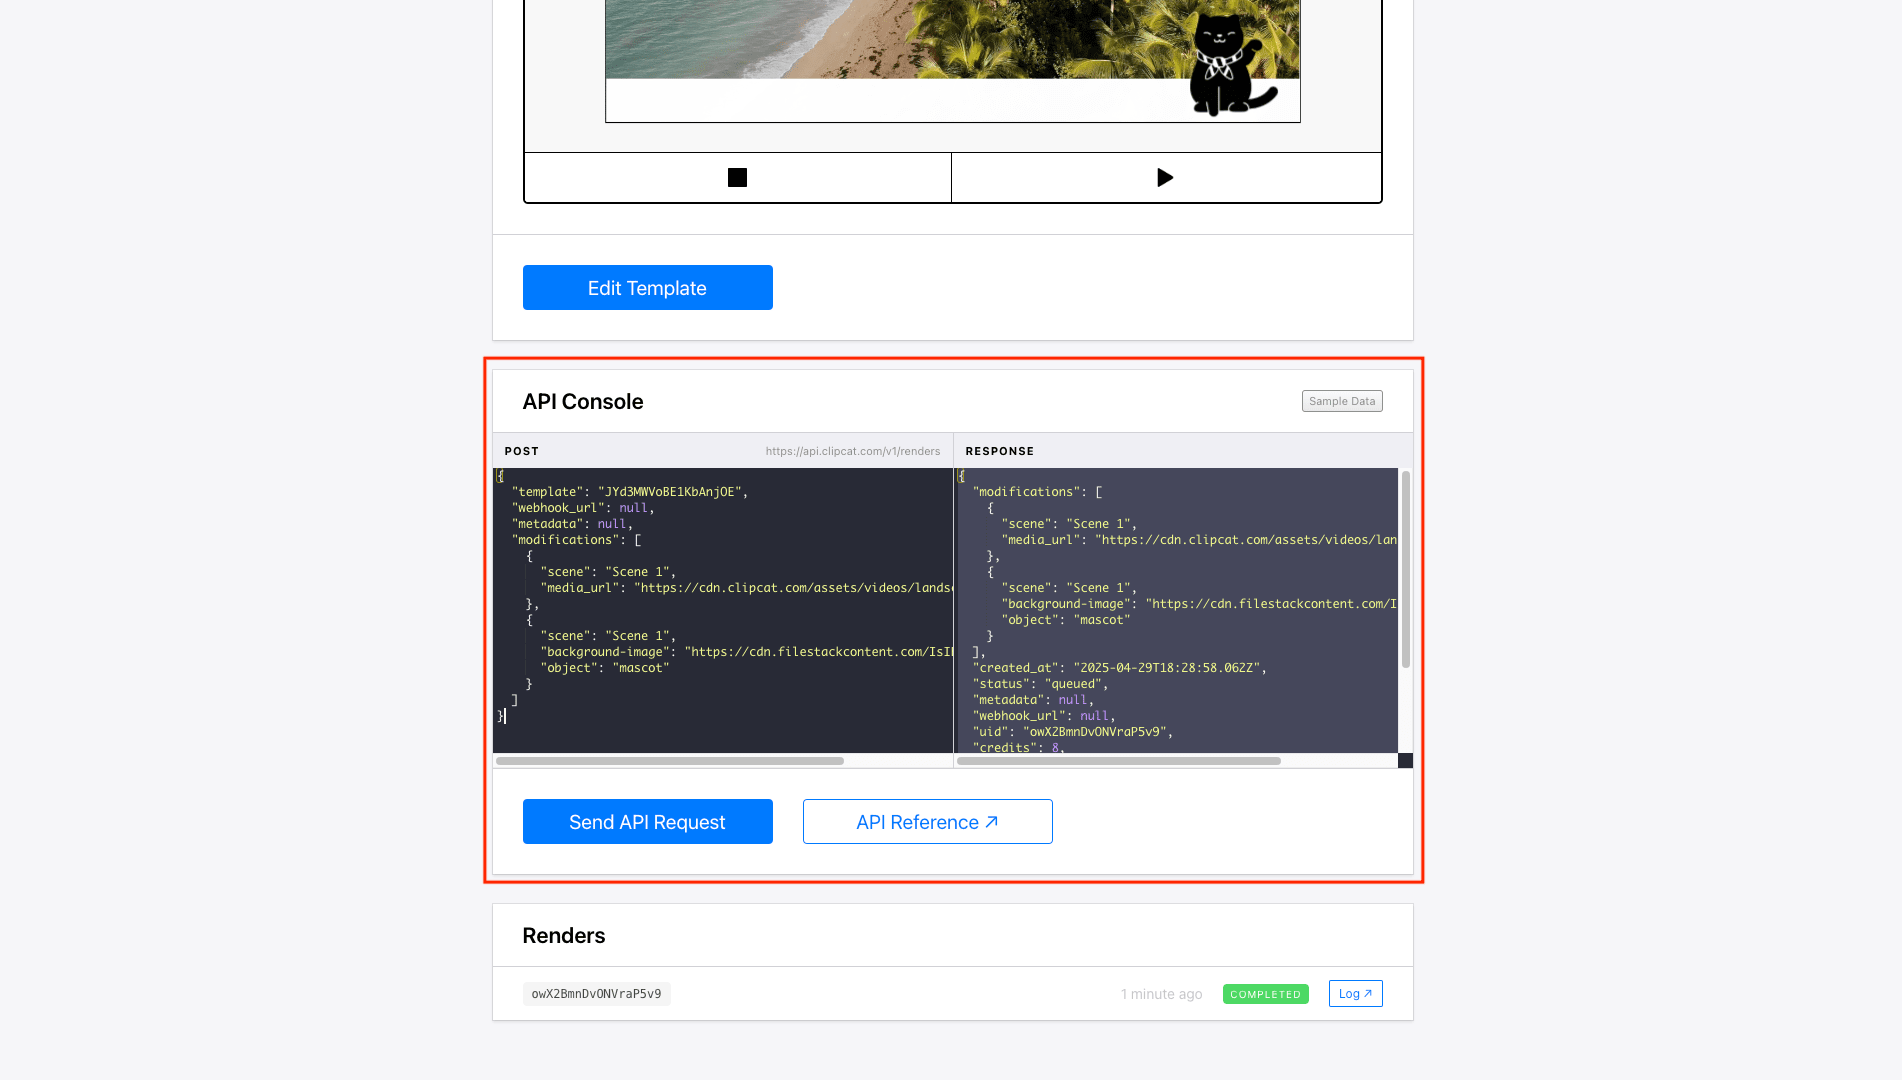
Now your watermark template is ready, and all that’s left is to render videos! This is currently possible using the Clipcat API (in languages such as Node.js, Python, PHP, and more) and the API console.
To learn more about generating videos with the API, read our step-by-step guide to getting started with Clipcat.
If you’re using the API console, modify your request on the left side of the panel. You can replace modifiable fields like media_url and background-image with links to your own media.
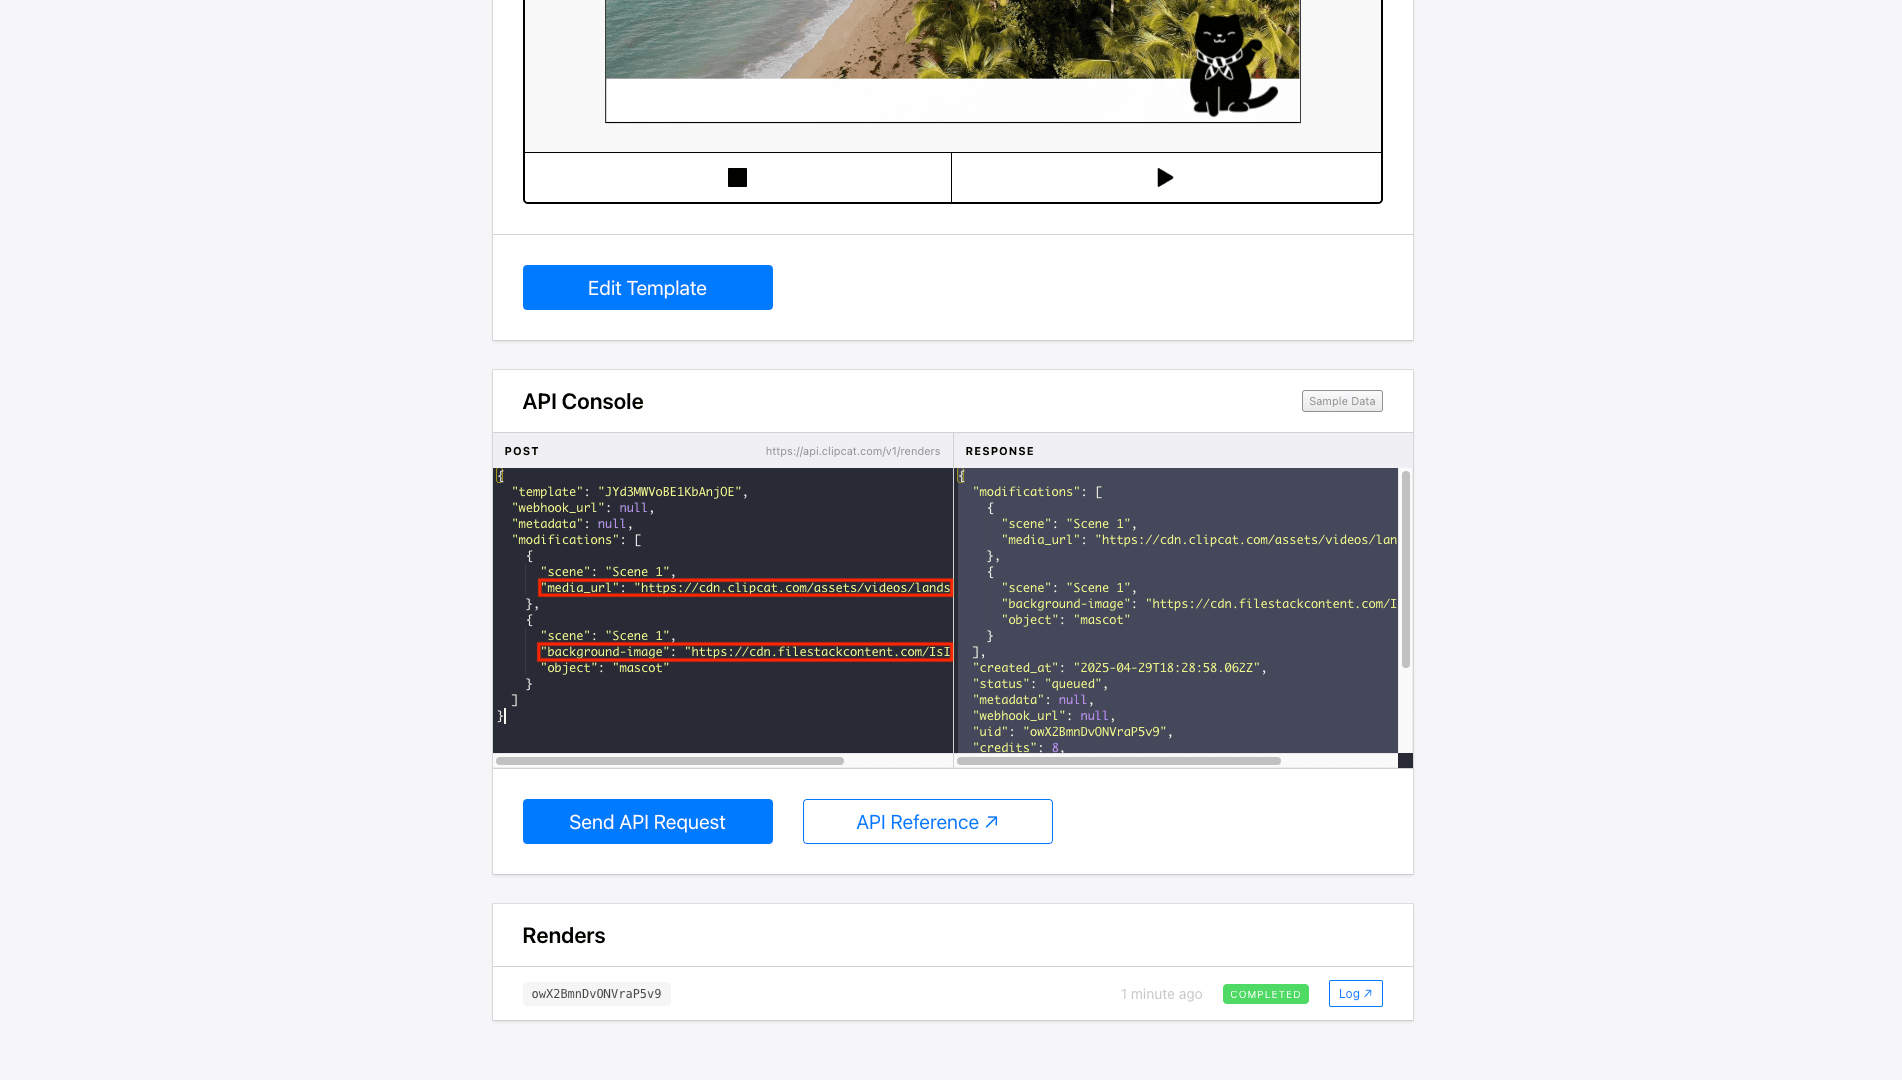
Click Send API Request when you’re done.
You should see an entry show up under Renders , which will show a green Completed status when the rendering is complete.

Click the Log button to view your watermarked video!
What Now?
Using a template to render watermarked videos at scale is just the beginning. You don’t have to stop at short, simple clips. There are lots of other ways to customize the process further, such as:
- Adding multiple scenes to produce more complex watermarked videos
- Animating watermarks to deter theft
- Using graphics or a logo to add an element of branding
- Integrating video generation with other tools in your process, such as a database for storage or a form for data input
The versatility of a video generation API means you can introduce it into your workflow in a variety of ways, building a solution that precisely meets your needs.
Conclusion
By leveraging template-based video generation, you can streamline your workflow, customize your watermarks, and scale your video production with confidence. Whether you're a solo creator or part of a larger team, the right approach can turn watermarking from a chore into a creative opportunity.
Watermarking videos doesn't have to be complex or time-consuming. With tools like Clipcat, creators and brands can easily protect their intellectual property and brand their content dynamically. Sign up for a free trial to begin watermarking your content today! 🐱