How to Design a Video with a Looping Effect in Clipcat
Contents
Video loops captivate viewers using seamless, repetitive transitions that create compelling visual narratives. While GIFs and simple looping playback settings offer basic solutions, there are times when professionals seek higher-quality loops with more versatility. A sophisticated looping effect relies on maintaining consistent objects, placements, and animations—allowing for subtle variations that keep the visual experience engaging.
The magic of a great loop lies in its repetitive yet predictable movement. Visual elements can either remain identical or introduce nuanced changes, like color shifts or new text. This approach opens up diverse creative possibilities across multiple contexts.
Potential use cases for looping effect videos include:
- Short-form content for social media
- Product demonstration tours
- Ambient art displays
- Instructional visual aids
In this tutorial, readers will learn how to use Clipcat to design a video template with a looping effect, which they can then populate with different data payloads to create many unique videos that appear seamlessly connected—transforming a single template into a versatile visual storytelling tool.
What You Will Create
While video loops come in various styles—seamless, bouncing, and even time-stretched—the critical element is always the connection point between scenes. Mastering this transition determines whether your loop feels smooth and professional or disjointed and amateurish.
In this tutorial, we'll explore the simplest and most accessible loop type by utilizing blank space between scenes and maintaining identical animations. The only tool you’ll need is Clipcat.
By the end of this guide, you'll have a video template with seamless looping effects that you can use to generate videos as identical or subtly transitional as you need them to be.
Let's get started!
How to Design a Multi-scene Looping Effect
Designing a video with a looping effect in Clipcat means creating multiple scenes, each with matching objects and animations. It can be as simple or complex as you want. No matter your goal, the basic steps will remain the same.
Here’s what you’ll have to do:
Step 1. Create a New Template
Log into your Clipcat account (or start a free trial to test out our features—no credit card required! 🥳). Navigate to the Templates tab, and create a new template.

You should now be on a template page where you can edit your design, access the API console, and view renders.
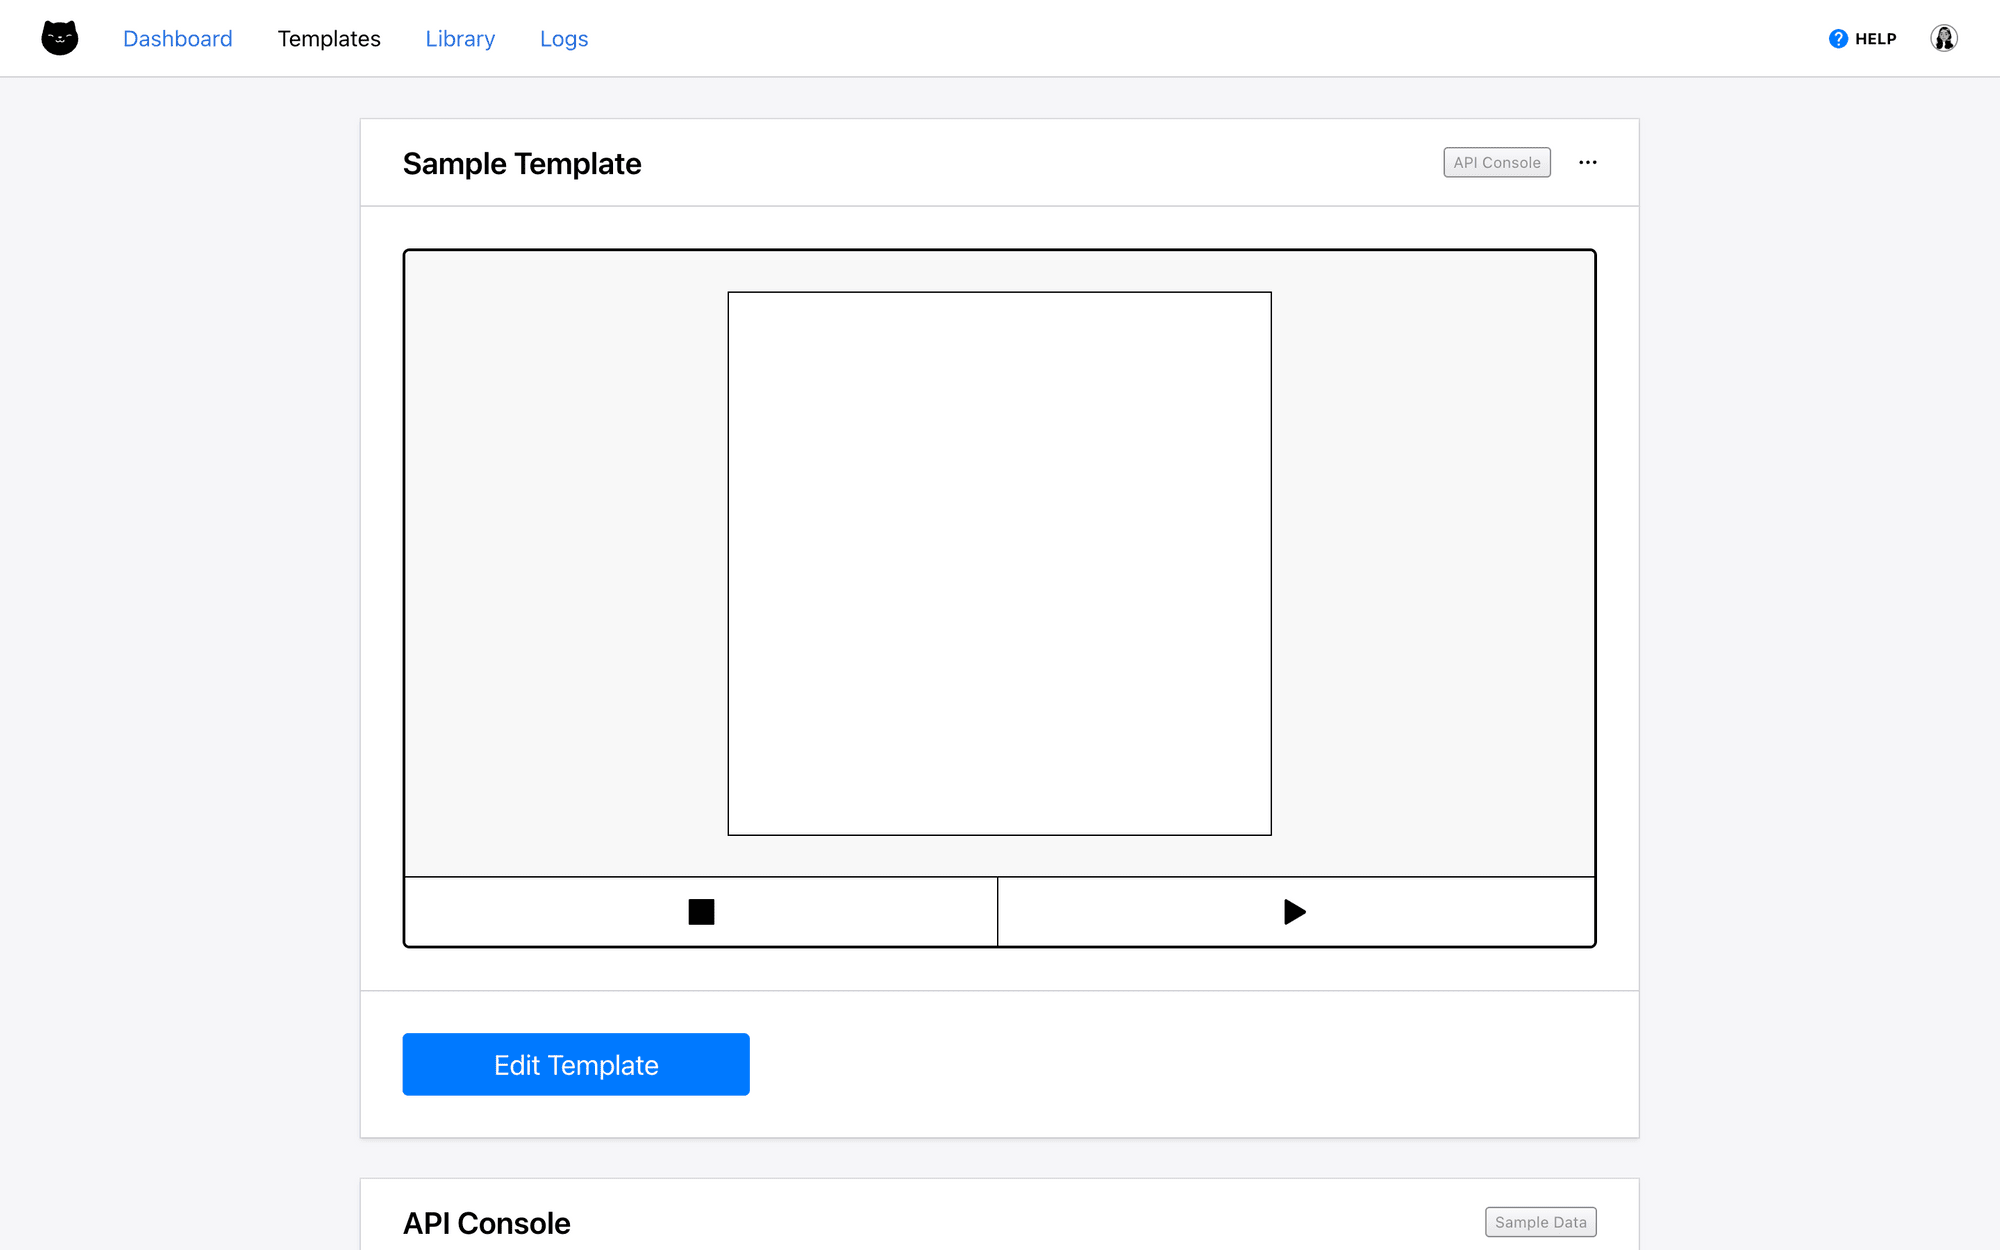
Open the template editor. Here, you’ll be able to set up your workspace, create scenes and objects, add animations, and more.
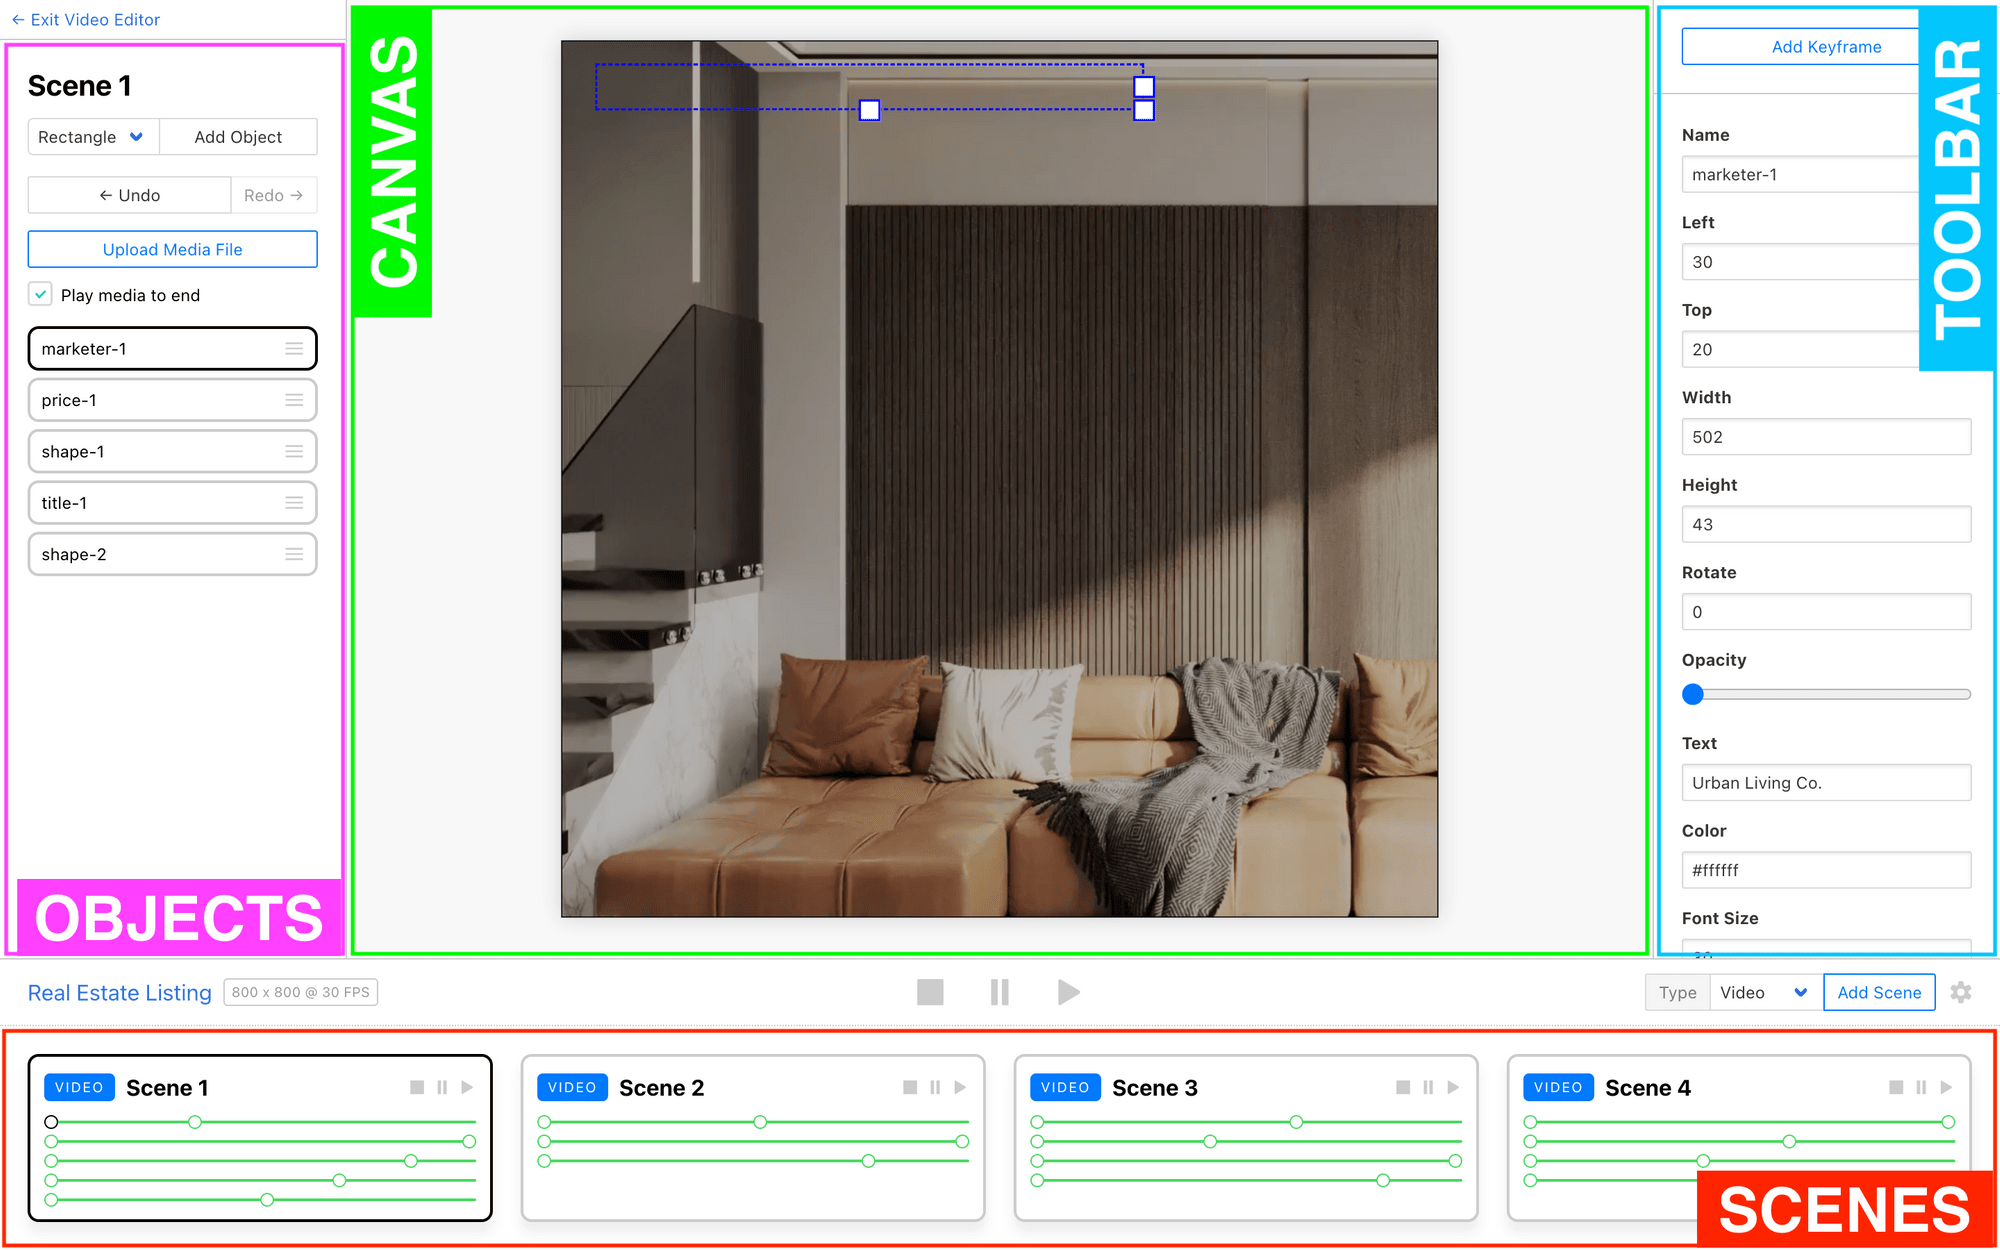
Meow Memo 🐱: Clicking the current resolution on the playback panel will display video size and frame rate settings, while clicking the gear icon on the playback panel will let you manage scenes.
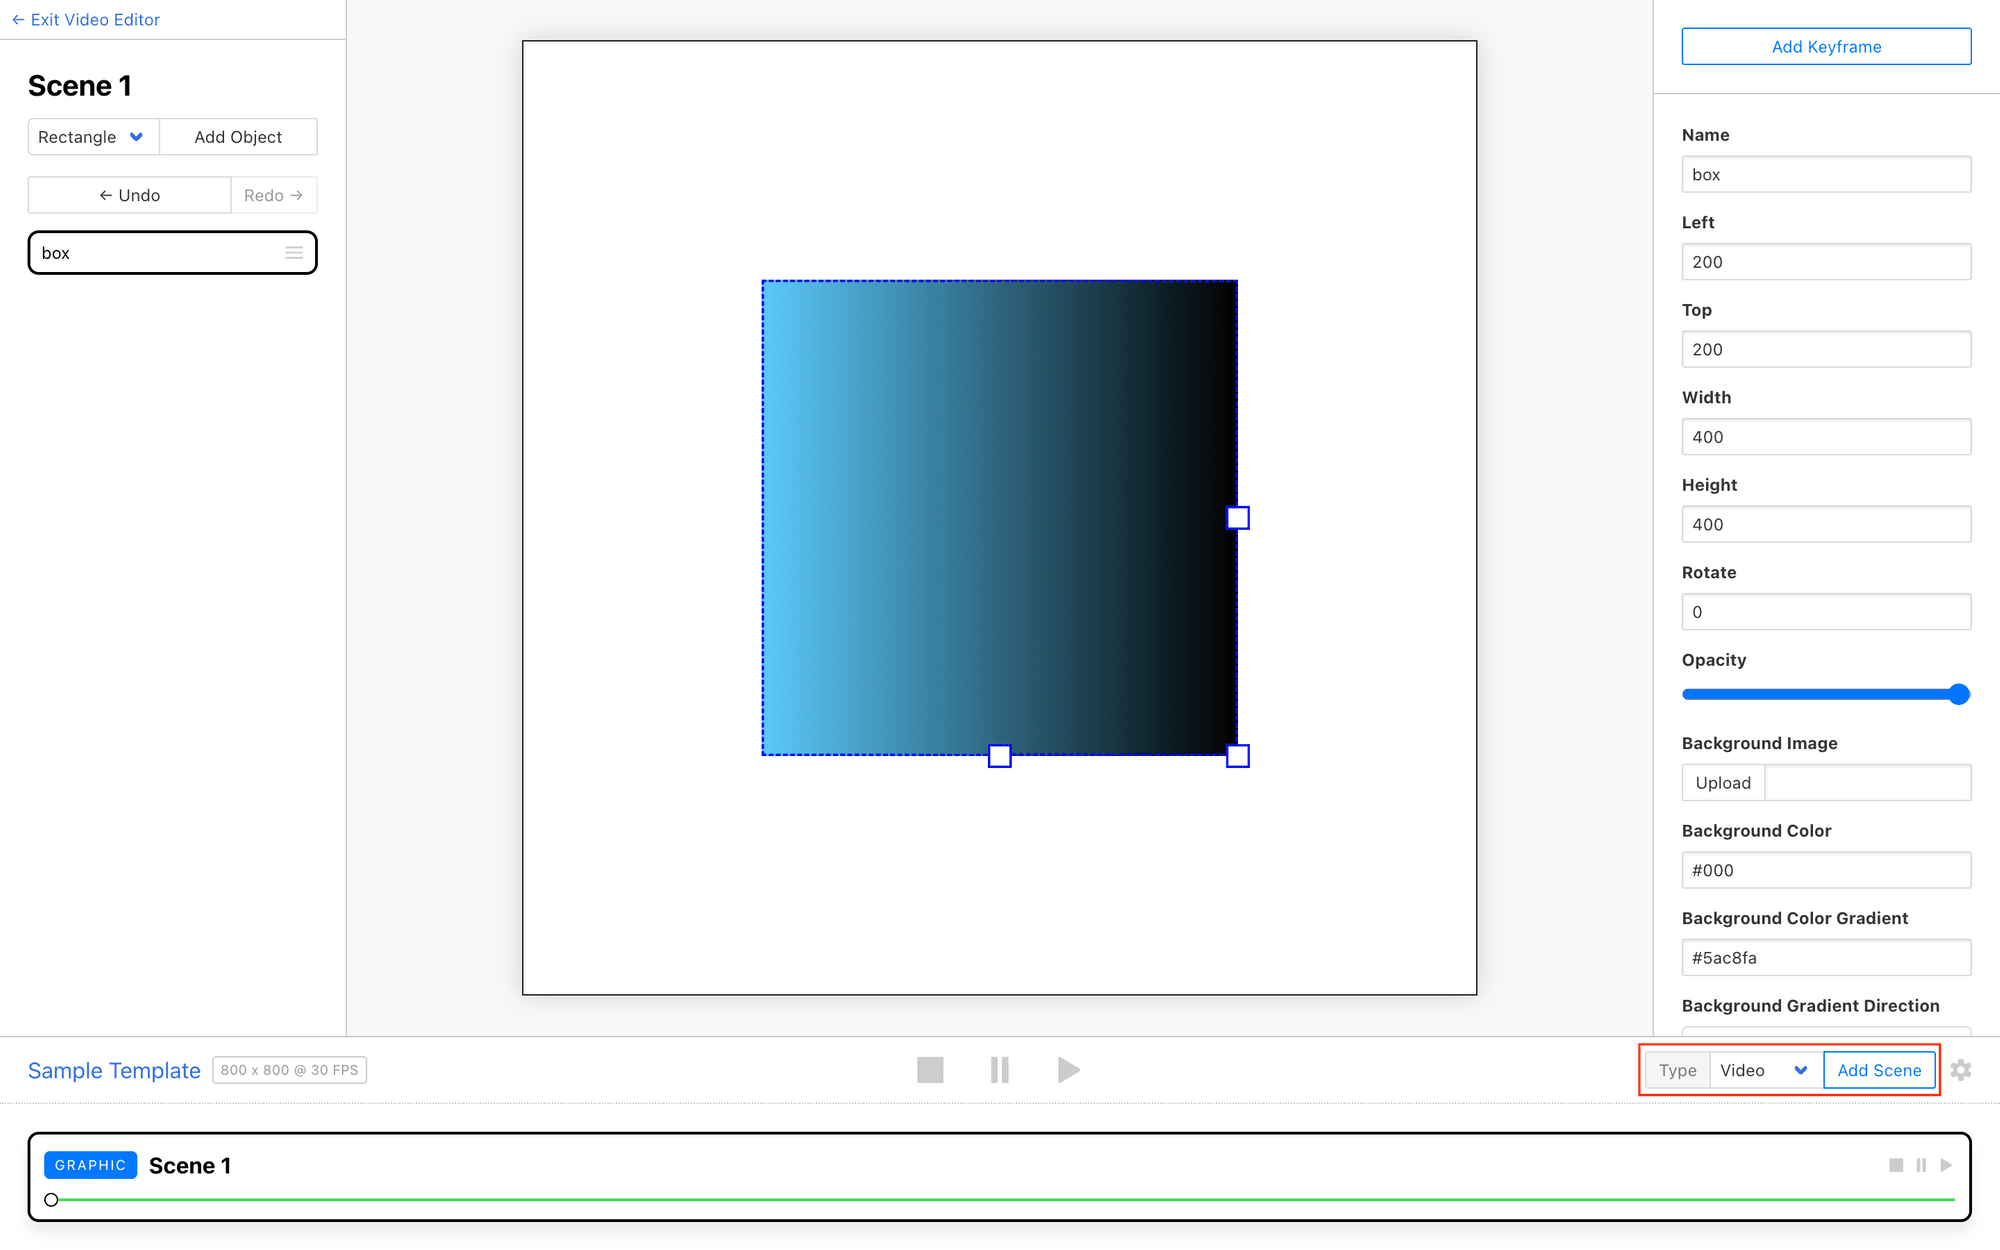
Step 2. Customize Your First Scene
Maintaining the same objects and placement will be key to creating a smooth, polished video. Let’s start with customizing the first scene, which will make it easier to replicate across others.
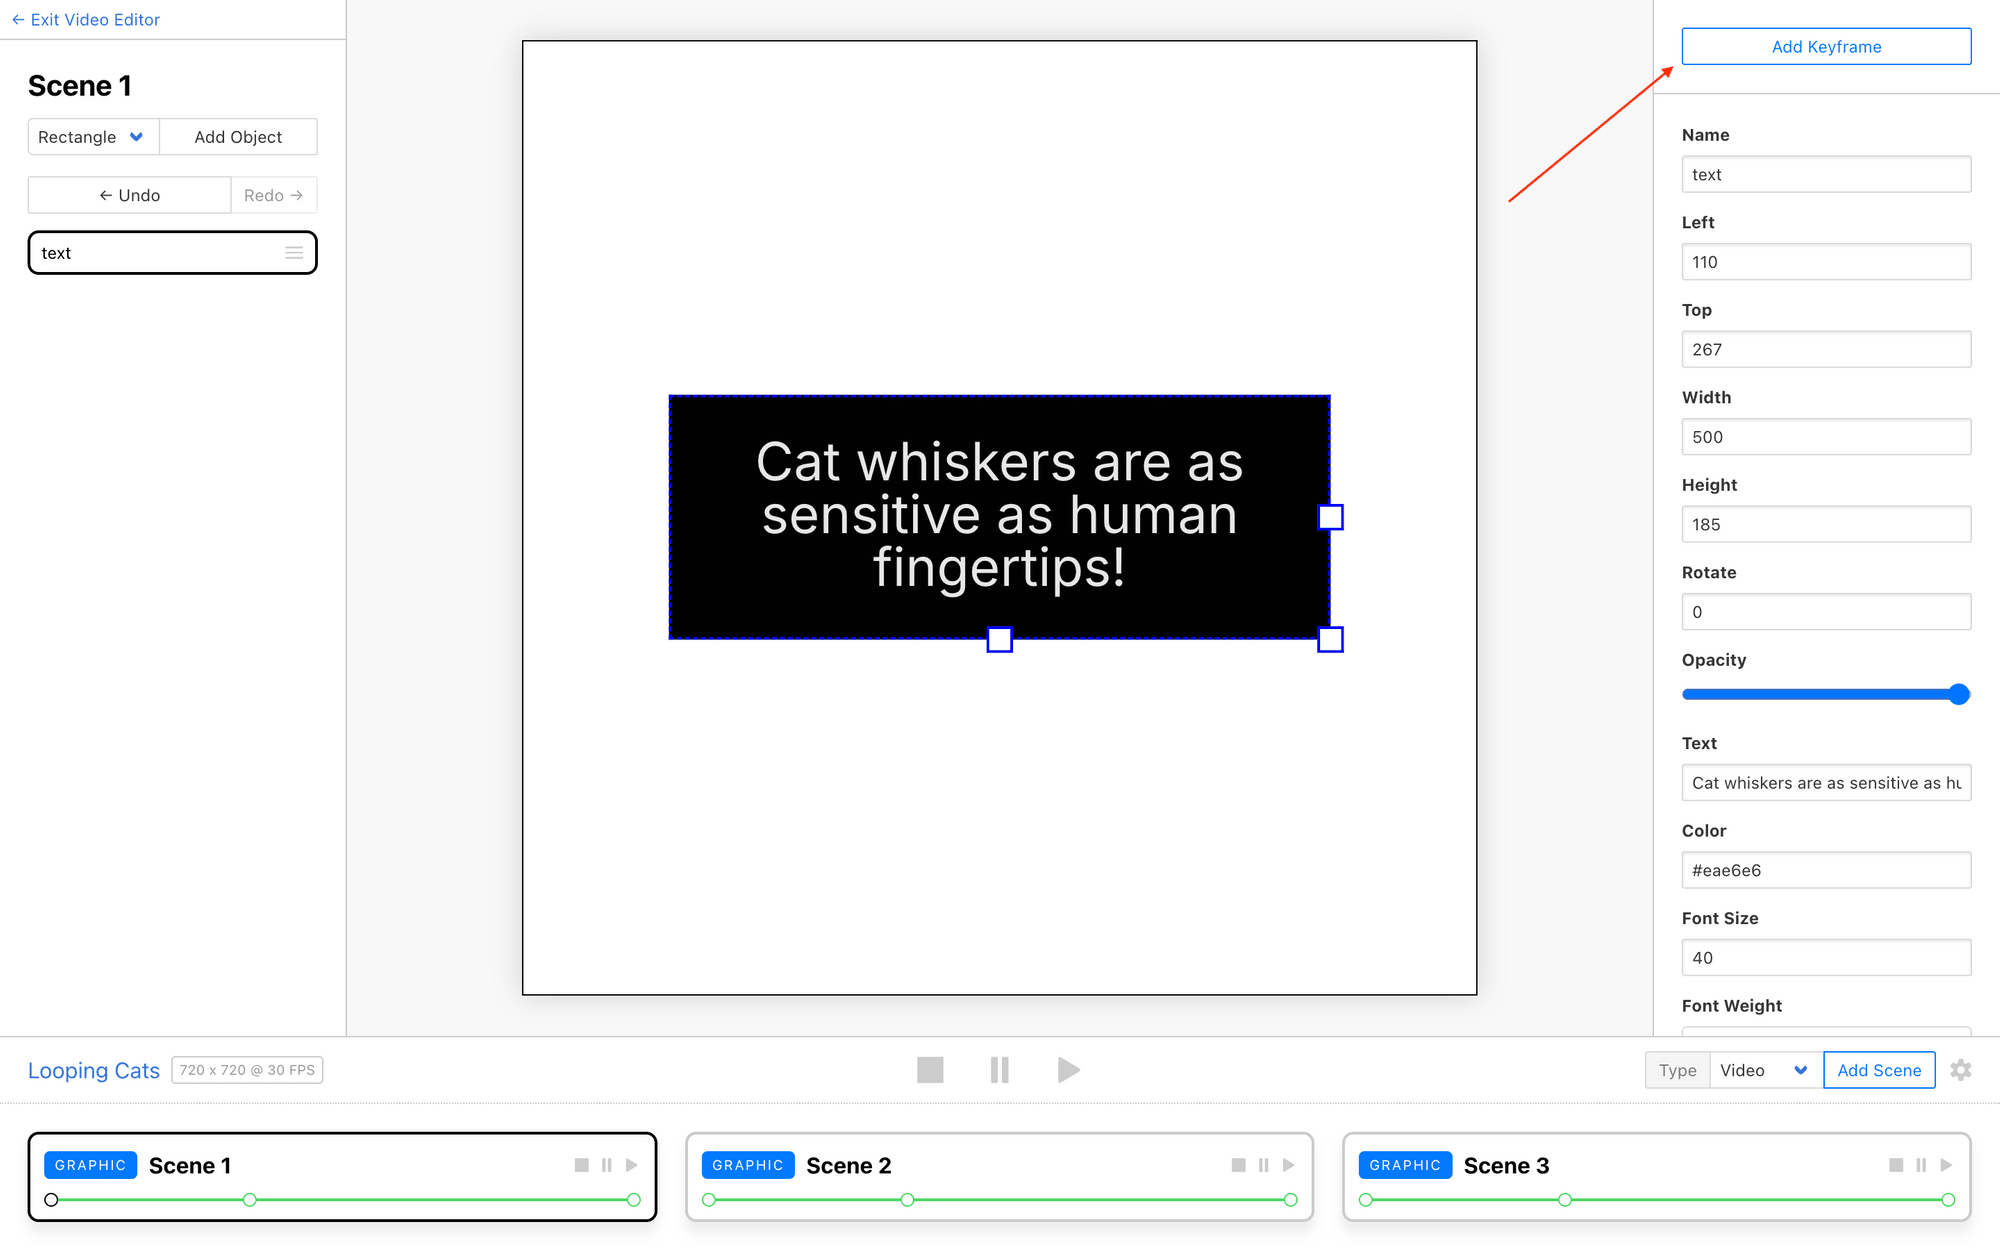
Add objects to your template, customizing and sizing them according to your needs.

It can be helpful to use round numbers to size your objects, whether they’re text boxes or shapes. This will make it easier to use the same values in other scenes.
Take note of each object’s size values (Width, Height) and placement values (Left, Top, Rotate) as well as any other items that make a big impact to how the object appears, such as color, opacity, text, padding, and borders.
Meow Memo 🐱: Learn how to customize a Clipcat template in this quick start guide!
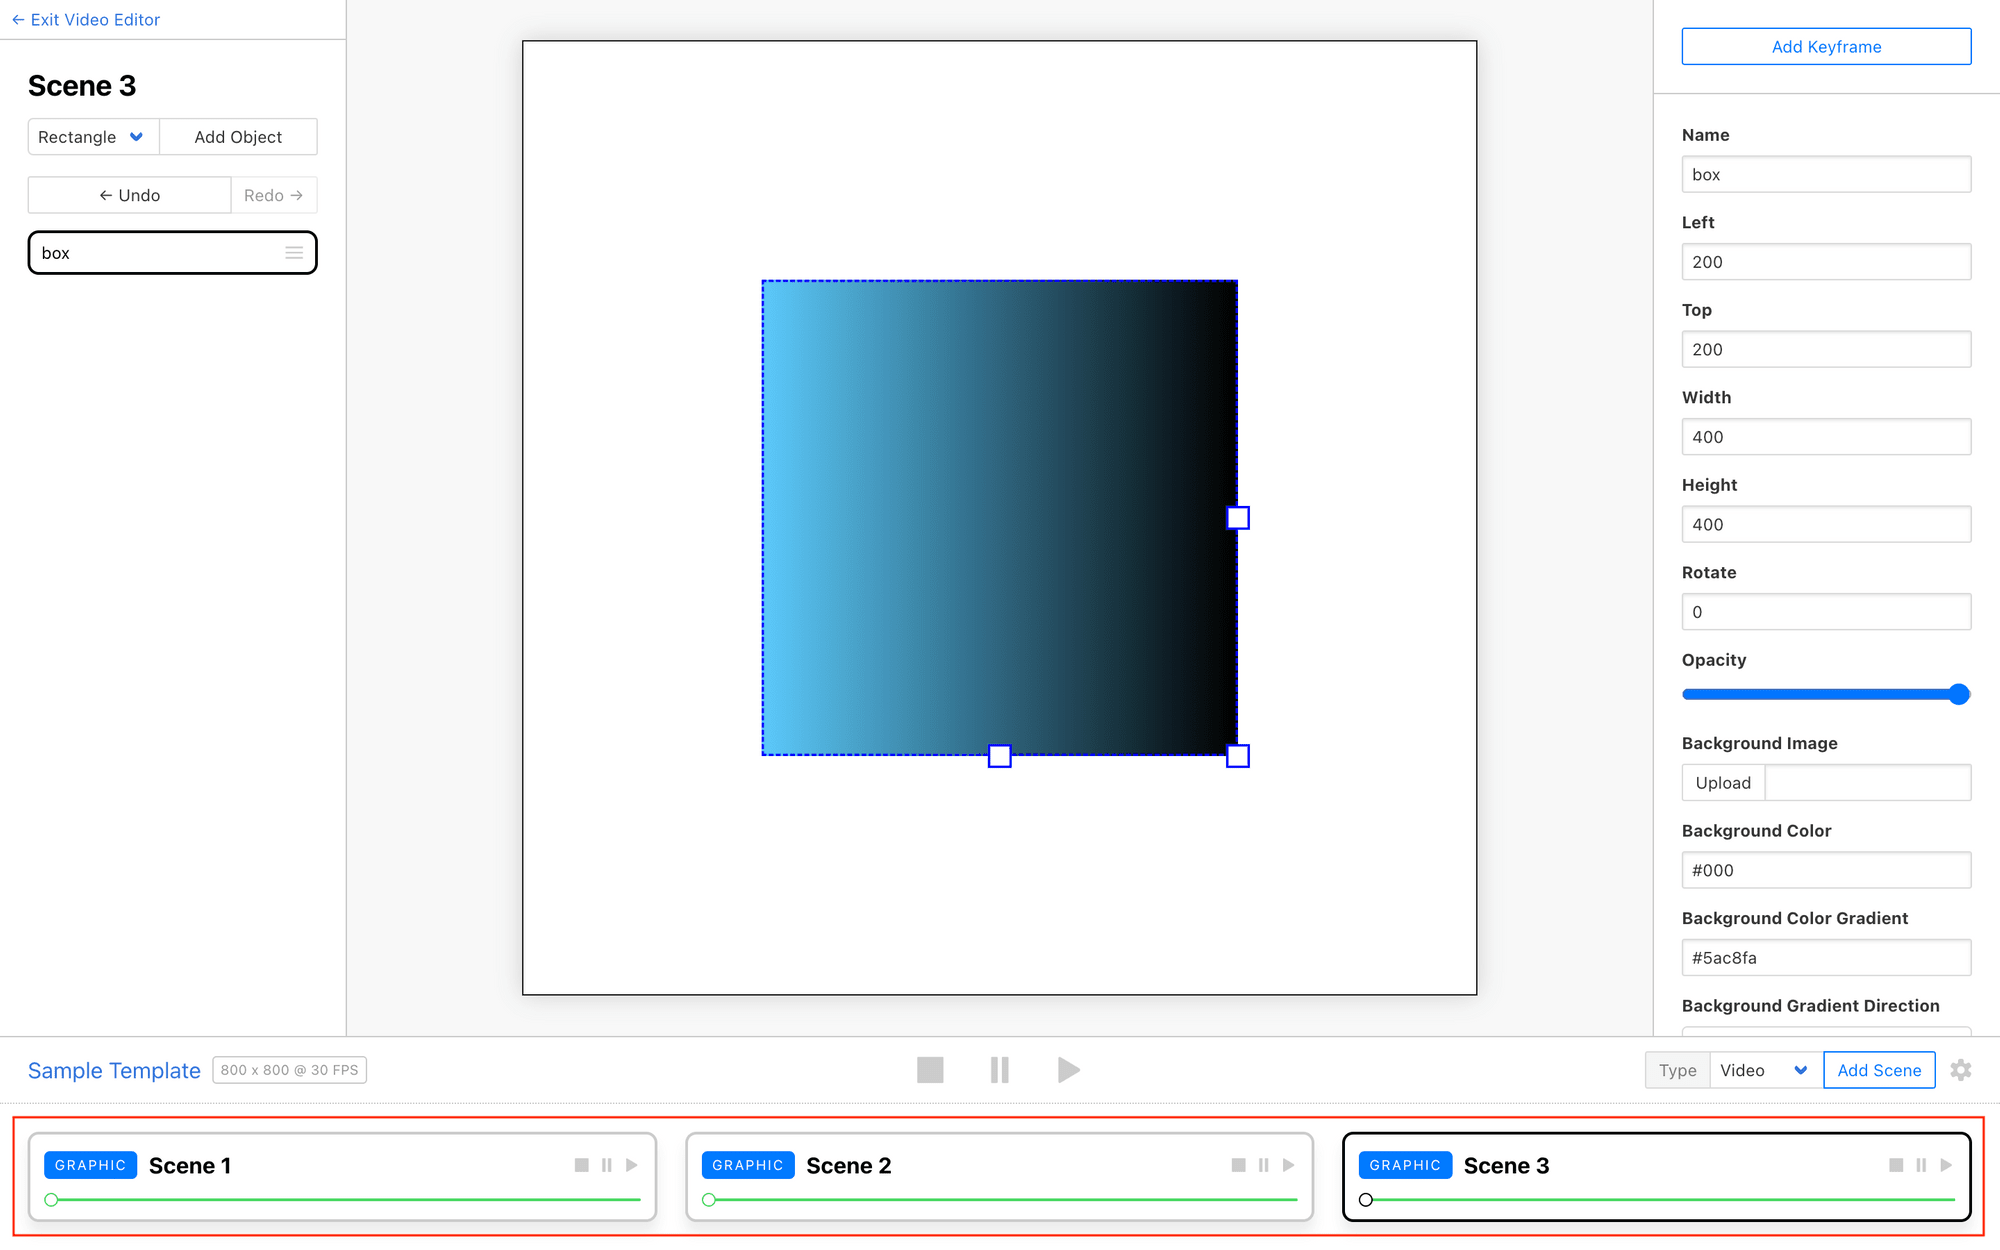
Step 3. Add More Scenes
Now that your main objects are in place, you can add more scenes. Choose between Video and Graphic on the right side of the playback panel, then click Add Scene.
Now, add objects again, ensuring that they have the same characteristics as in the previous scene.
Meow Memo 🐱: Text objects are automatically set to fit the size of their container. To maintain the same size container, toggle Text Fit to
false.
Repeat this step for as many scenes as necessary.
You can create variations if too much consistency isn’t desired, such as by adjusting text input or color.

It’s all up to what constitutes a smooth “looping” effect to you.
Step 4. Add Animations
The next step in creating loop effect videos is adding identical animations during and between scenes. The type of animation you use doesn’t matter as much as consistency. As a result, it can be easier to add animations to all the scenes at once after objects are set up.
To add animations, select an object, then click Add Keyframe.
You can change the type of movement under Easing , and play with Delay and Duration to create different speeds of movement.
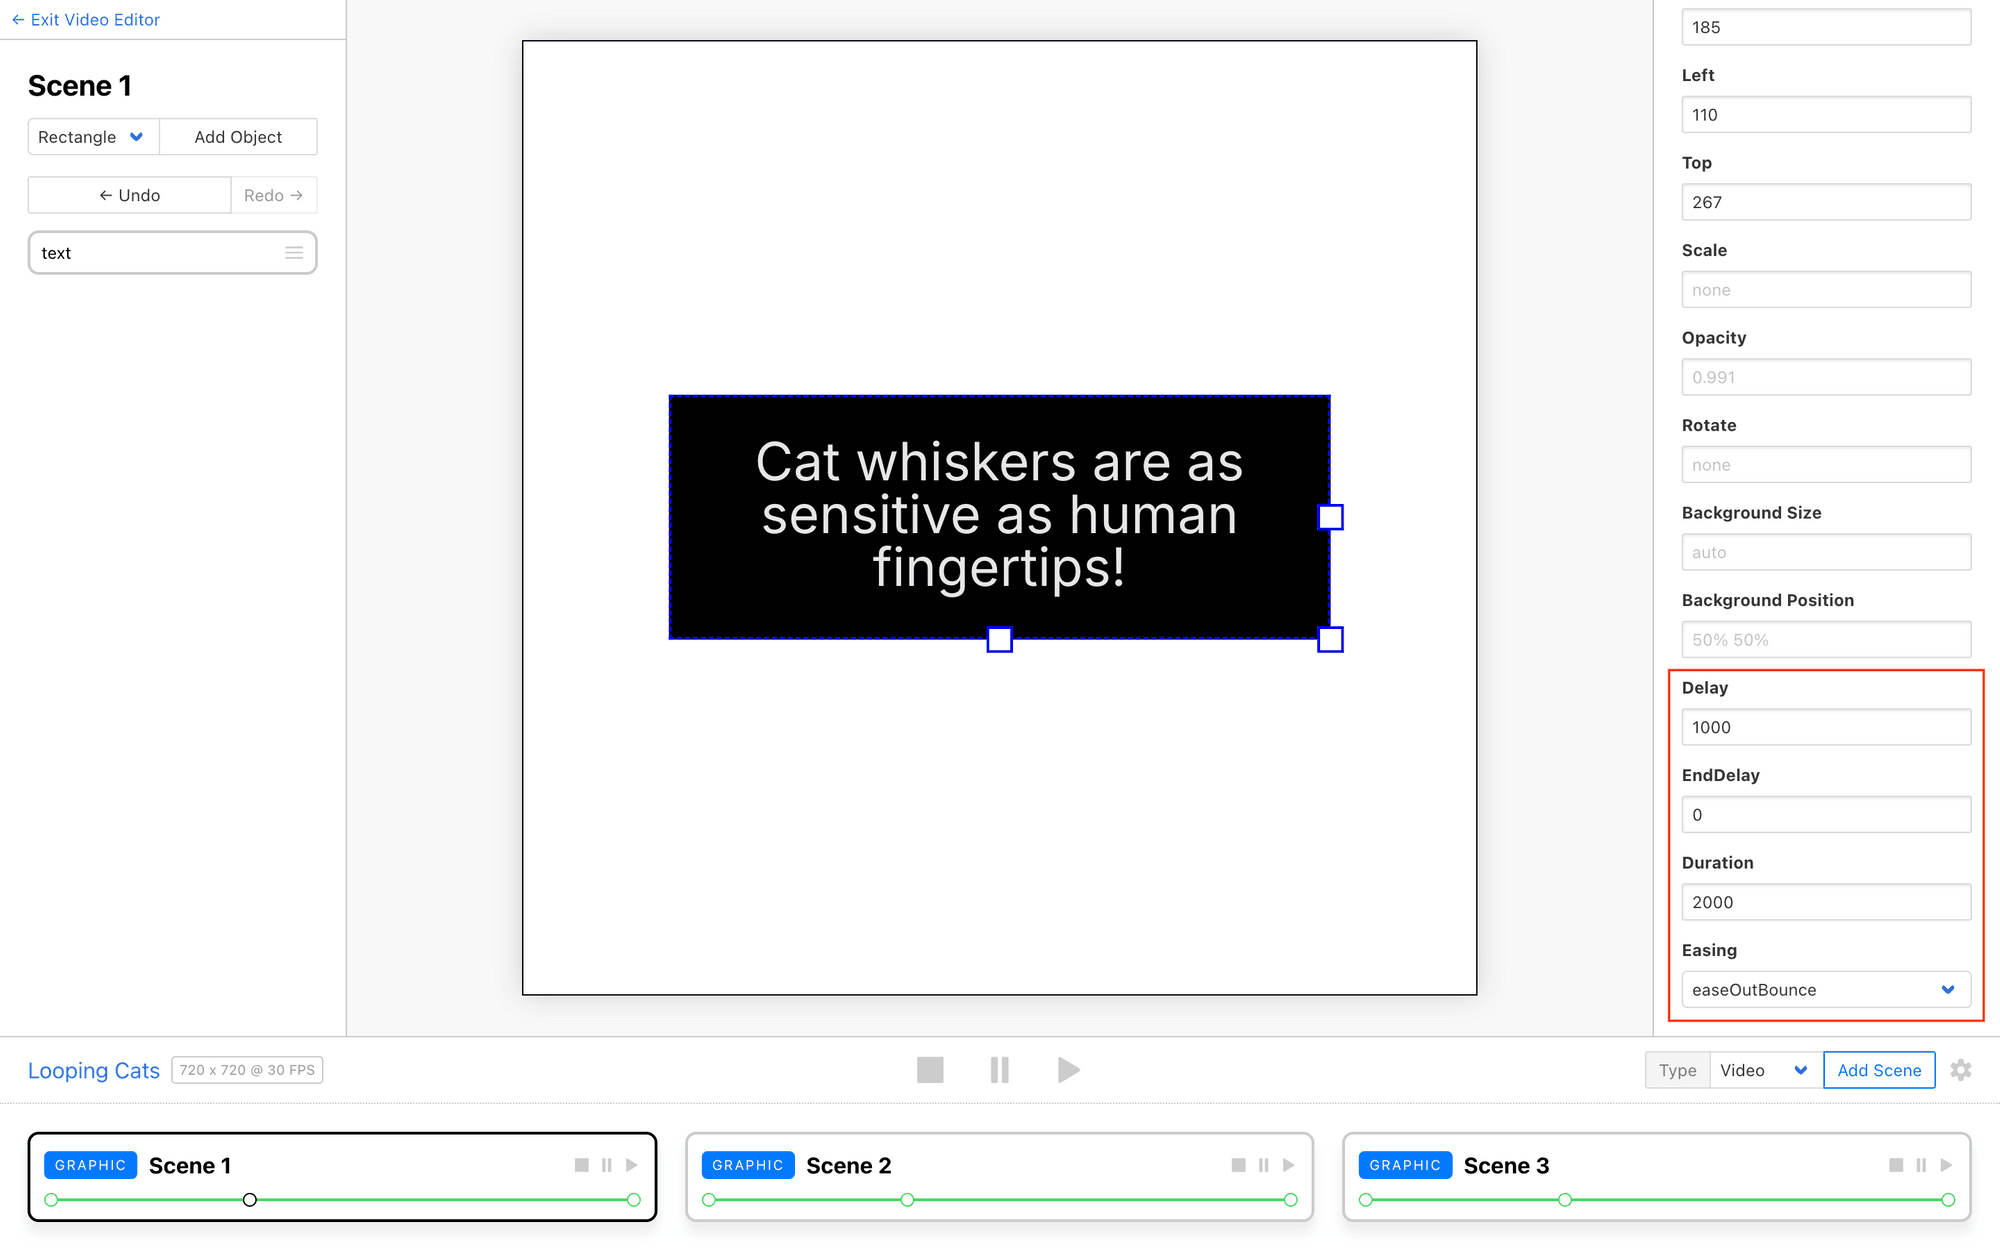
Once you’ve animated one scene, apply the exact same effects to the others.
Meow Memo 🐱: Read our animations guide to learn how to add smoother effects to your objects.
Step 5. Render
Your template is ready, and it’s time to see the results of your work. Return to your template page, and scroll down to the API console. Click Send API Request.
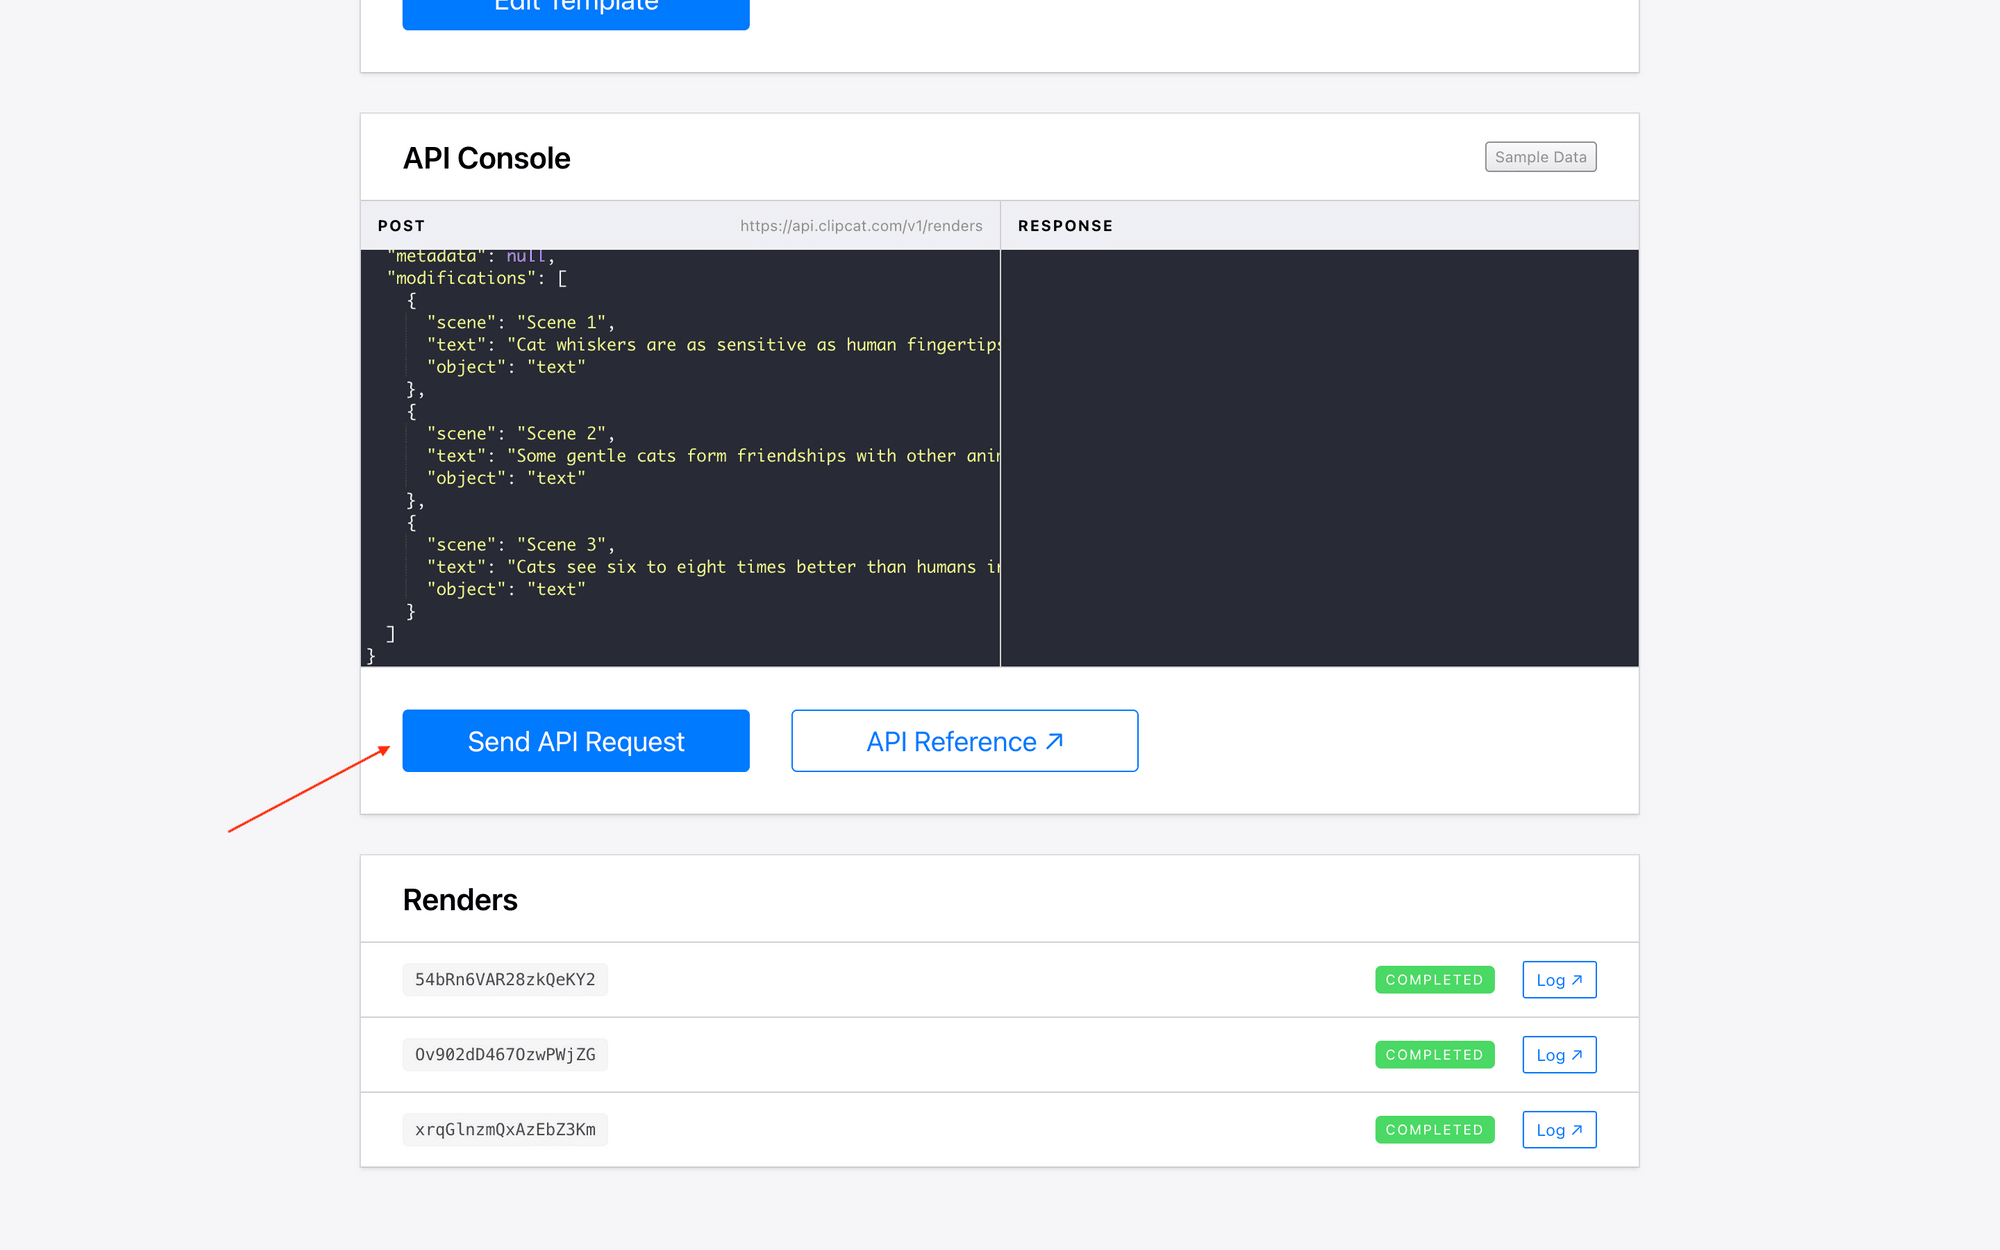
You should see your generated video appear under Renders.
Visiting the log will allow you to access your video and check whether it matches your vision.
The next steps can be whatever you’d like! Try out your template with different data, or integrate it with other tools to automate more workflows.
Conclusion
A seamless looping video template in Clipcat enables a single design to turn into multiple dynamic variations. Whether you're crafting social media content, product demos, or creative visual narratives, this technique offers a powerful way to generate engaging videos quickly (and even automatically!).
Ready to try it yourself? Dive into Clipcat and start experimenting with your own looping video designs!