How to Automate Short-Form Video Creation with Clipcat API (Node.js Tutorial)
Contents
Short-form videos have become the dominant force in digital content. By 2025, they’re expected to make up almost 90% of all internet traffic. Even an online video-sharing platform known for its long-form videos like YouTube introduced YouTube Shorts to keep up with this growing demand.
This massive shift in how people consume content also changes how content is produced. Platforms like TikTok, Instagram Reels, and YouTube Shorts reward accounts that post frequently and consistently. Their content is pushed to more viewers, leading to higher exposure.
But creating video content isn’t easy, let alone producing a large volume of videos to satisfy the algorithm. One way to tackle this challenge is by automating video creation using templates. With a video generation API like Clipcat, you can produce videos programmatically through templates and API calls. Design your template once, then generate unlimited variations by updating text, images, and other elements through code.
In this tutorial, you’ll learn how to automate short-form video creation using the Clipcat API. Whether you’re building a feature for your app that helps users produce content or streamlining your own content workflow, we’ll guide you through everything you need to know to generate videos dynamically using the API, with examples in Node.js.
What is Clipcat
Clipcat is a cloud video rendering API that lets you create videos programmatically from templates. All you need to do is design the video template, and then use the API to update elements in the template to generate different videos.
Here’s what a template looks like in Clipcat’s template editor:
Using the API, you can dynamically update elements in the template, like:
- Text (e.g., titles, captions, quotes)
- Images (e.g, profile pictures, logos, product photos)
- Videos (e.g., user-uploaded clips or animated backgrounds)
This makes Clipcat perfect for use cases like automated social media content, personalized video messages, dynamic product videos, and any scenario where you need to generate many videos with consistent branding but different content.
Pre-requisites
Before we start, make sure you have:
- Node.js installed on your machine
- A Clipcat account (sign up for a free trial with 100 credits here, no credit card needed!)
🐱 Meow Memo : This tutorial uses Node.js, but the API works with any programming language.
Setting Up Your Clipcat Template
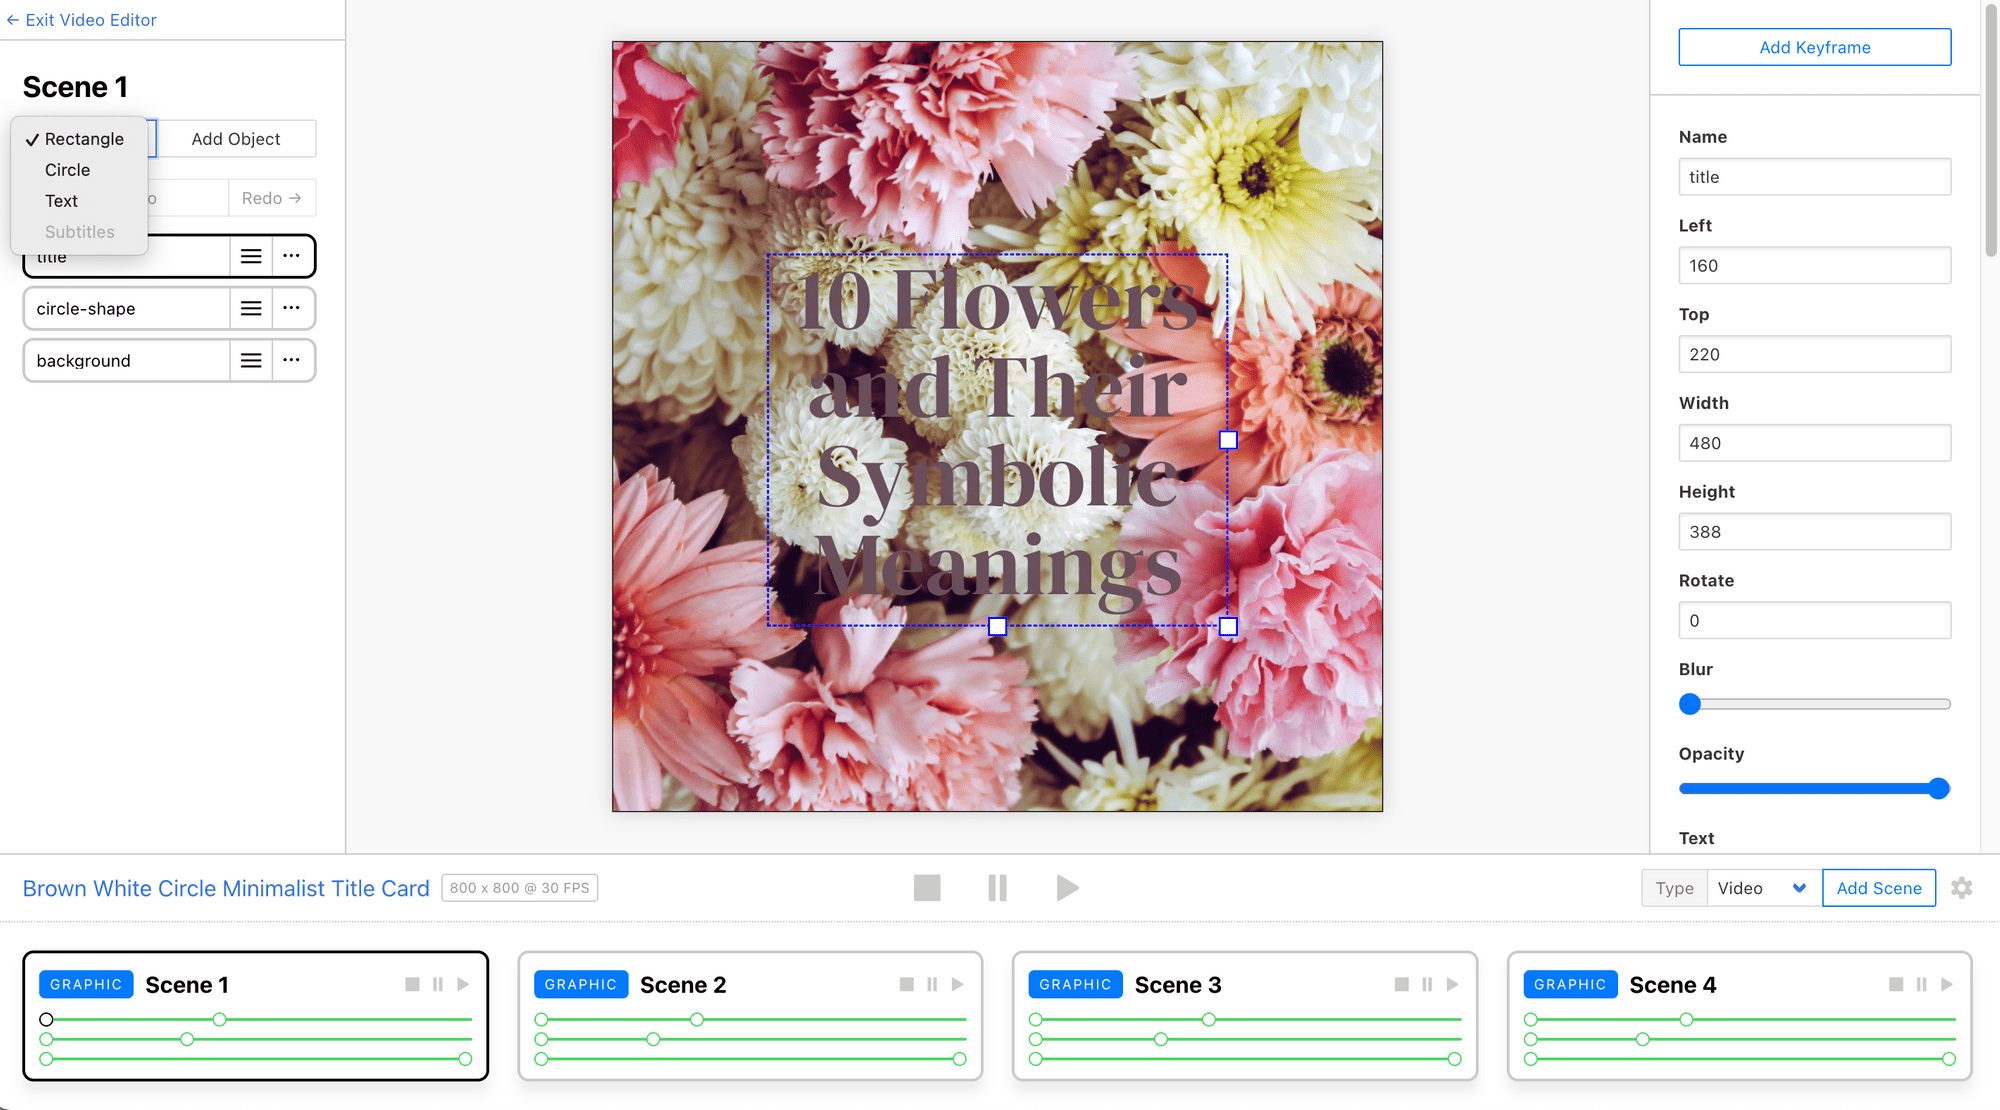
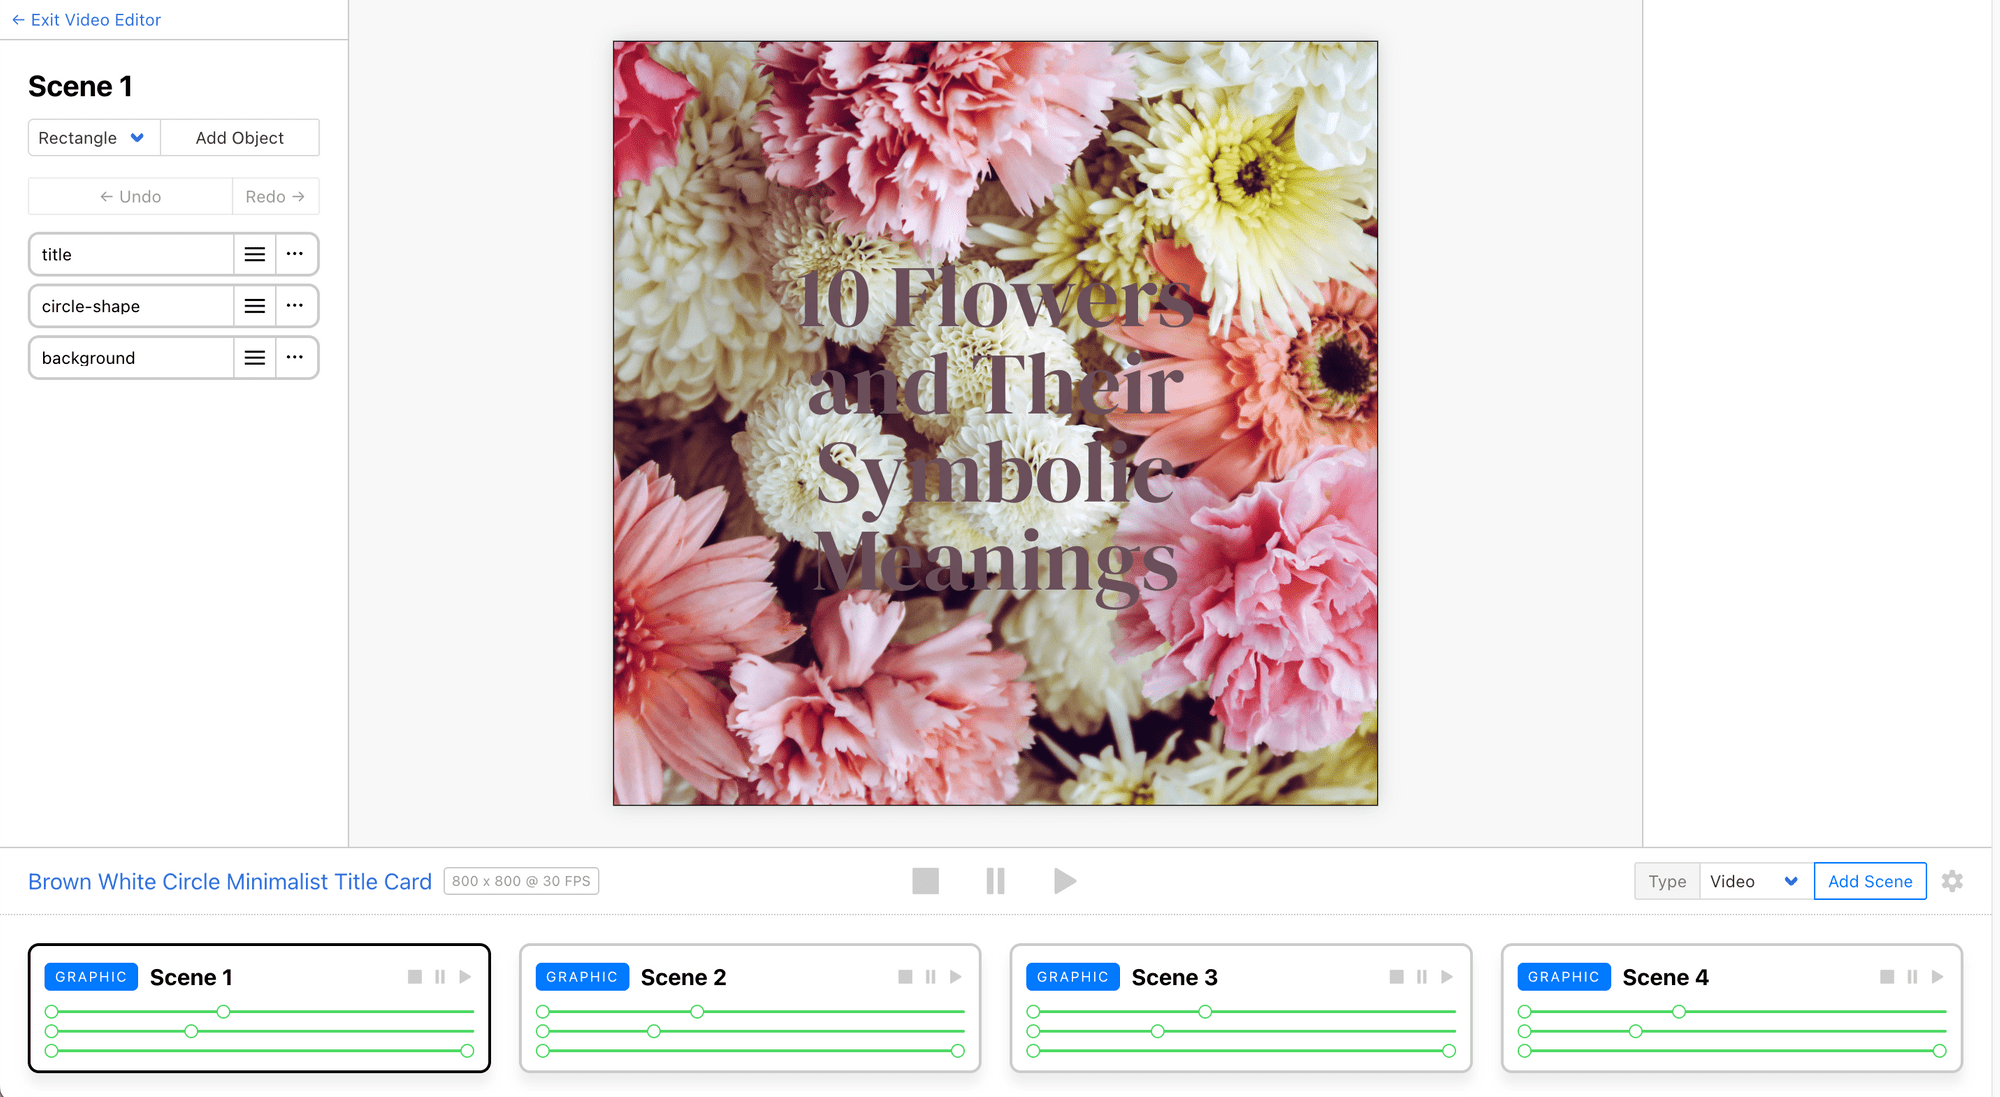
For this tutorial, we'll use a ready-made template to keep things simple. Log in to your Clipcat account and add this template to your account by clicking this link:

This template includes multiple scenes, with text objects like title and subtitle, as well as shape objects like circle-shape and background that we can modify using the API:
We’ll use update the text and images in the template later using code.
🐱 Meow Memo: Want to learn more about designing custom templates? Check out How to Customize a Video Template in Clipcat.
How to Generate Videos with Clipcat API
Now, let's walk through the process of generating a video programmatically using Clipcat's API.
Step 1. Get Your API Credentials
You'll need your Clipcat API key and template ID to access the template using the API. To get your API key, click on the profile icon on the top right corner of your Clipcat dashboard, then navigate to “API Keys” :

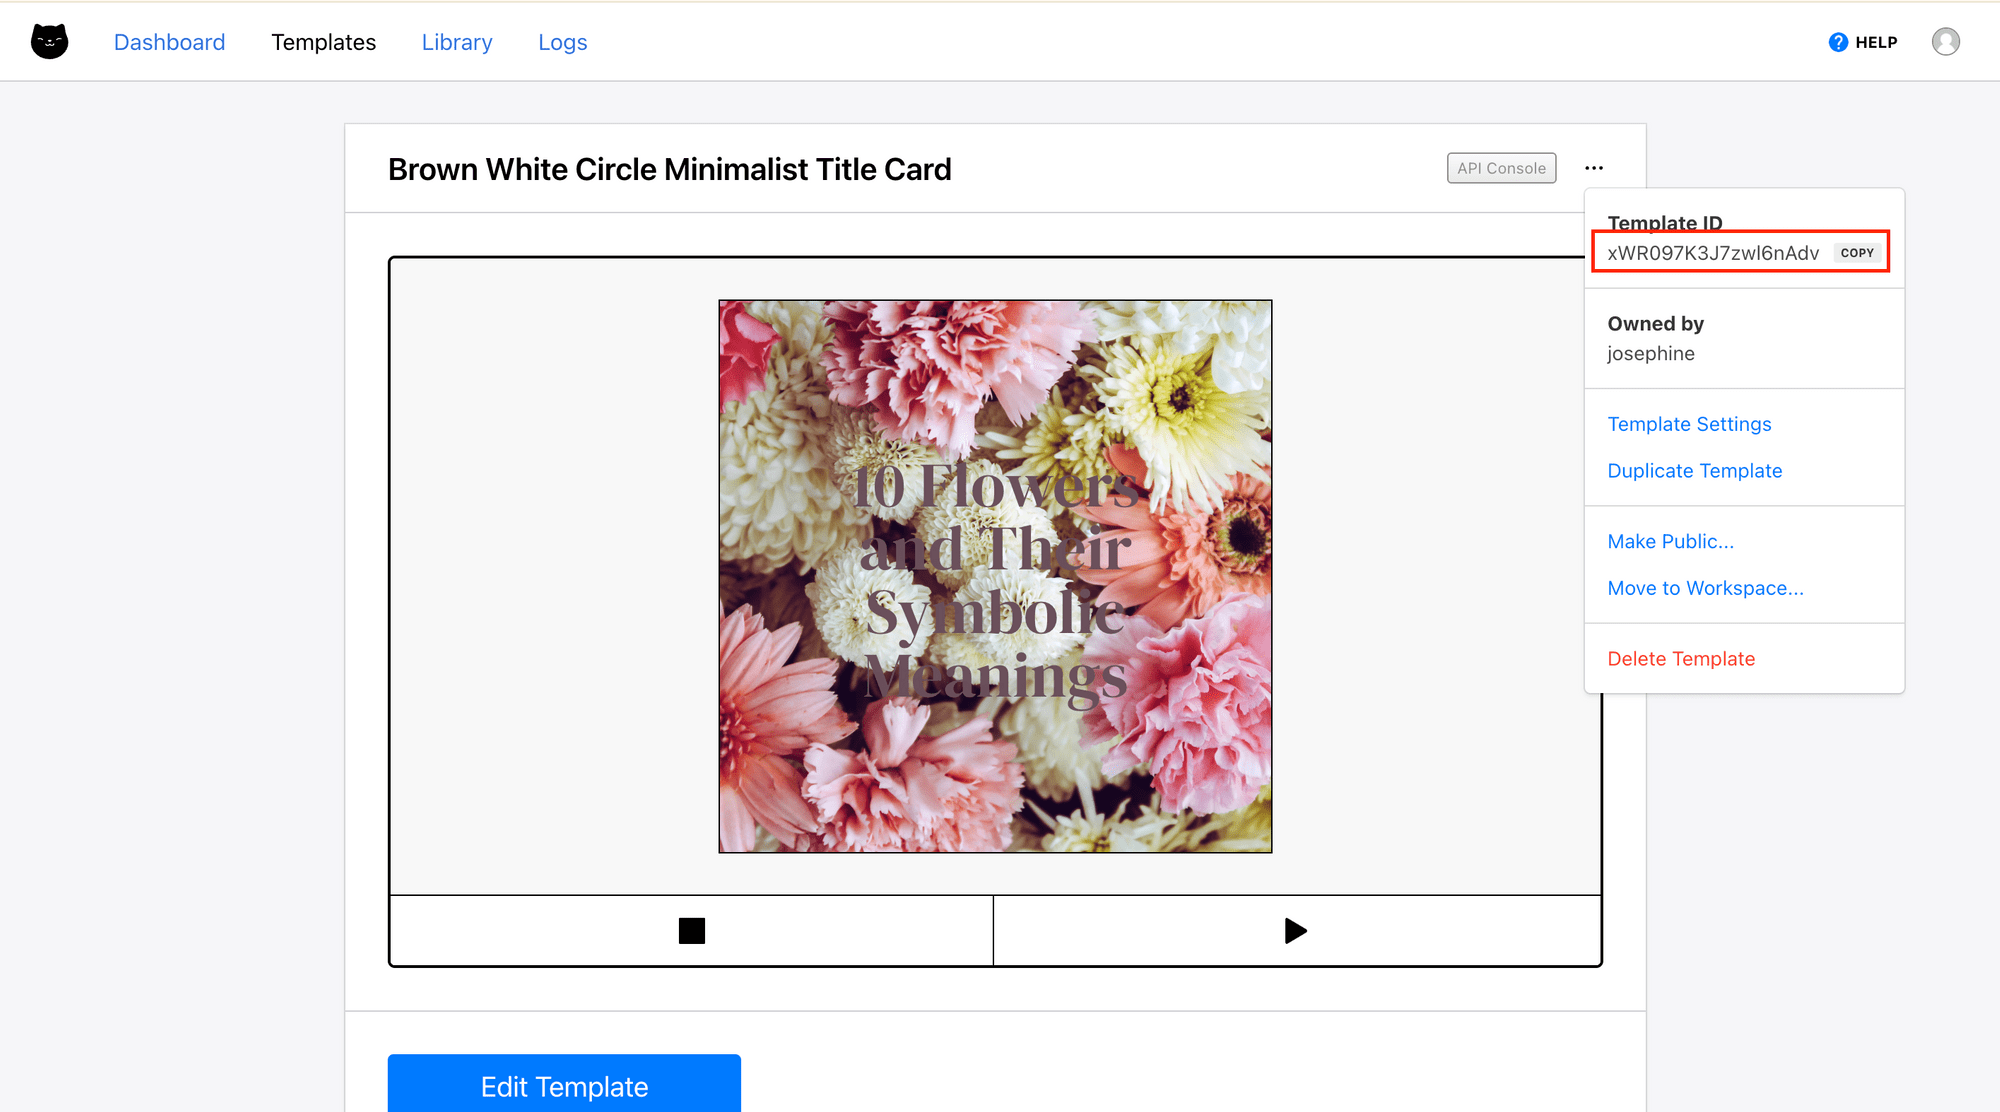
To find your template ID, click the three dots menu at the top right of your template:
Save both values. You'll need them for the API requests.
Step 2. Set Up Your Project
Create a new folder for your project and initialize it:
mkdir clipcat-video-automation
cd clipcat-video-automation
npm init
Then, create a new file called index.js:
touch index.js
Step 3. Create the Video Generation Request
Open index.js and add the following code:
const API_KEY = 'your_api_key_here';
const TEMPLATE_ID = 'your_template_id_here';

async function generateVideo() {
  const response = await fetch("https://api.clipcat.com/v1/renders", {
    "method": "POST",
    "headers": {
      "Authorization": `Bearer ${API_KEY}`,
      "Content-Type": "application/json",
    },
    "body": JSON.stringify({
      "template": TEMPLATE_ID,
      "modifications": [
        {
          "scene": "Scene 1",
          "object": "title",
          "text": "10 Superfood to Boost Your Health",
        },
        {
          "scene": "Scene 1",
          "object": "background",
          "background-image": "https://images.pexels.com/photos/2629173/pexels-photo-2629173.jpeg",
        },
        {
          "scene": "Scene 2",
          "background-image": "https://images.pexels.com/photos/6671871/pexels-photo-6671871.png",
          "object": "background",
        },
        {
          "scene": "Scene 2",
          "text": "Dark Leafy Greens — They include antioxidants and phytonutrients that may reduce inflammation, support immune health, and help guard against chronic diseases.",
          "object": "subtitle",
        },
        {
          "scene": "Scene 3",
          "background-image": "https://images.pexels.com/photos/32654673/pexels-photo-32654673.jpeg",
          "object": "background",
        },
        {
          "scene": "Scene 3",
          "text": "Berries — Berries fight inflammation and oxidative stress. They may also help maintain healthier, more youthful-looking skin.",
          "object": "subtitle",
        },
        {
          "scene": "Scene 4",
          "background-image": "https://images.pexels.com/photos/6638901/pexels-photo-6638901.jpeg",
          "object": "background",
        },
        {
          "scene": "Scene 4",
          "text": "Garlic — Garlic works as a prebiotic, meaning it feeds good bacteria in your gut, which improves digestion and immunity.",
          "object": "subtitle",
        },
      ],
    }),
  });

  const data = await response.json();
  const renderUid = data.uid;

  return renderUid;
}
This function sends a POST request to the Clipcat API to update the text and images in the template. In the modifications array, each object targets a specific scene and object (like a text layer or image) and provides the new value:
"modifications": [
    {
      "scene": "Scene 1",
      "object": "title",
      "text": "10 Superfood to Boost Your Health",
    },
    {
      "scene": "Scene 1",
      "object": "background",
      "background-image": "https://images.pexels.com/photos/2629173/pexels-photo-2629173.jpeg",
    },
    {
      "scene": "Scene 2",
      "background-image": "https://images.pexels.com/photos/6671871/pexels-photo-6671871.png",
      "object": "background",
    },
    {
      "scene": "Scene 2",
      "text": "Dark Leafy Greens — They include antioxidants and phytonutrients that may reduce inflammation, support immune health, and help guard against chronic diseases.",
      "object": "subtitle",
    },
    {
      "scene": "Scene 3",
      "background-image": "https://images.pexels.com/photos/32654673/pexels-photo-32654673.jpeg",
      "object": "background",
    },
    {
      "scene": "Scene 3",
      "text": "Berries — Berries fight inflammation and oxidative stress. They may also help maintain healthier, more youthful-looking skin.",
      "object": "subtitle",
    },
    {
      "scene": "Scene 4",
      "background-image": "https://images.pexels.com/photos/6638901/pexels-photo-6638901.jpeg",
      "object": "background",
    },
    {
      "scene": "Scene 4",
      "text": "Garlic — Garlic works as a prebiotic, meaning it feeds good bacteria in your gut, which improves digestion and immunity.",
      "object": "subtitle",
    },
  ]
In the API response, you’ll receive the render job’s UID. The function will return the UID, and it can be used to retrieve the completed video later.
Step 4. Retrieve the Completed Video
Clipcat's API works asynchronously, meaning the render request returns immediately while the video processes in the background. To get the finished video, you need to poll the render status or use webhooks.
Here's how to poll the render status:
async function getRender(renderUid) {
  let videoUrl;
  const checkInterval = setInterval(async () => {
    const response = await fetch(`https://api.clipcat.com/v1/renders/${renderUid}`, {
      method: "GET",
      headers: {
        Authorization: `Bearer ${API_KEY}`,
      },
    });

    const render = await response.json();
    console.log("Status:", render.status);
    console.log("Progress:", render.progress + "%");

    if (render.status === "completed") {
      clearInterval(checkInterval);
      videoUrl = render.url;
      console.log("Video ready!");
      console.log("Download URL:", render.url);
    }

    if (render.status === "failed") {
      clearInterval(checkInterval);
      console.error("Video generation failed");
    }
  }, 5000);
  return videoUrl;
}
This function polls the render endpoint every 5 seconds to check if the video is ready. When the status changes to "completed", you’ll receive the video URL, and the function will return it.
🐱 Meow Memo: For production applications, using webhooks is more efficient than polling. You can specify a
webhook_urlin your render request, and Clipcat will send a POST request to your endpoint when the video is ready.
Step 5. Put Them Together
Create a main function and call the two functions above in it:
async function main() {
  const renderUid = await generateVideo();
  const videoUrl = getRender(renderUid);
}

main();
Step 6. Run Your Script
Now, run your script to generate your first automated video:
node index.js
The entire process typically takes 30-60 seconds, depending on video complexity. You should see output showing the status updates and finally the completed video URL:
Status: rendering
Progress: 85%
Status: rendering
Progress: 99%
Status: completed
Progress: 100%
Video ready!
Download URL: https://media.clipcat.com/renders/1LE2lBzq7v2D4NrpKk/final/2d4cfb9ec71e1c7174885be617bbd9f4f66126fd.mp4
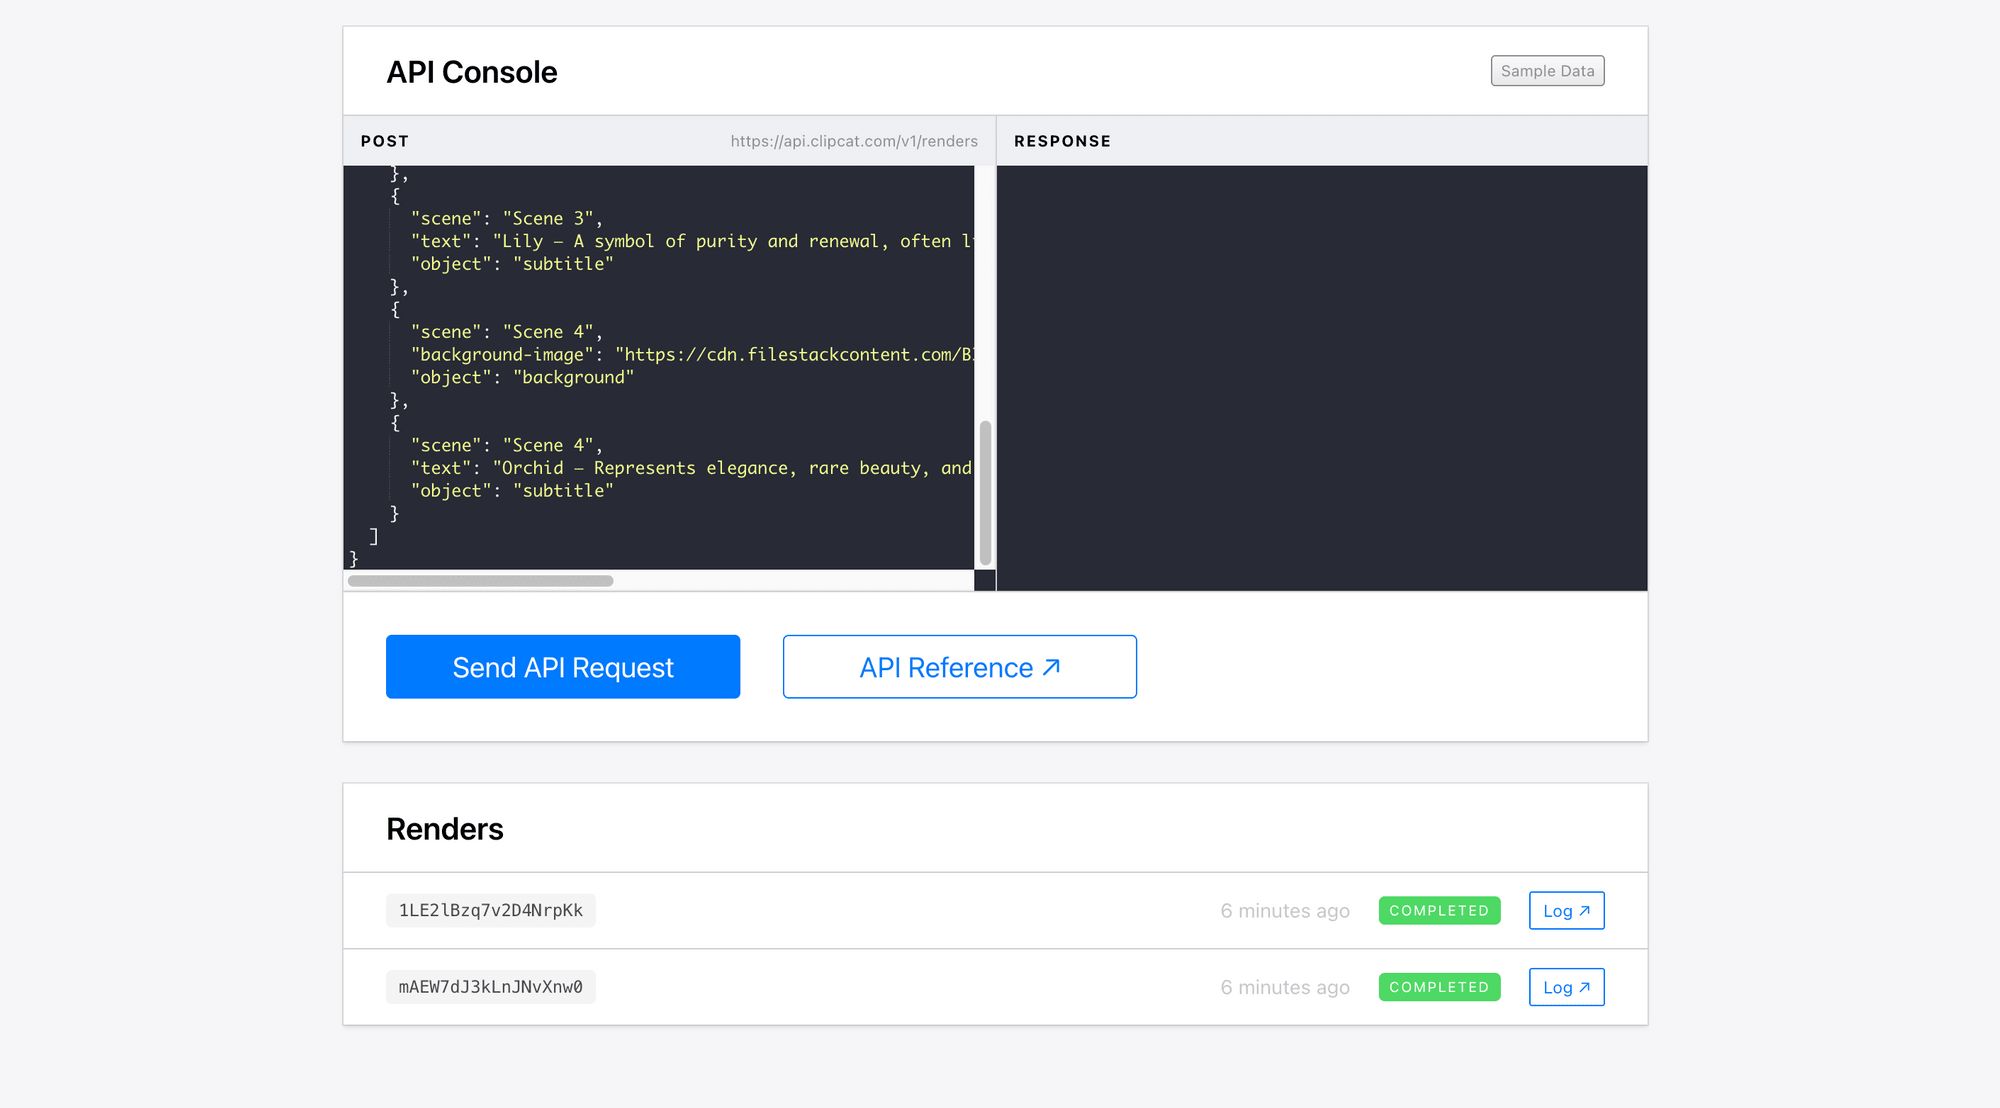
You can also check the result from your Clipcat dashboard. On your template page. Scroll down till the end, and you’ll find the render logs and results:
Here’s the video returned:
🐱 Meow Memo: To make the video longer, just add more scenes to the template and update the modifications array accordingly.
Advanced Workflows
Once you've mastered basic video generation, there are many ways to expand your automation:
- Database integration - Connect Clipcat to your database to pull dynamic content.
- Webhook workflows - Set up webhooks to trigger video generation based on events in your application.
- Multi-platform optimization - Generate the same content in different aspect ratios (square, vertical, landscape) for different social platforms. You can do this by creating multiple templates in different dimensions.
Conclusion
That's it! That’s how you automate short-form video creation using the Clipcat API. With this approach, you and your users can produce more content in a much shorter period to keep up with the platforms’ algorithms.
Not only that, generating videos from templates also helps you maintain consistent branding across all your content. If you need some inspiration for your own designs, feel free to check out Clipcat's Template Library, where you’ll find a variety of templates, from user testimonials to carousels.