How to Add Subtitles to Your Clipcat Videos
Contents
Video content is everywhere, but not everyone can hear it. Whether your viewers are watching on the subway, eating crunchy chips, or speak a different language, subtitles ensure your message reaches a wider audience.
When you're creating videos at scale, manually transcribing and syncing subtitles is time-consuming—and often unrealistic. That's where automation comes in. Clipcat's automatic subtitles feature transforms your video's audio into a customizable text transcript in seconds. You can then style, position, and animate the subtitles to match your brand, then generate videos with hardcoded subtitles at scale.
The best part? Your viewers get the full experience—whether they're watching with sound on or off, in any environment, and in a way that feels intentional and designed.
In this guide, you'll learn exactly how to set this up in your Clipcat templates, customize the look and feel, and render videos with professional subtitles, ready for publishing!
Why Are Subtitles Important?
Subtitles aren't just for people who are deaf or hard of hearing—even though they're absolutely essential in those circumstances. But everyone benefits from subtitles, whether they realize it or not.
Here are some cases for subtitles:
- Accessibility & Inclusiveness : Subtitles make your content available to anyone with hearing loss. But beyond that, they signal that you care about reaching the widest possible audience. It’s good practice, and it can evoke positive reactions with your viewers.
- Sound-Off Viewers : A huge portion of video is consumed without audio, especially when it’s on social media. People watch on mute while scrolling on their phones, sitting in quiet offices, or in noisy environments. Subtitles ensure your message lands regardless of whether sound is on or off.
- Listening Comprehension : Even viewers who can hear perfectly benefit from reading along. Subtitles help people catch every word when dialogue is unclear, understand accents more easily, or grasp technical jargon. They reinforce what people are hearing and boost retention.
- Access to Global Audiences : With subtitles, your content can be translated and understood by speakers of different languages. There’s no need to be limited to a single language audience any longer.
Adding subtitles to your videos at scale is a fairly easy, achievable way to establish a stronger brand image and broaden your reach.
Types of Subtitles
There are several different types of subtitles, but the two most basic categories are:
- Soft Subtitles. These aren't permanently attached to your video. Instead, they remain as independent text tracks that you can choose to toggle on/off during playback. This is common on platforms like YouTube or Netflix, where viewers can click a CC button to enable or disable subtitles.
- Hard Subtitles. These subtitles that are permanently embedded into your video. Once rendered, they become part of the video file itself and cannot be turned off by viewers.
Clipcat's automatic subtitles are hard-encoded, meaning they will be rendered as part of the video. This is ideal for social media platforms and situations where you want to guarantee your subtitles are always visible, regardless of the viewer's device or platform settings.
How to Automatically Hardcode Subtitles with Clipcat
Clipcat makes it easy to hardcode subtitles at scale. While you can keep them basic, you can also add colors, styles, and animations to give them more of a punch. Applying these subtitle effects to your template means being able to generate videos with hardcoded subtitles programmatically.
Adding subtitles to your Clipcat template is incredibly easy:
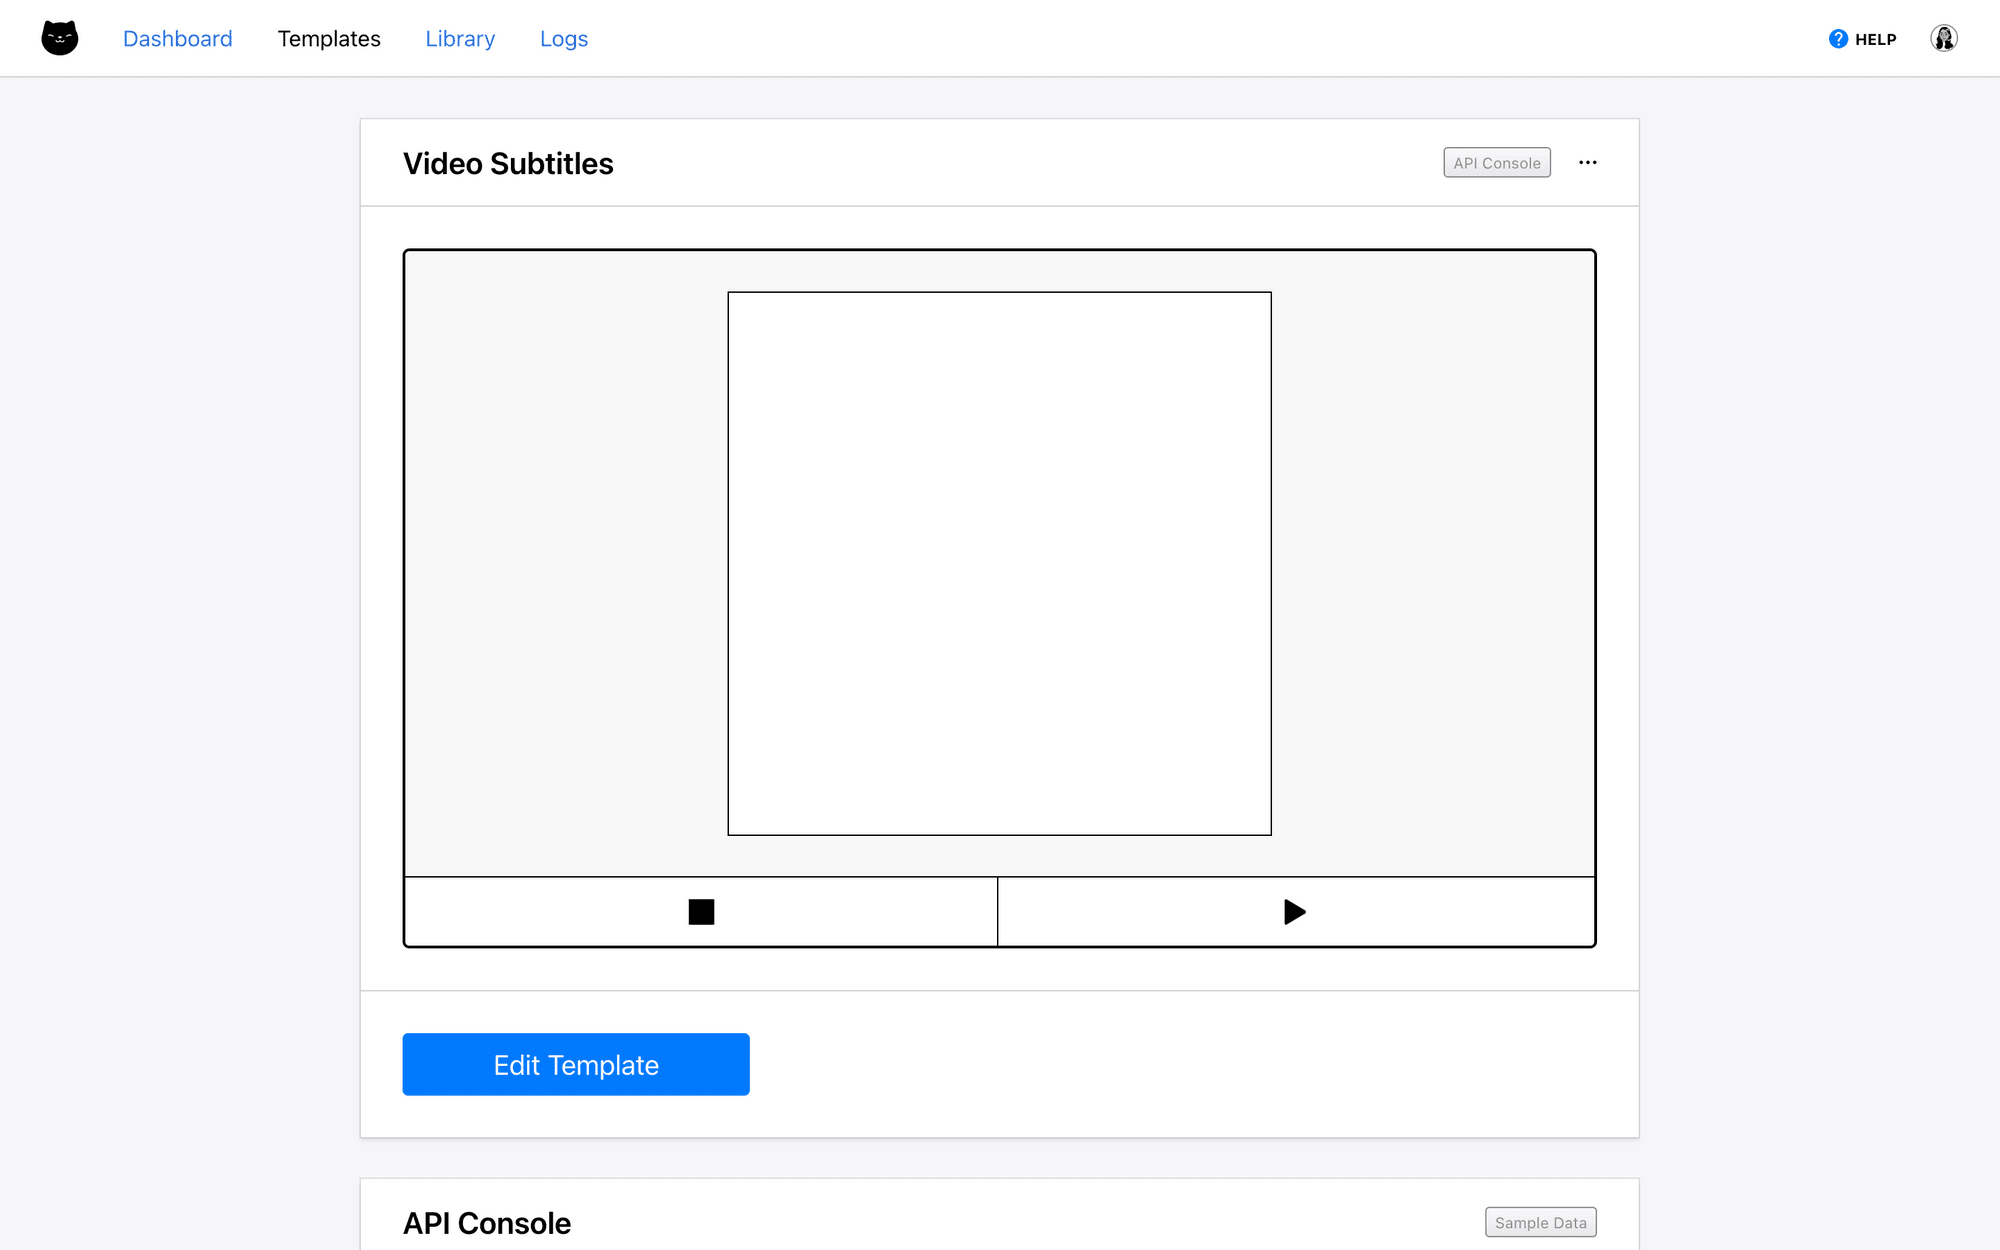
Log into your Clipcat account, and create a video template.
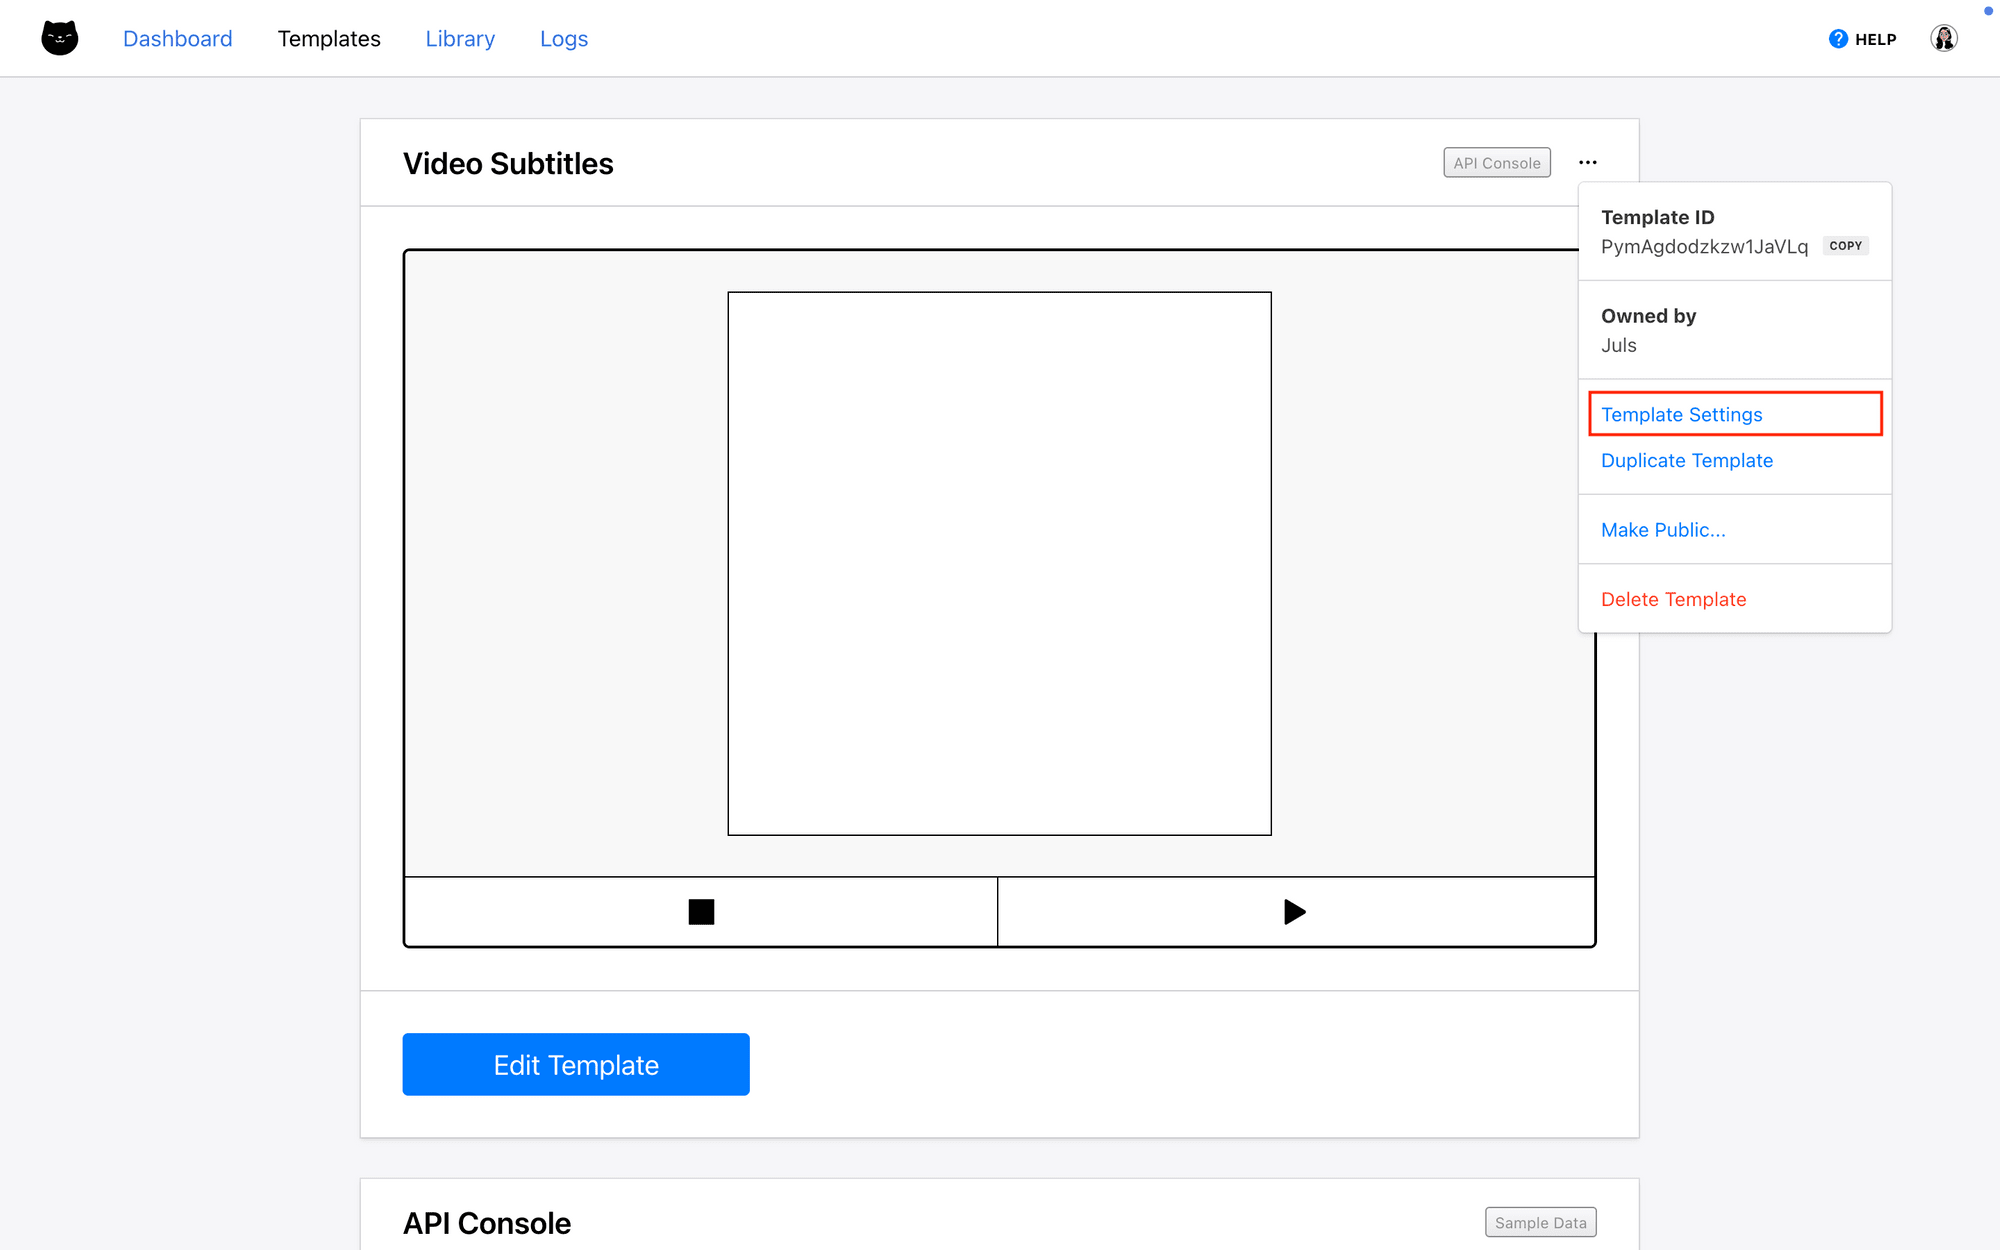
Navigate to template settings.
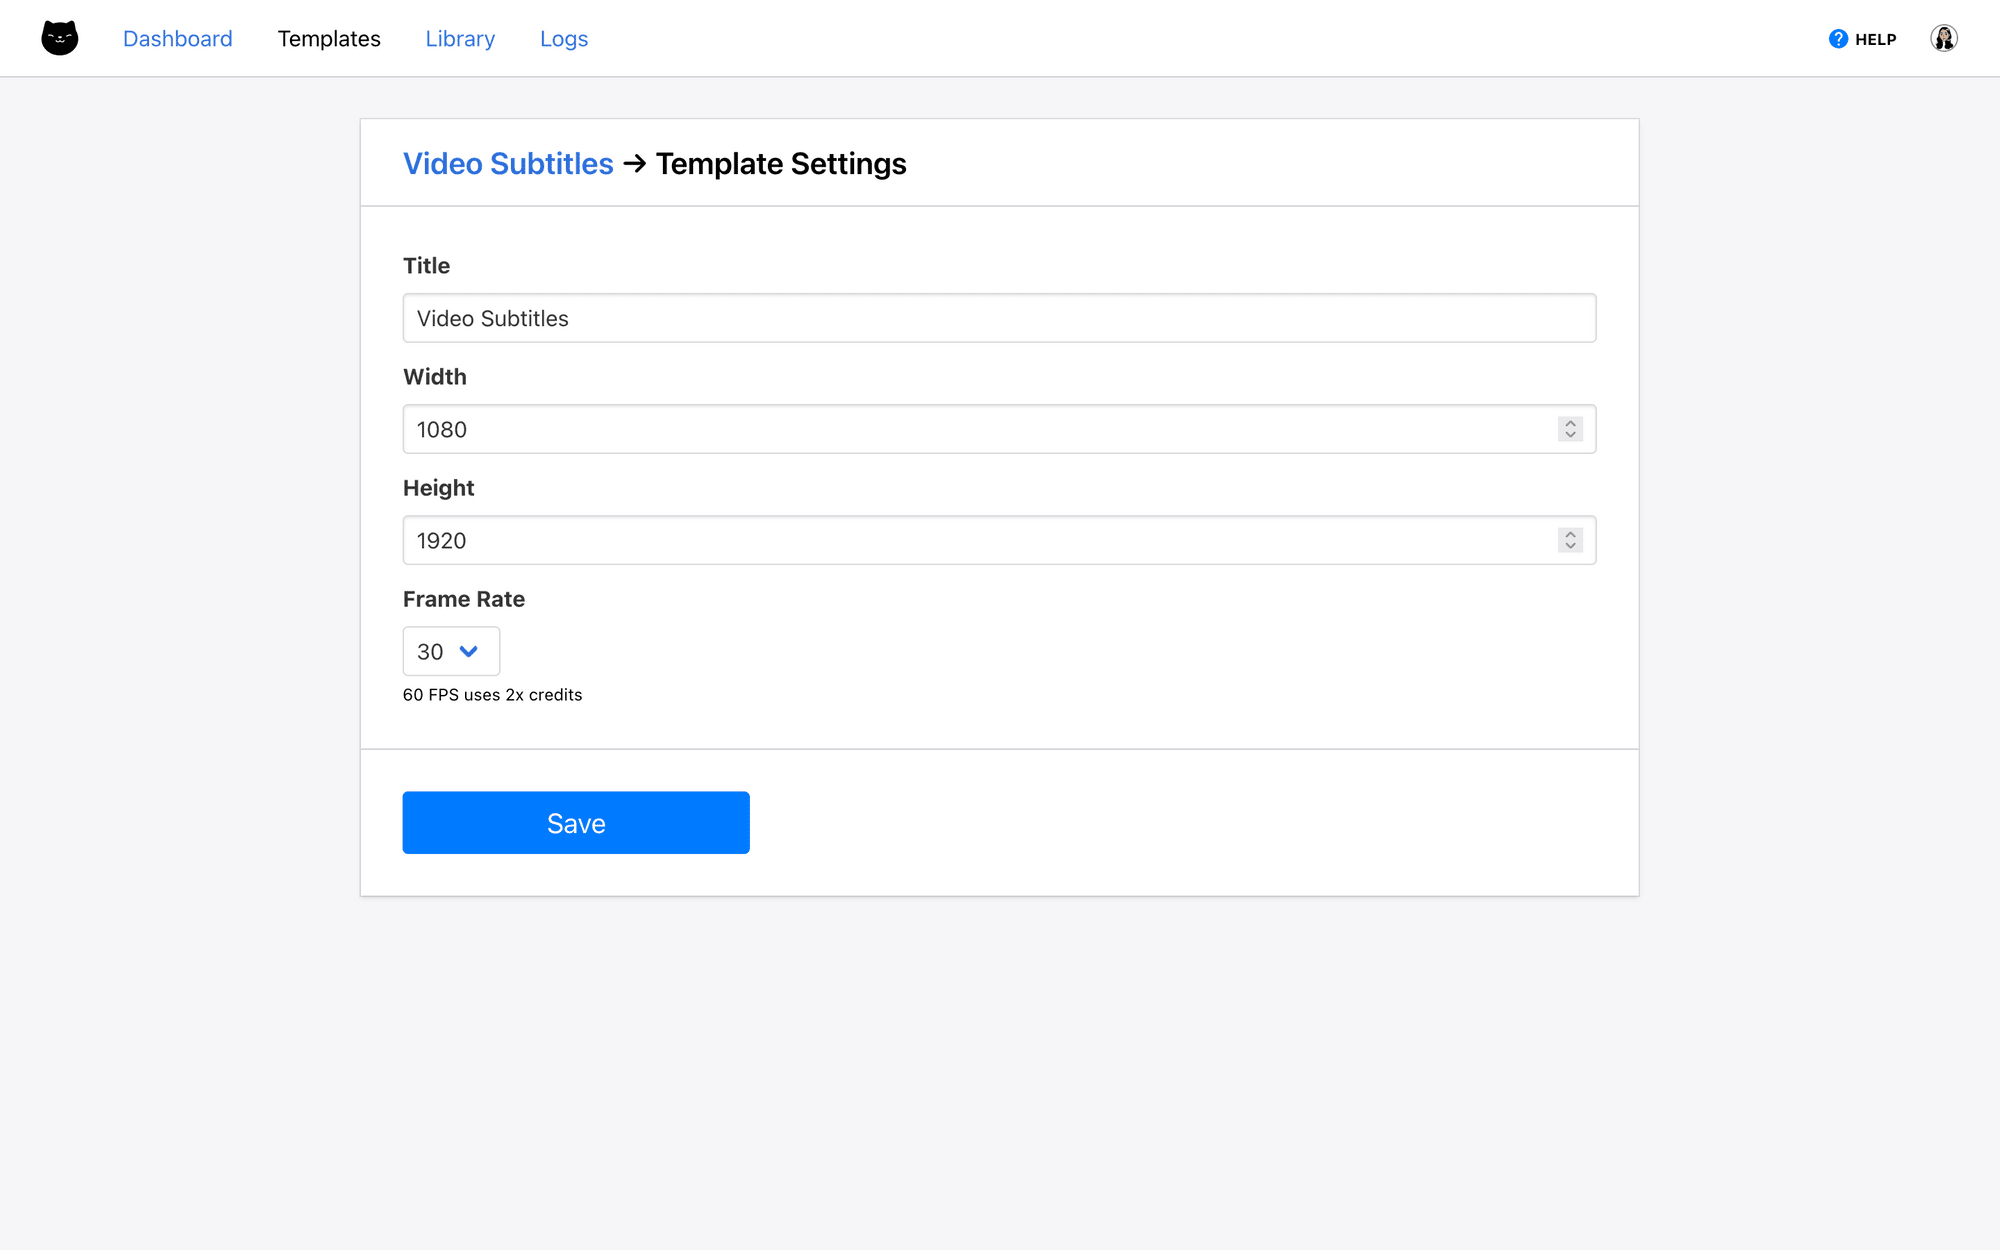
There, you'll be able to customize the template’s name and size.
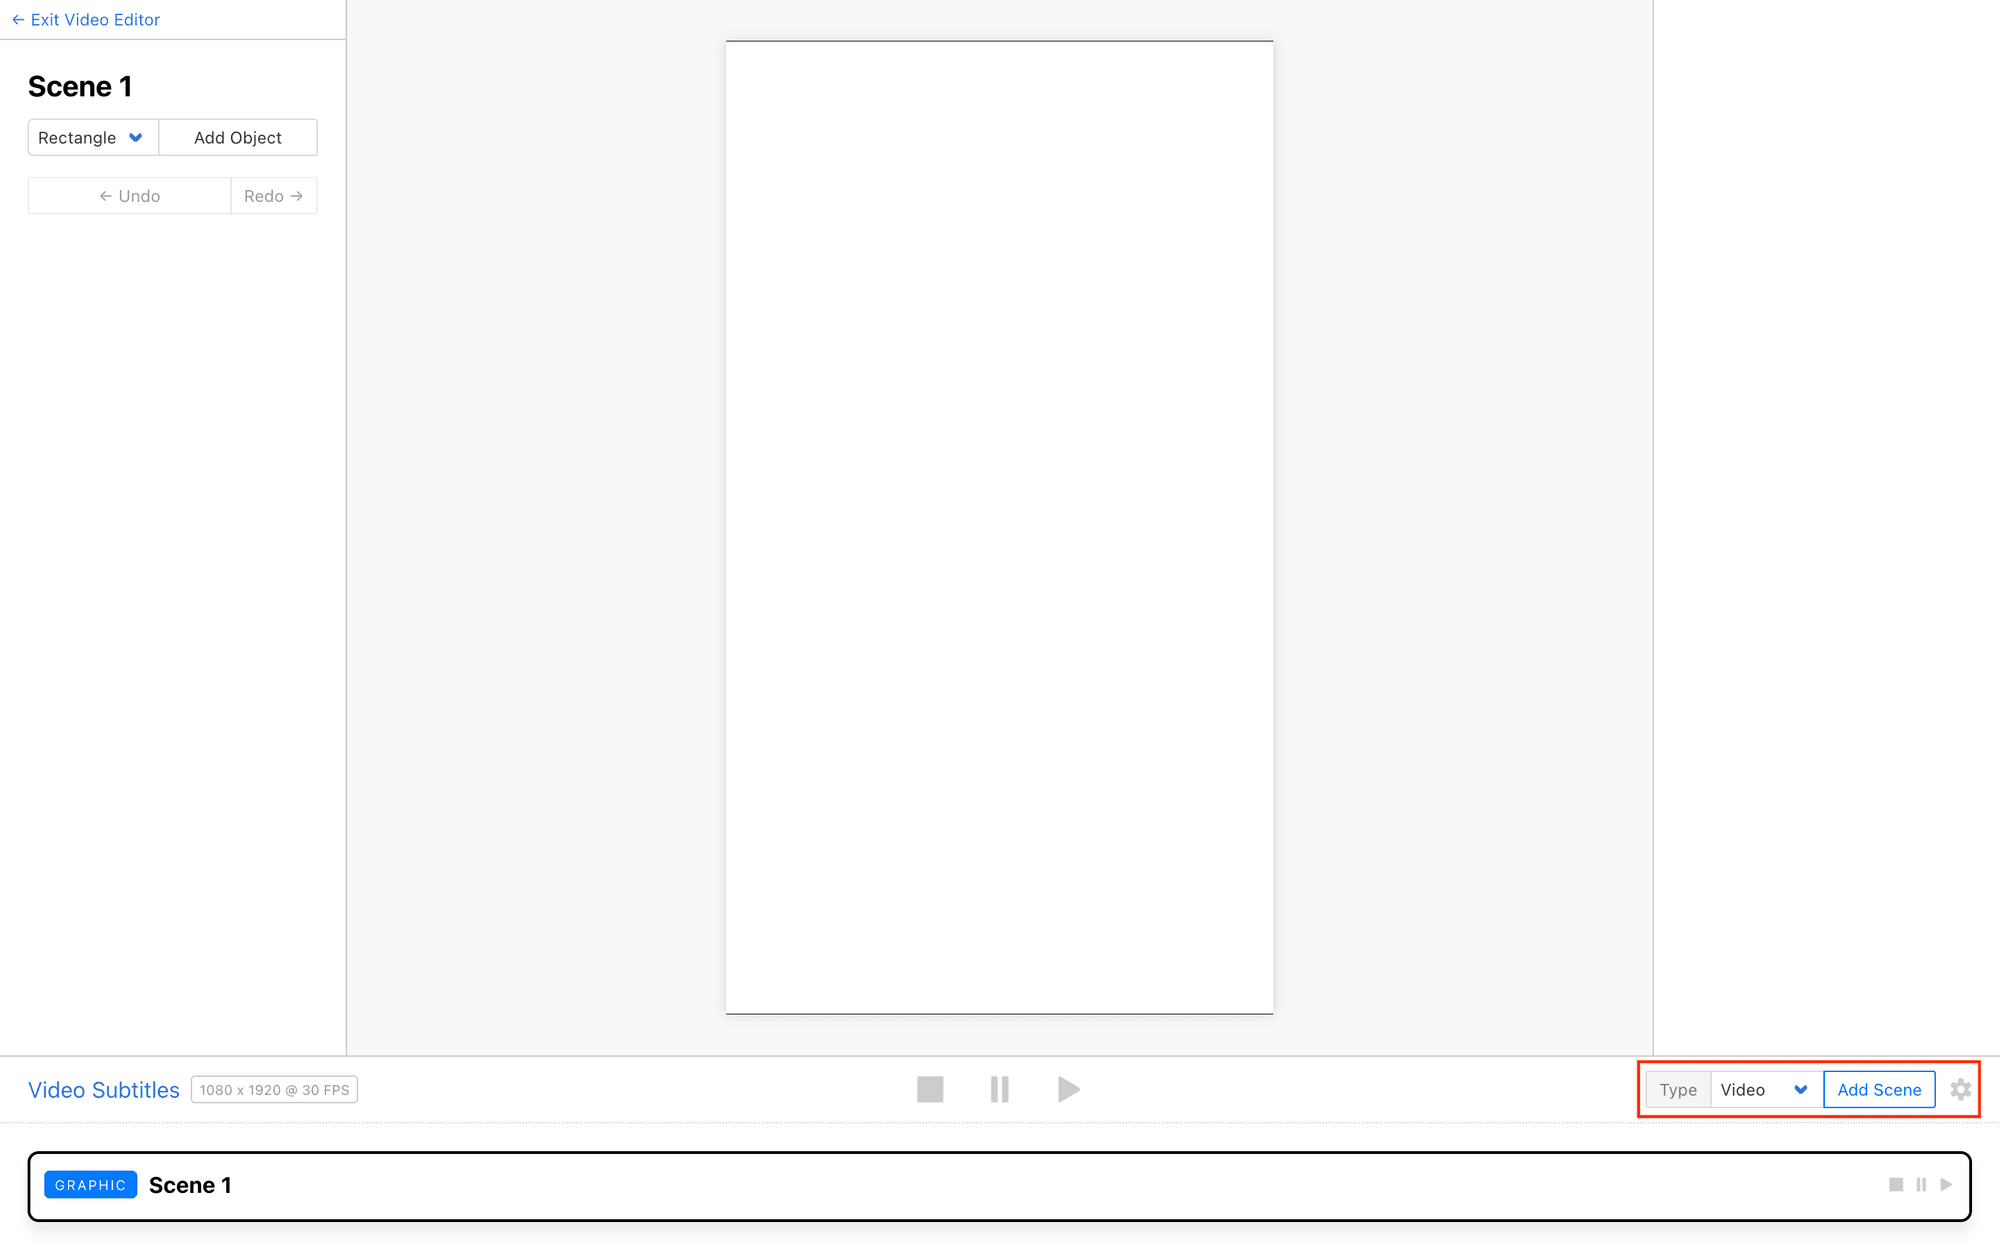
Return to the template page, and click Edit Template. You should now be in the editor.
Subtitles require a video with an audio track, so scenes with subtitles will need to be in Video mode. You can add a new video scene on the bottom right corner of the playback bar, or click the gear icon (⛯) to manage your existing scenes.
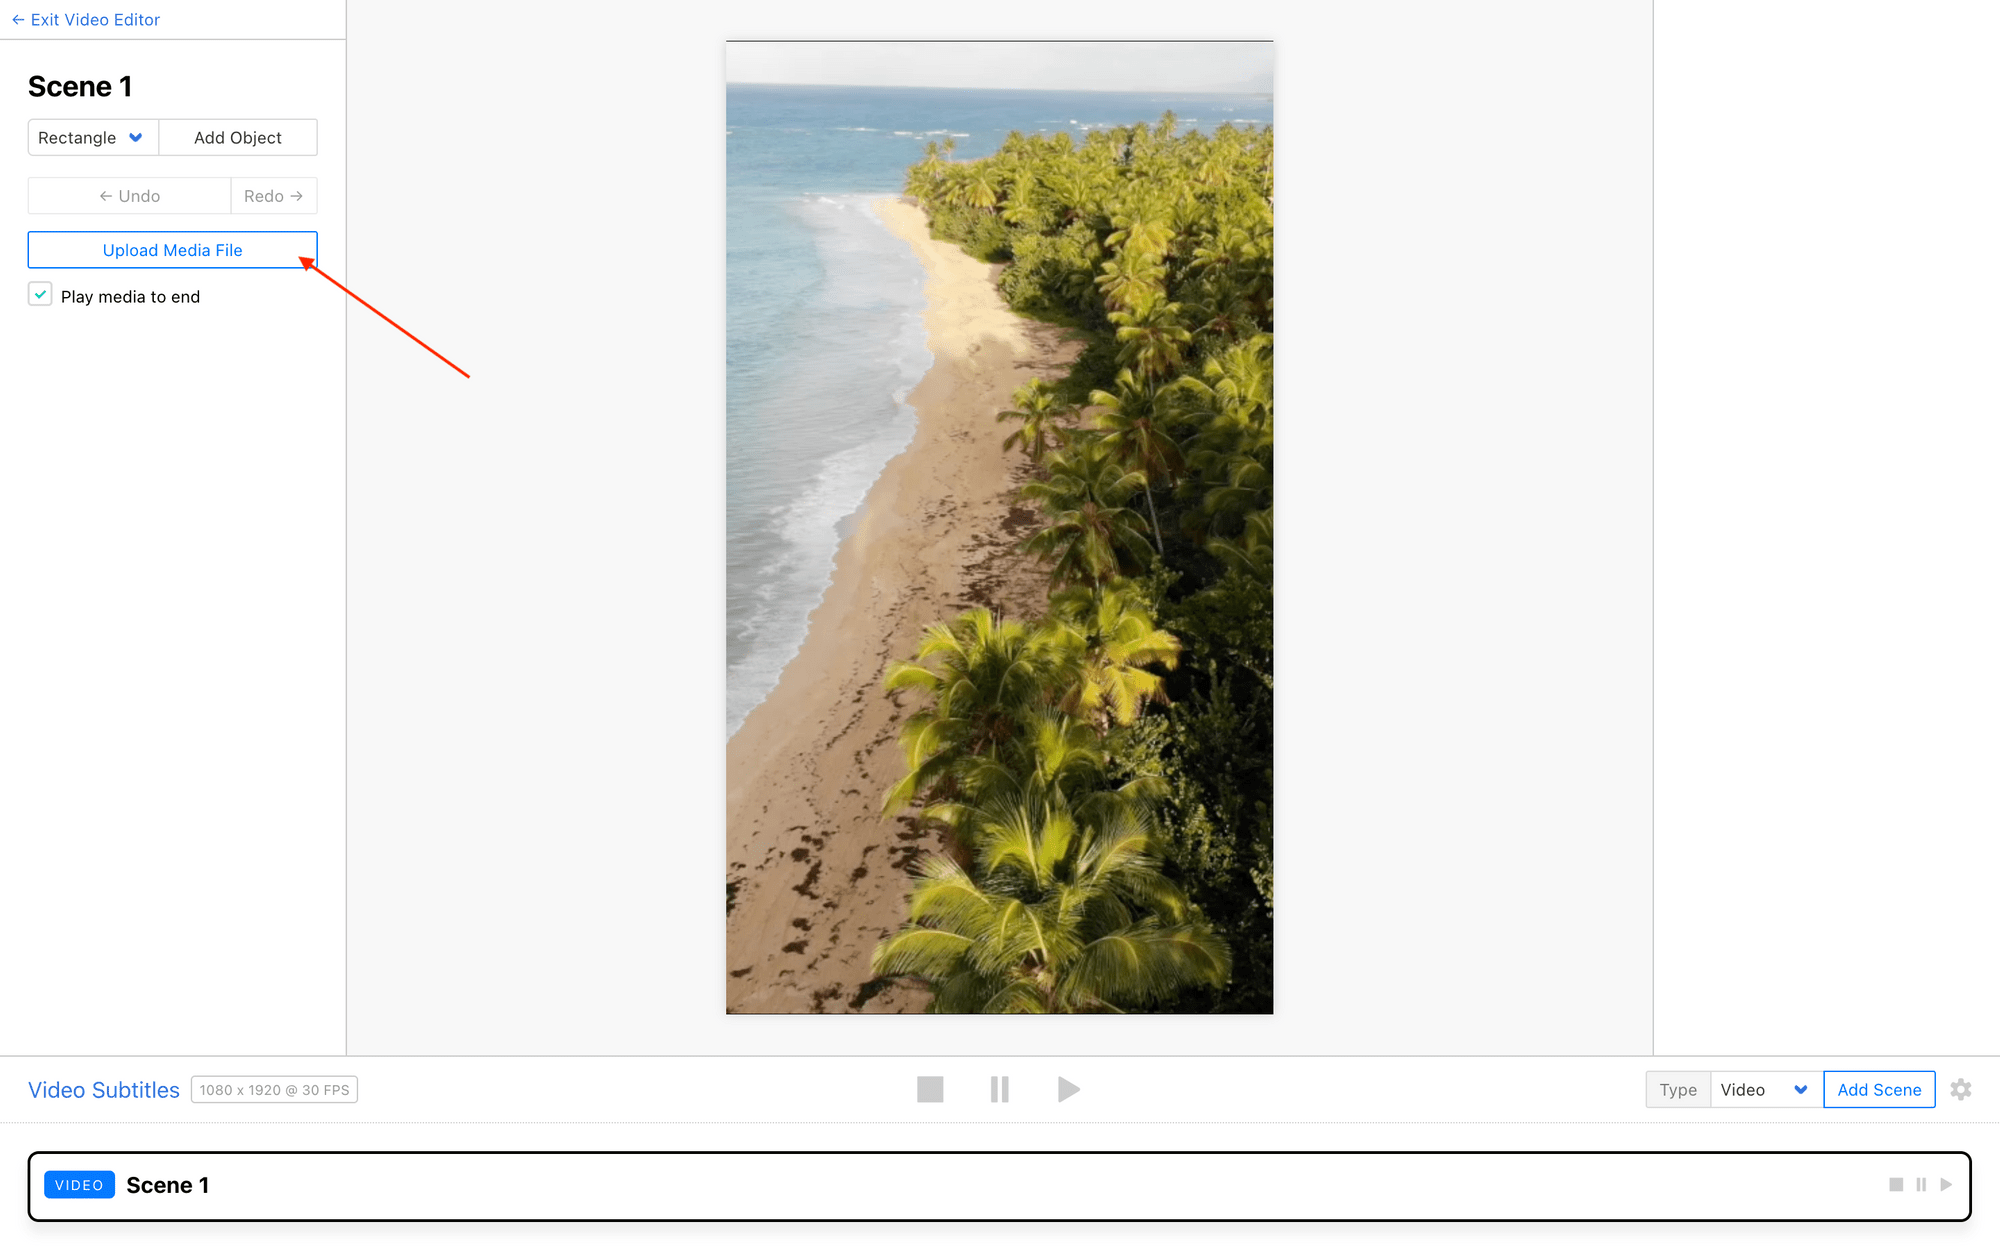
Add a video to your scene by clicking Upload Media File from the editor. You will be able to programmatically add new media using the input method of your choice (API, Zapier, Make, etc.).
Meow Memo 🐱: Want to keep the length of your scenes consistent when rendering videos at scale? Set up keyframe durations, and make sure Play media to end is unticked.
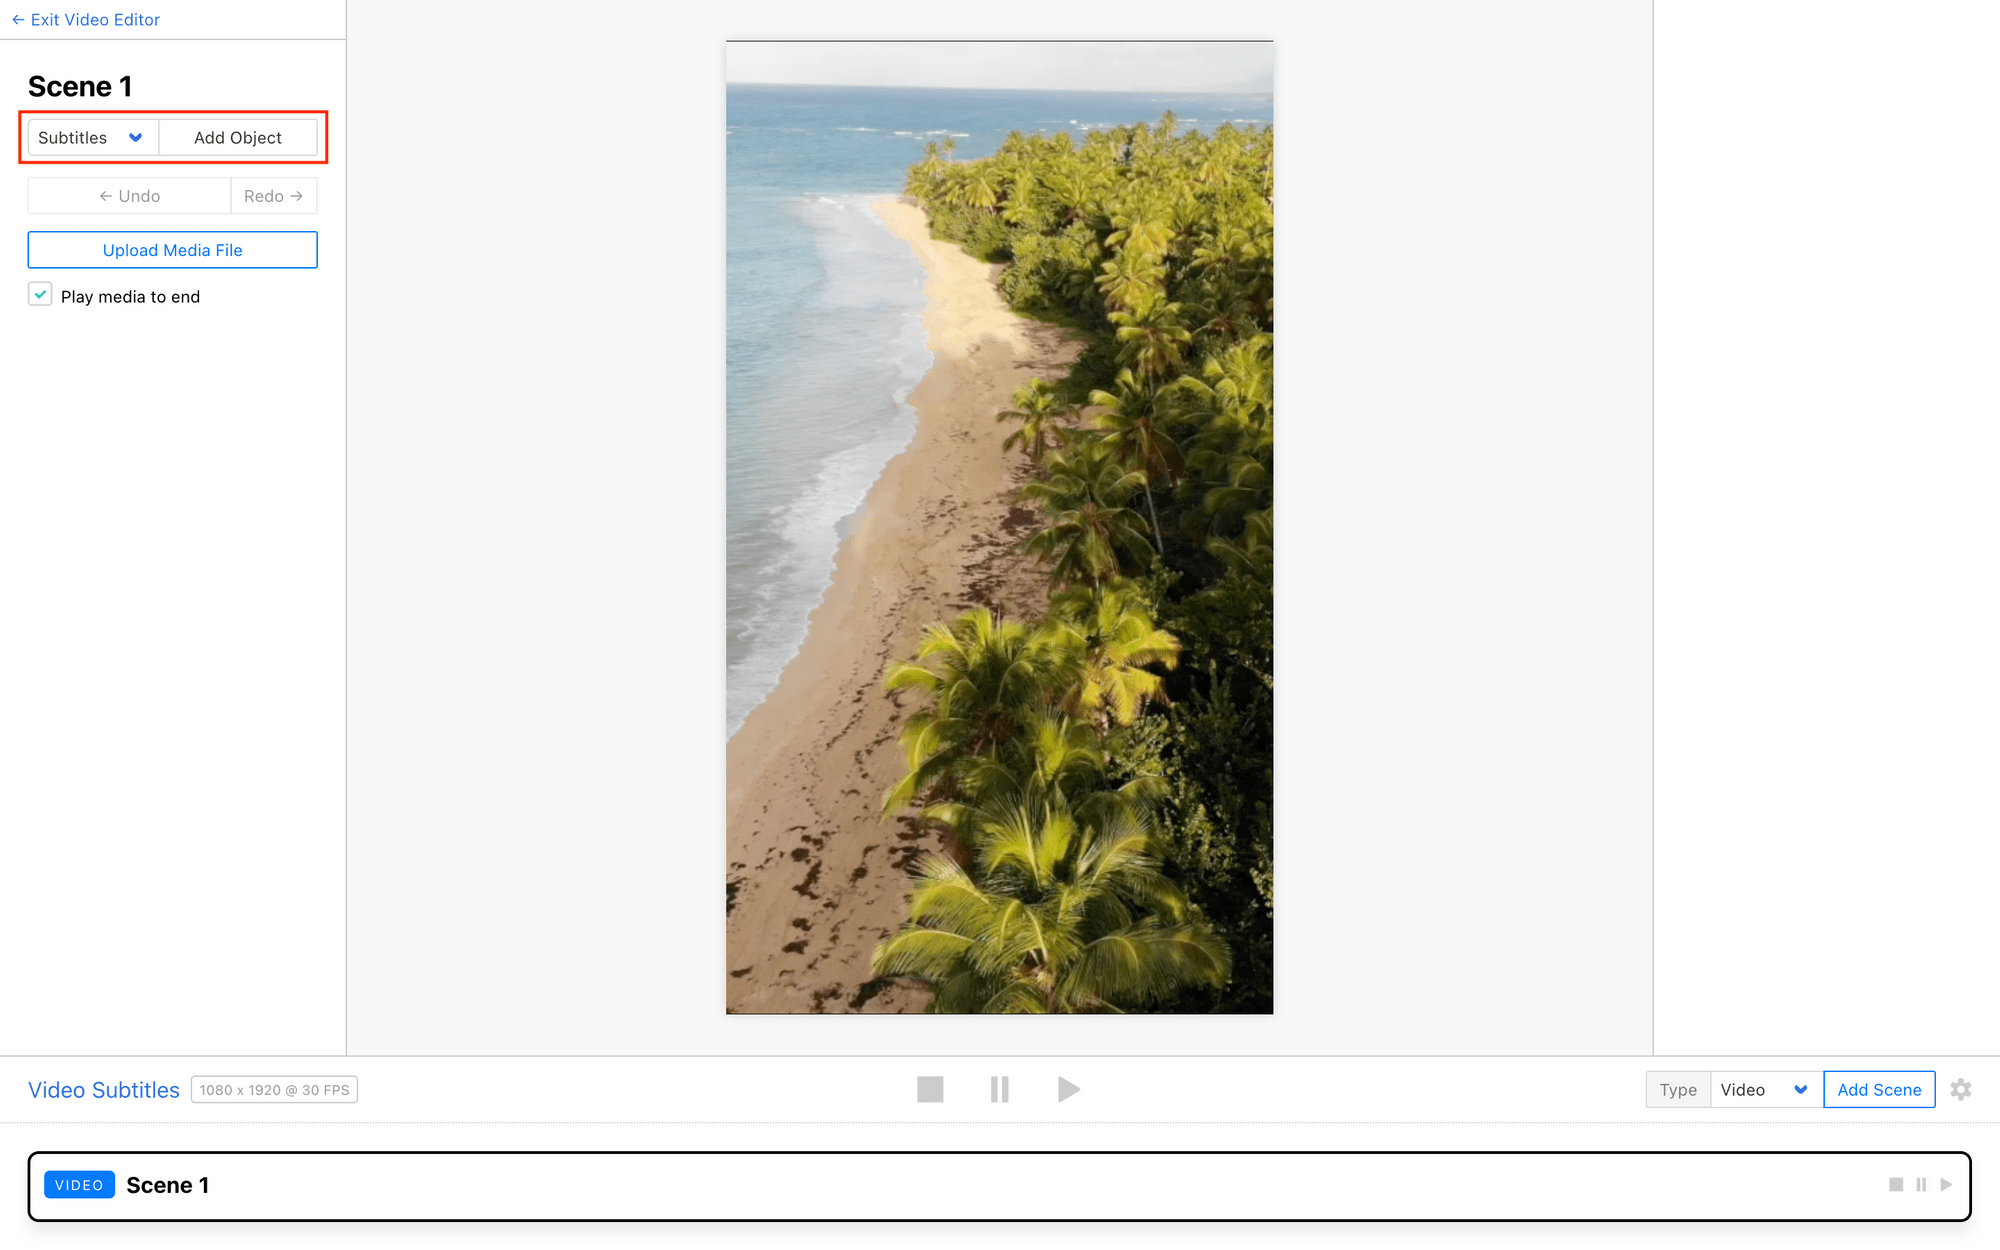
Now, let’s add a subtitles object on the left sidebar.
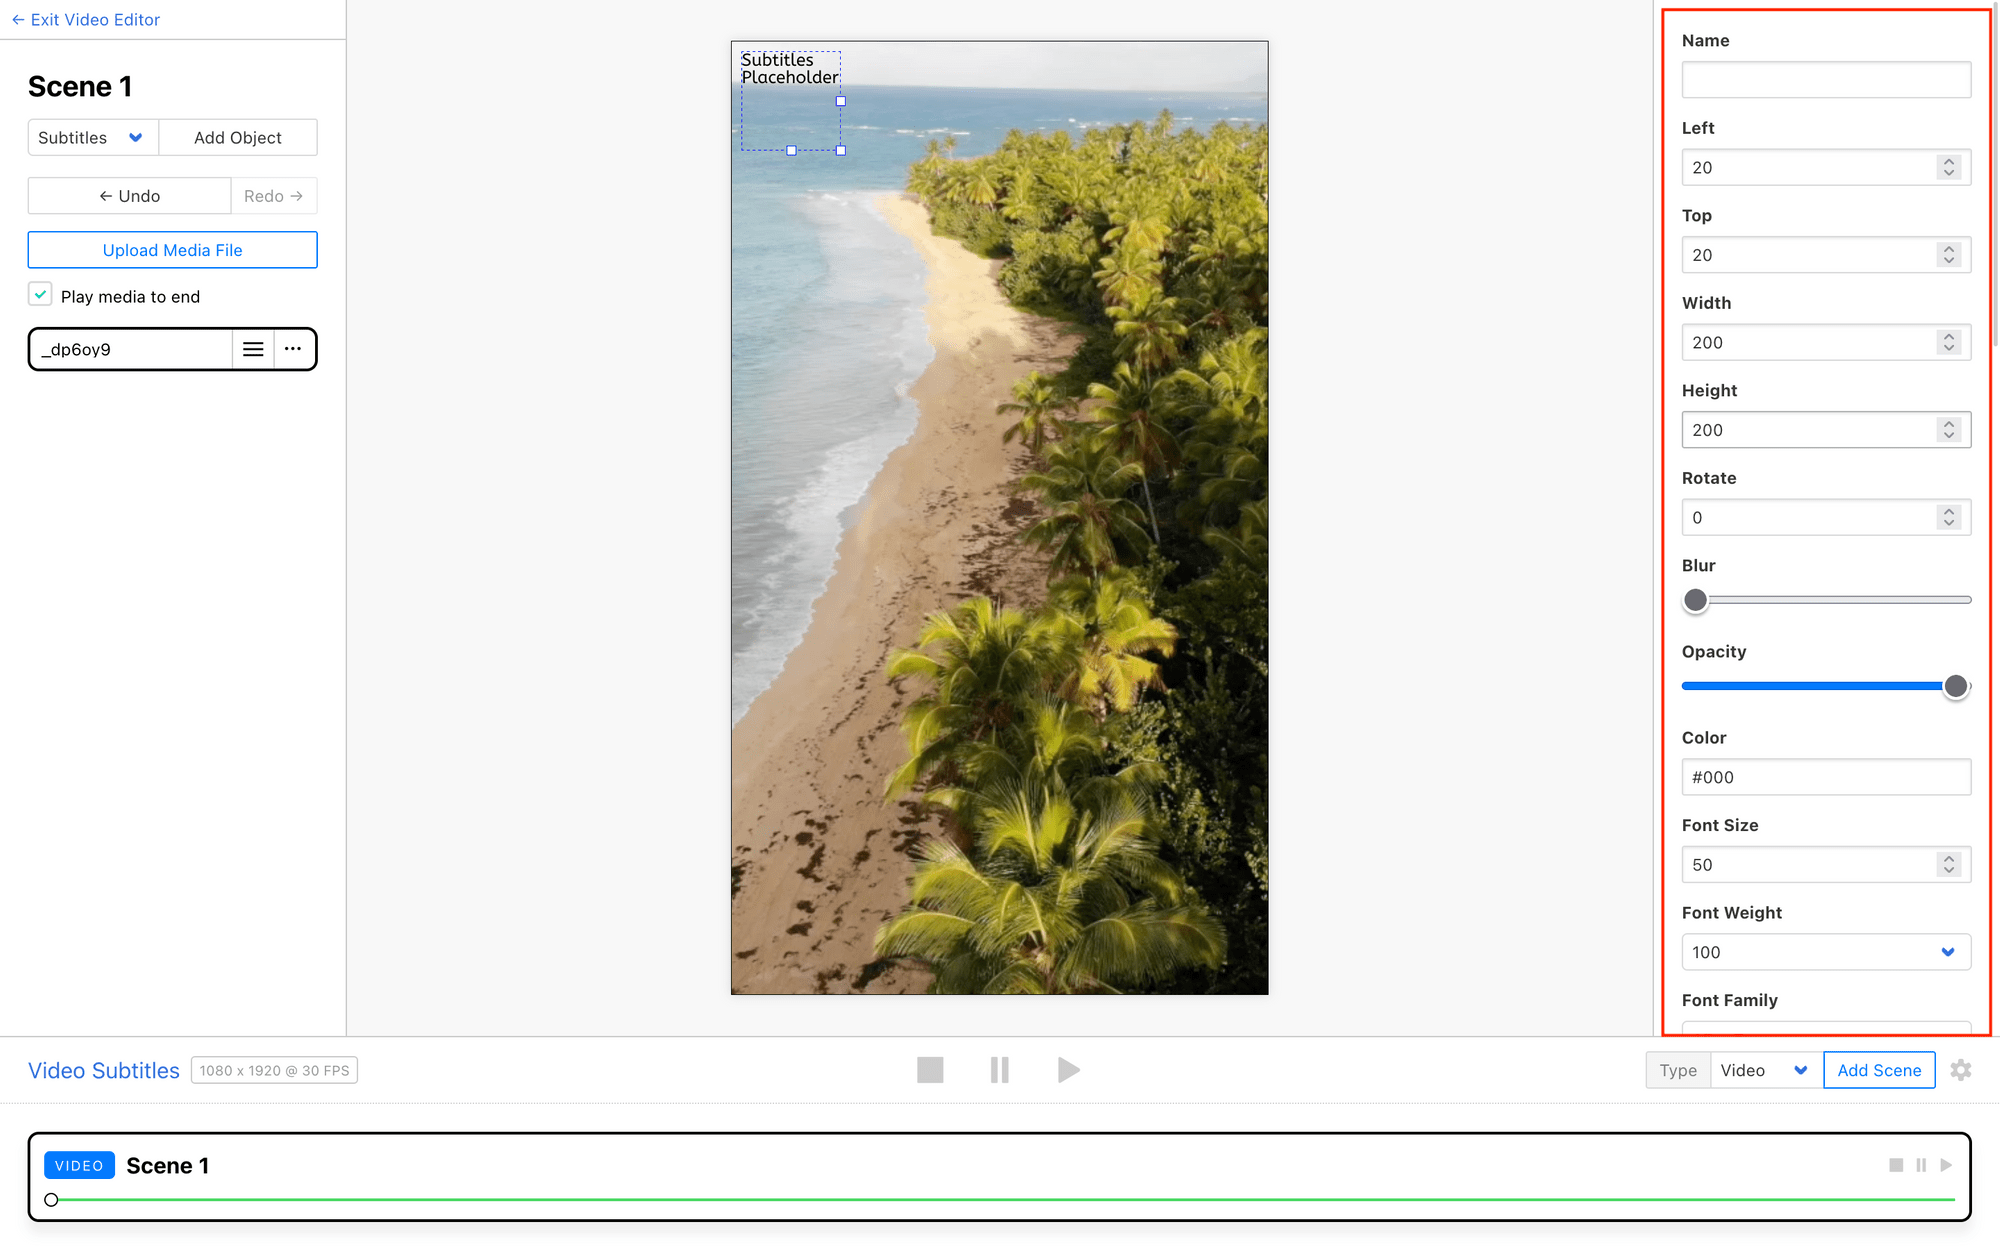
A subtitles placeholder should now appear on the canvas.
You can customize it as desired, changing things like color, size, weight, position, shadows, and more.
Animation options you can customize include:
- Text Effect
- Text Effect Speed
- Text Effect Easing
- Words Per Segment
Make changes and test with the playback until you’re happy with your subtitles effect.
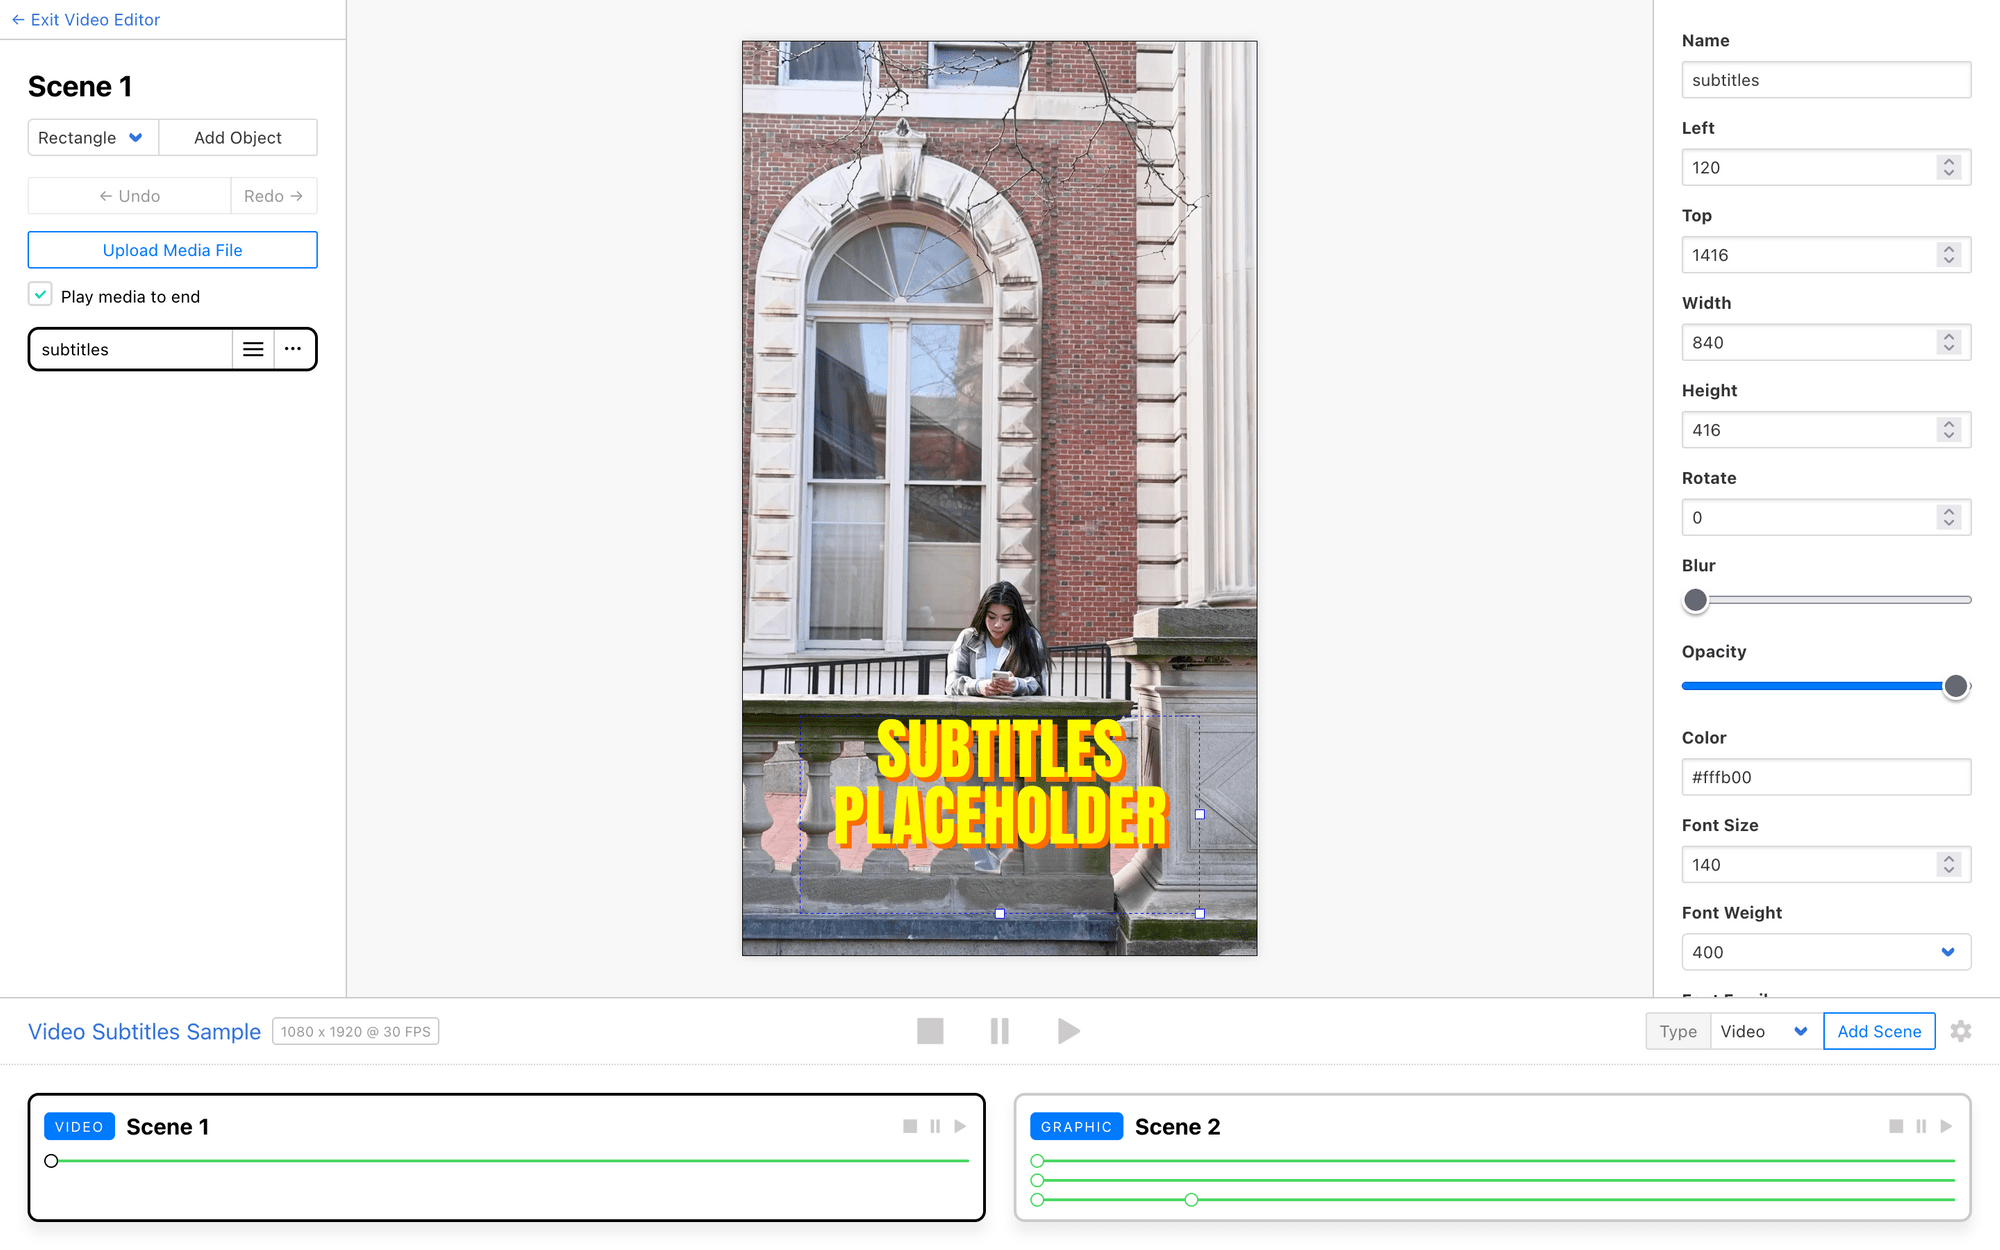
Add additional scenes, objects, and keyframes to finish your video off. Rendering the video should yield subtitles that go along with your audio:
And you’re good to go!
Conclusion
With Clipcat's automatic subtitle feature, you can create professional, accessible videos at scale without the manual headache. With a simple addition of a subtitle object, you'll be able to customize your subtitles to match your brand while ensuring your message reaches viewers in any environment—muted or not.
Whether you're expanding to global audiences or simply improving accessibility, hardcoded subtitles are a simple yet powerful addition to your video workflow. Start building your subtitle-ready templates with Clipcat today!