Create Engaging Video Overlays with Rectangles, Circles, and Text in Clipcat: A Guide with Examples
Contents
Did you know our attention span has significantly dropped over the past 15 years? People lose focus in just about 1.3 seconds, meaning it only takes a split second for someone to scroll past your video!
Good design, even something as simple as a shape or some text, can make all the difference. Whether you're creating a product ad, a customer testimonial, or a long-form tutorial, adding video overlays that place key information in the right spot can help guide your viewer’s attention.
In this guide, we’ll go through some simple yet effective overlays that you can create in Clipcat using just rectangles, circles, and text. Follow along!
Why Use Basic Shapes in Video Overlays?
When you think of video design, it’s easy to imagine flashy animations and complex transitions. But sometimes, simplicity wins — especially on mobile or short-form platforms like Instagram, TikTok, and YouTube Shorts.
Simple shapes like rectangles and circles are incredibly versatile. Rectangles work great for anchoring text, like names, prices, or short messages. Circles, on the other hand, are perfect for highlighting specific features or drawing attention to something important. For example…
An ad with a price tag in a rectangle highlights the price:
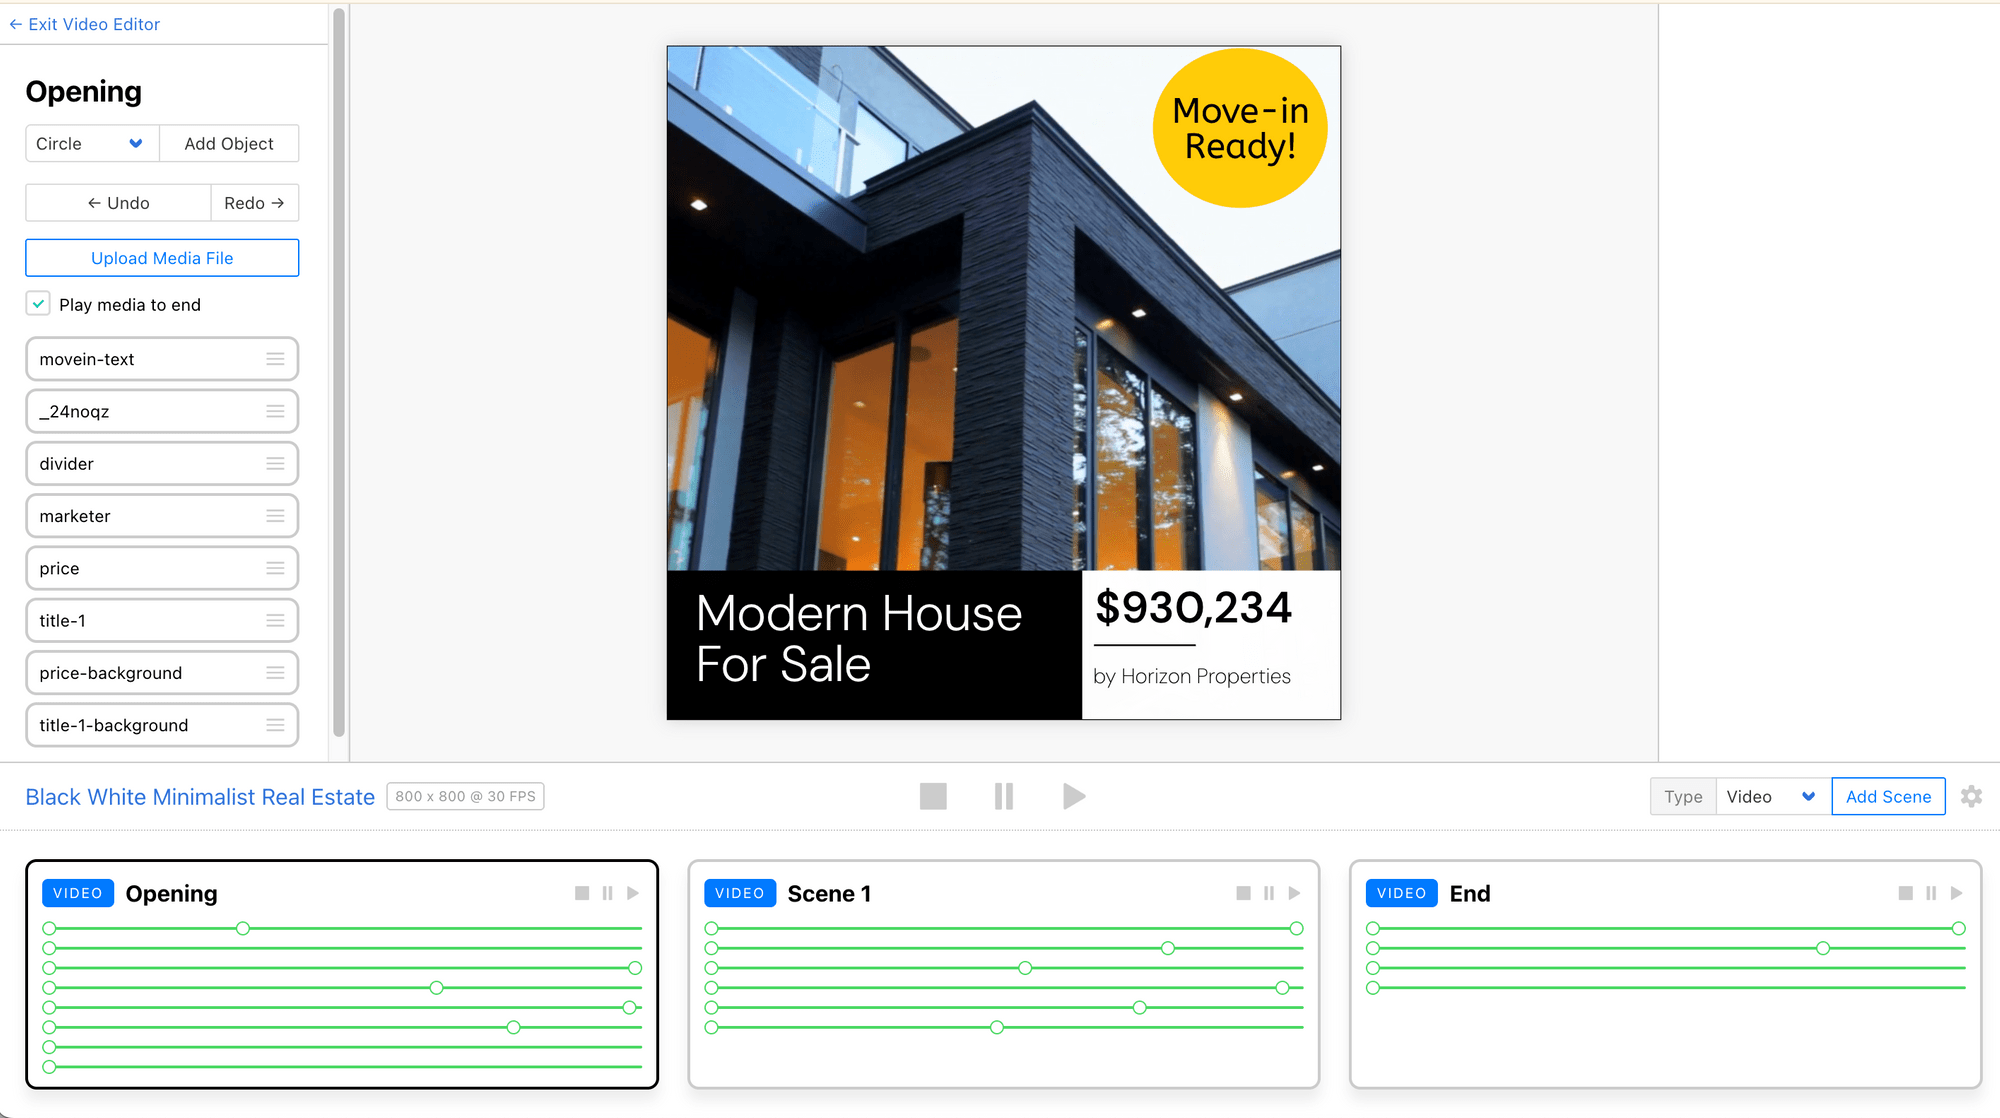
A property reel with a “Move-in Ready!” badge inside a circle draws attention to the property’s status:
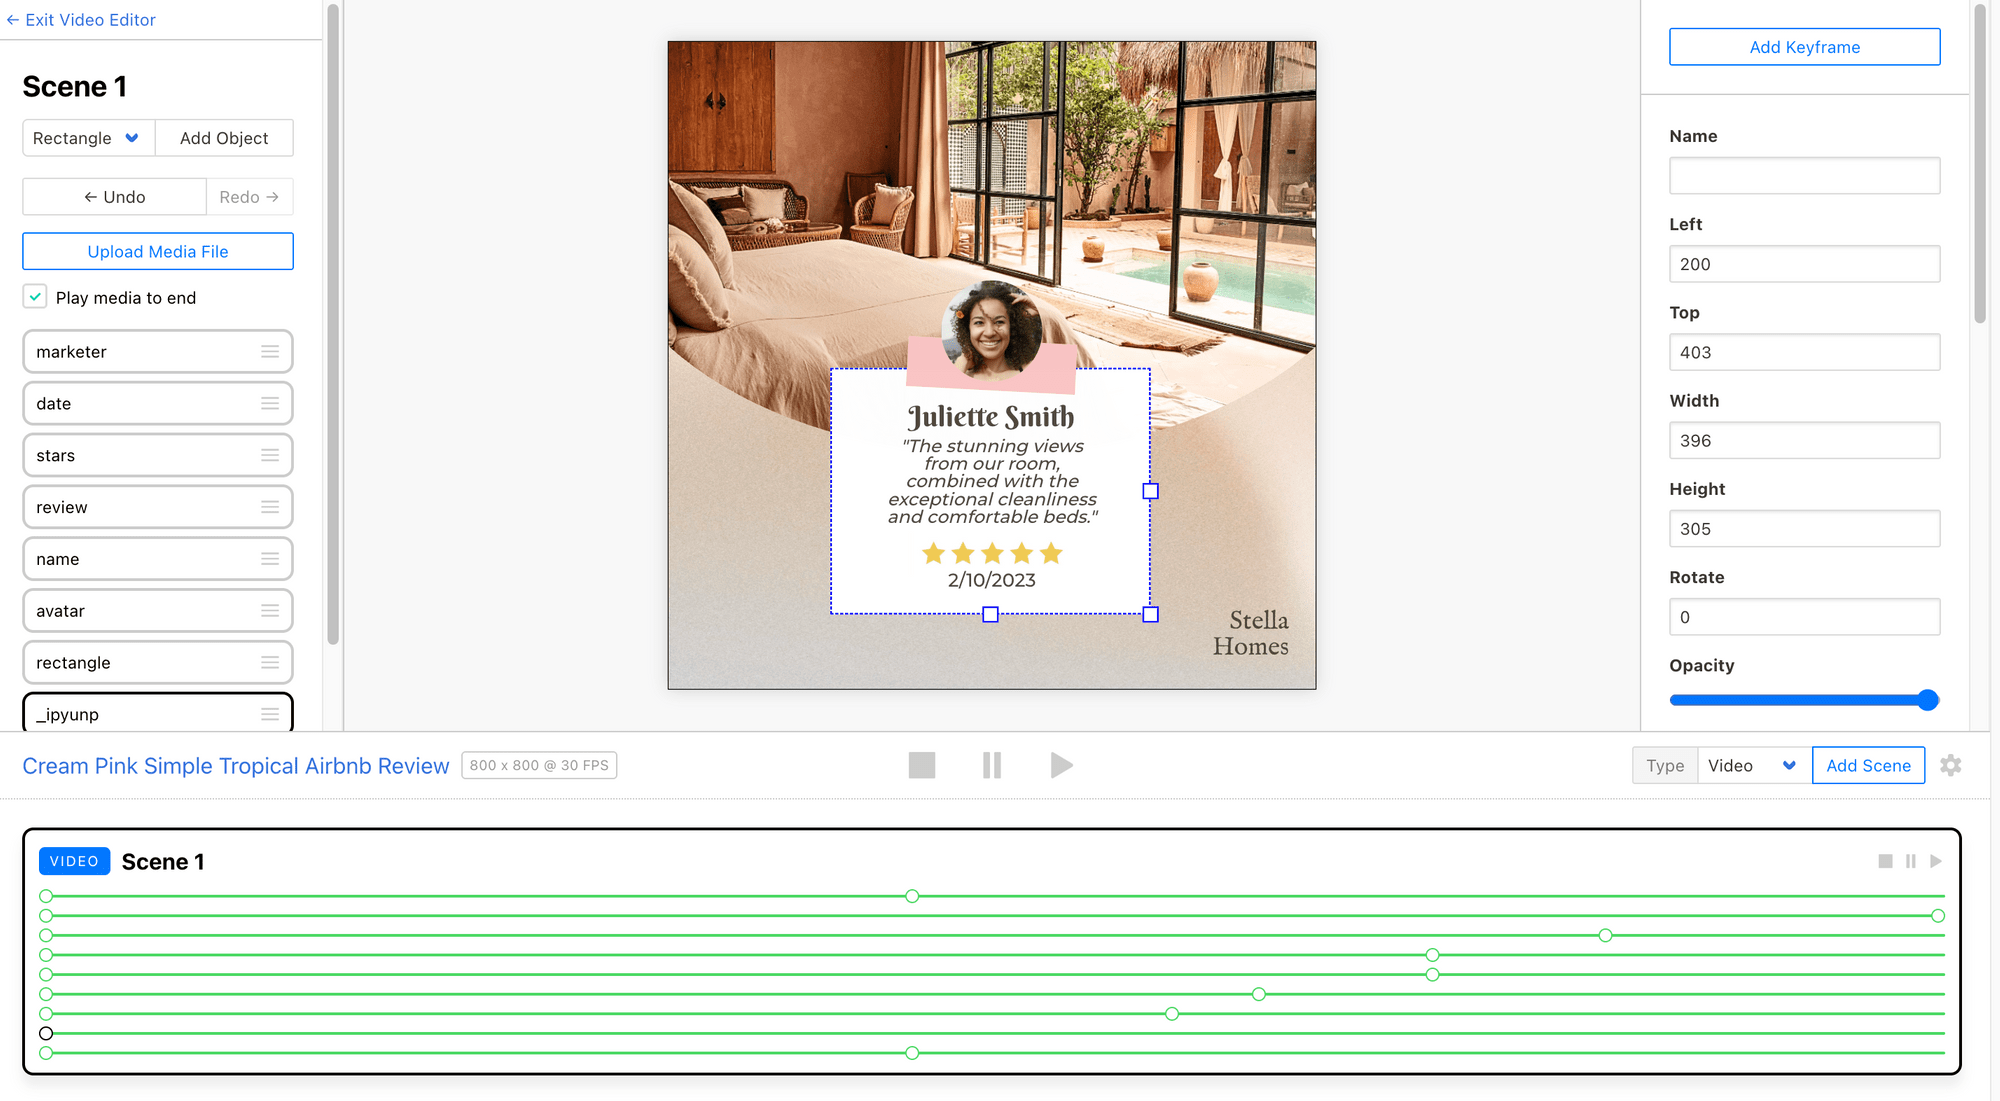
A testimonial video with the review styled in a text box makes the message stand out clearly and reinforces the value of the feedback:

They are clean, professional, and effective, regardless of the video's content.
Getting Started in Clipcat’s Template Editor
Log in to your Clipcat account and let’s get started!
Designing Rectangle Overlays
Rectangles are the most versatile shape for overlays, especially for displaying info boxes, buttons, or annotations. To add one, follow the steps in your Clipcat template editor:
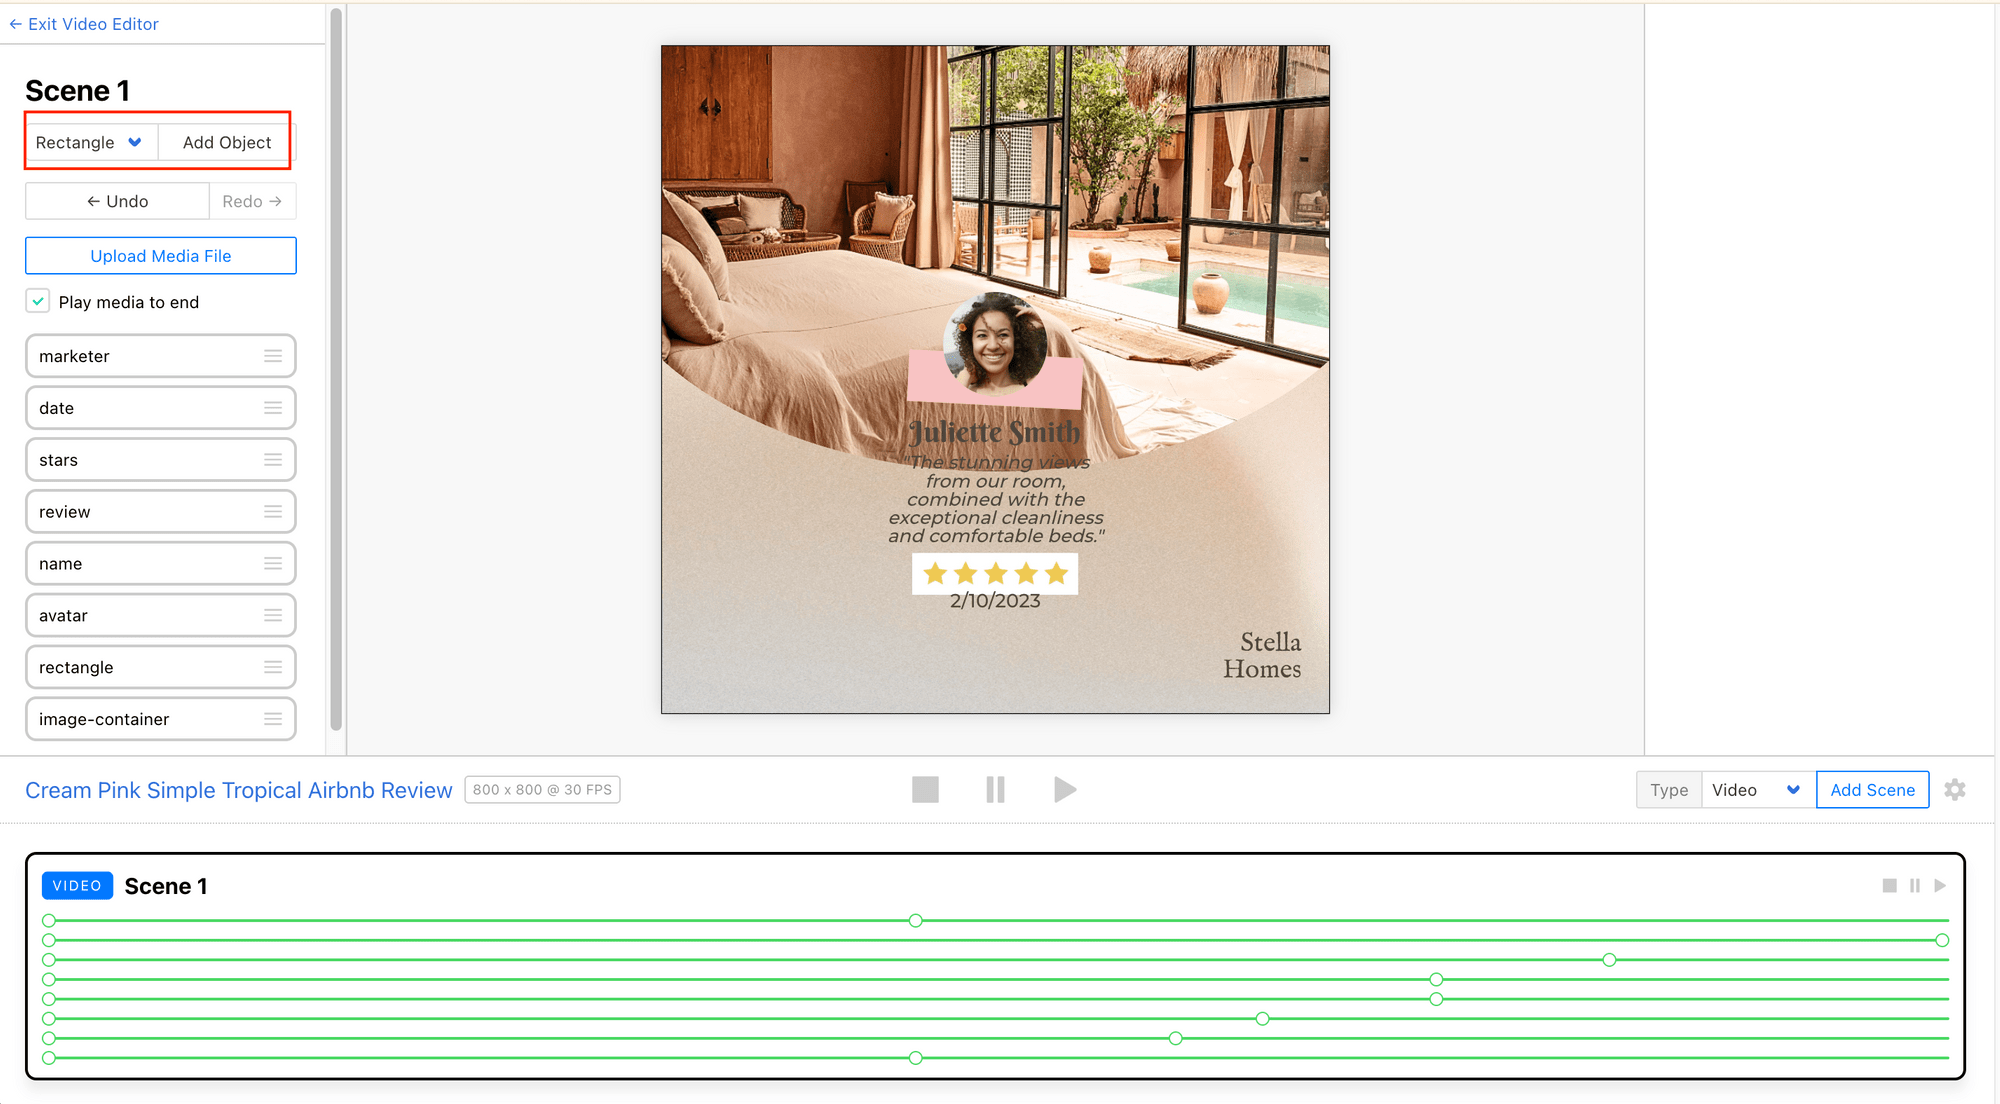
Select Rectangle and click on “Add Object” to add it to your template:
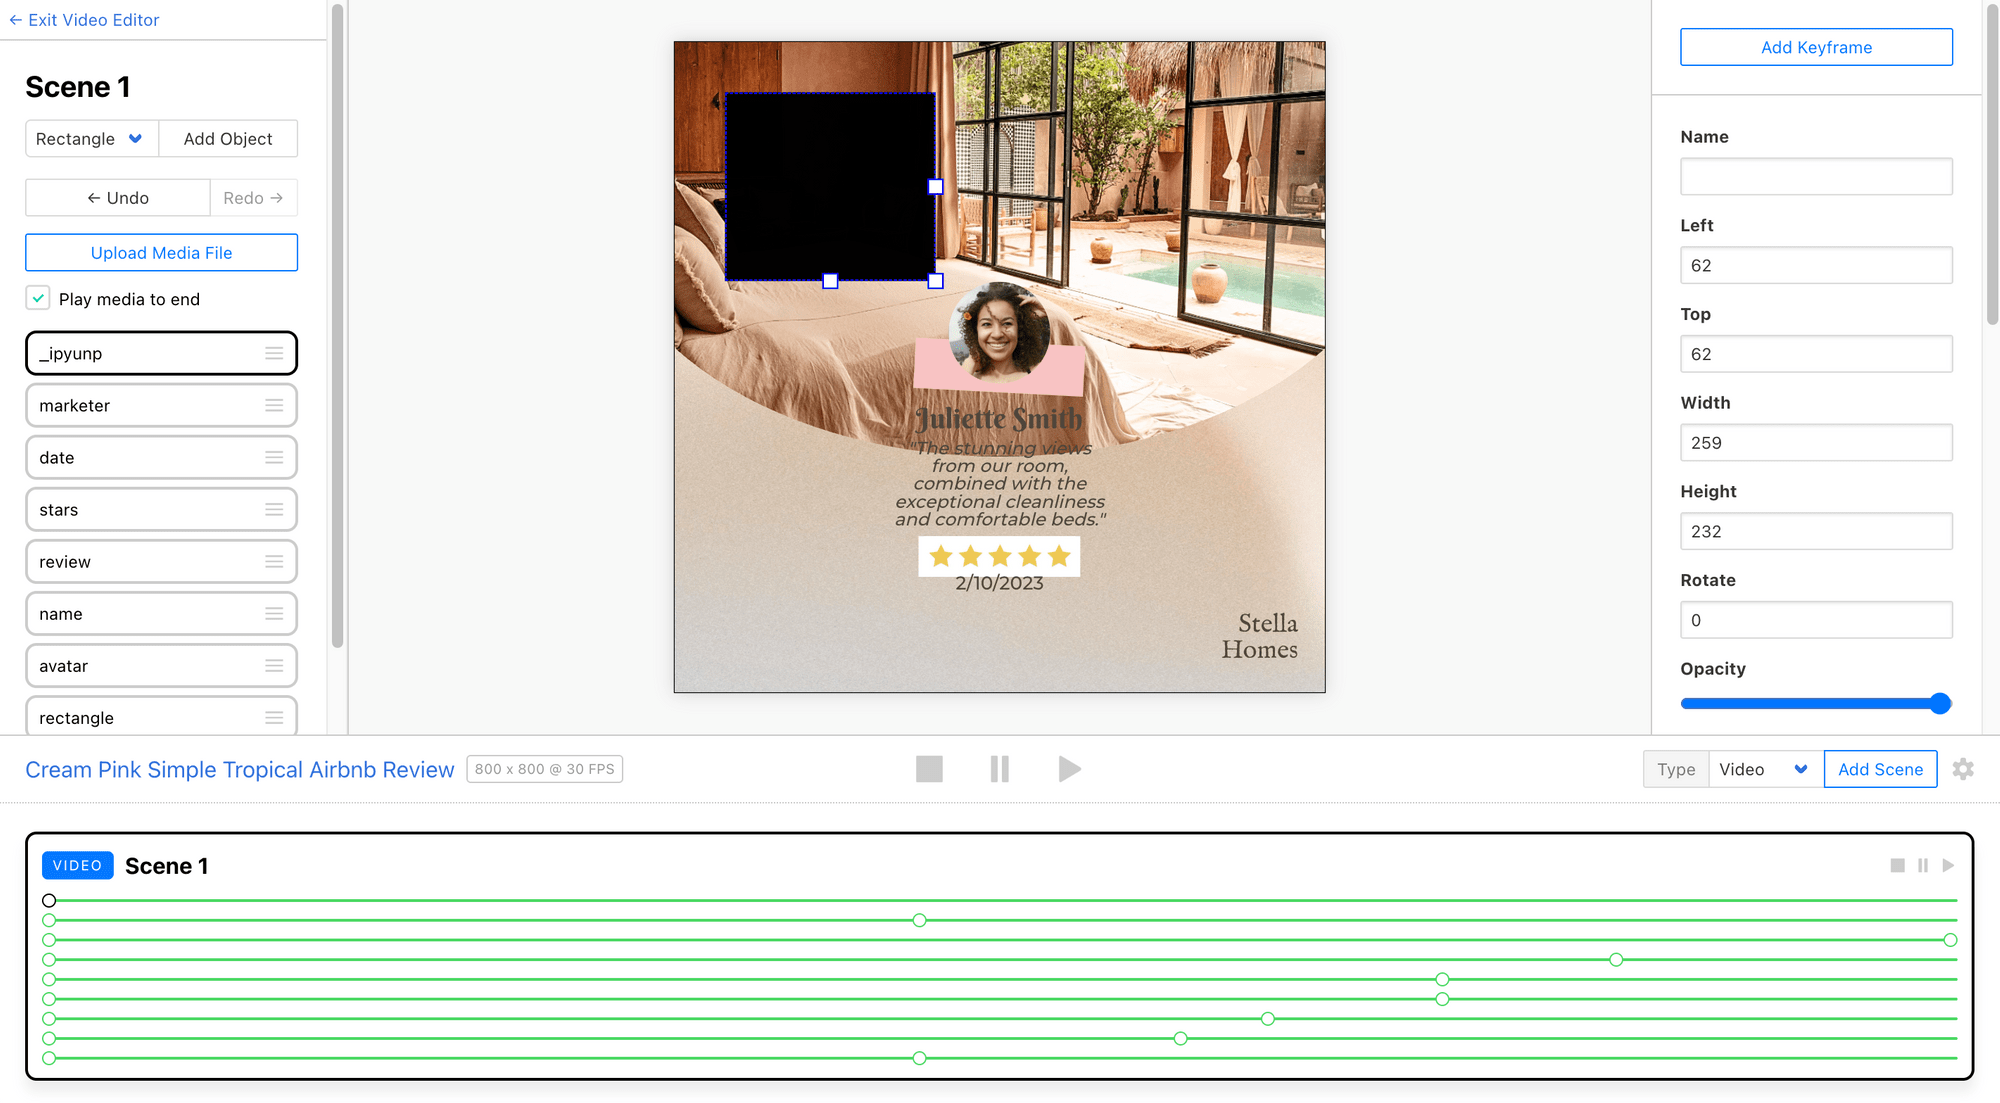
You can drag and resize it on the canvas:
And adjust its layer position, color, opacity, corner radius, border, and other settings to get the look you want:
Here’s how you can use a rectangle shape:
- Product ads : Show the price or product name inside a coloured rectangle.
- Lower thirds : Add someone’s name and title at the bottom-left corner of the screen.
- Callouts : Put a box next to an item to highlight or explain its feature.
🐱 Meow Memo: We will look at more examples later in the article.
Using Circles for Emphasis
Circles help to draw attention to a specific point, creating a spotlight effect and giving a softer, less intrusive visual. To add one:
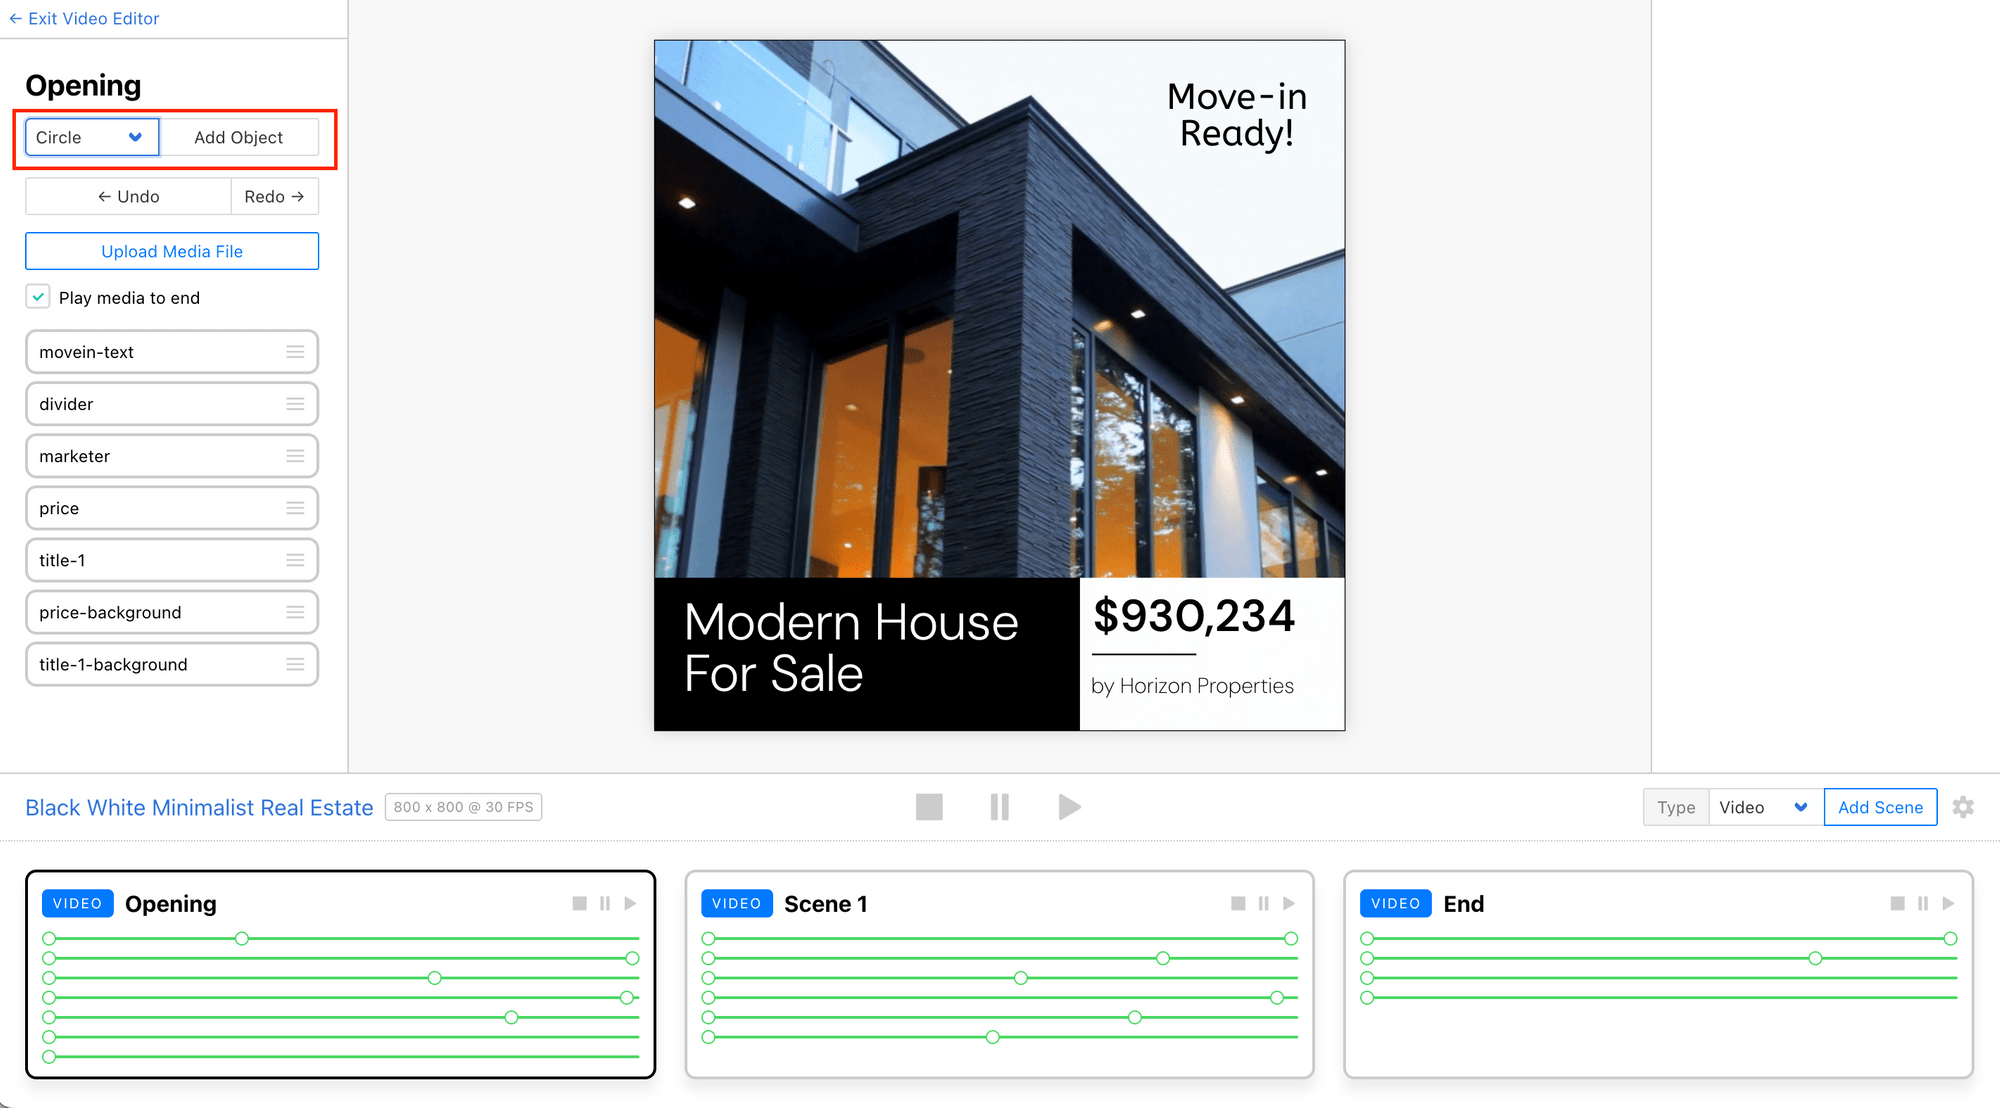
Select Circle and click on “Add Object” to add it to your template:
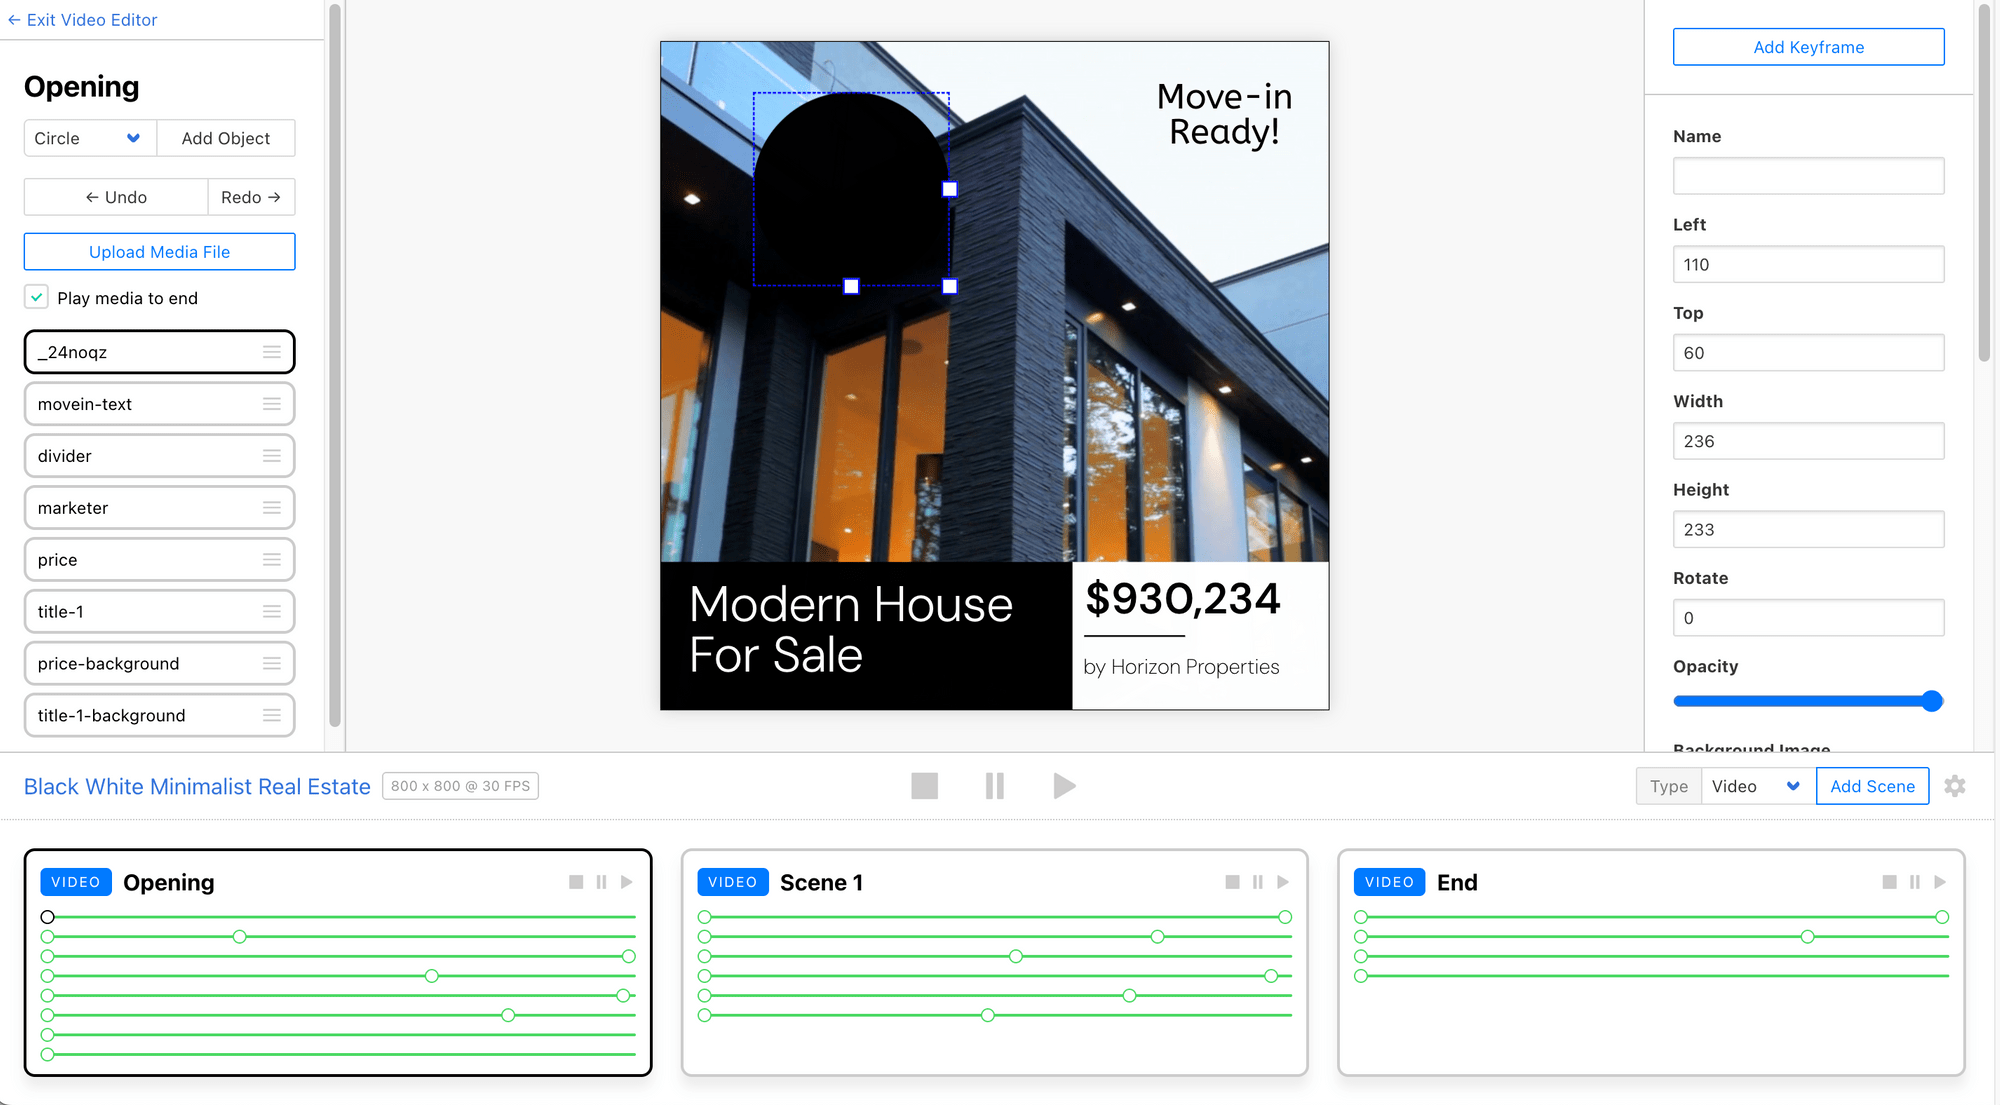
Drag and resize it on the canvas:
And adjust its properties to make it draw attention:
Here’s how you can use a circle shape:
- Badges : Add a “New” or “Hot Deal” label in a product video.
- Status tags : Use it for tags like “Sold” or “Available”.
- Highlights : Place it next to a feature or button in a demo to draw attention.
Combining Shapes and Text to Create Eye-Catching Overlays
Shapes like rectangles and circles give your design structure, while text adds the context. Whether it’s a short tagline, a product feature, or a customer review, pairing text with shapes can make your content attention-grabbing and informative.
Here are a few design ideas to get you started:
Lower Thirds
Lower thirds are one of the most common ways to add names, titles, and social handles in a professional-looking way. A solid or semi-transparent rectangle with text can slide in from the side or bottom of the screen to introduce a person or provide additional information without interrupting the video flow.

🐱 Meow Memo: Lower thirds typically work well for news videos, interviews, or webinars!
Callout Boxes
Rectangles can be placed near the subject of interest, like a product or feature, with text inside to highlight important points or key features in the video. This could be used for emphasizing a key feature in a product demo or a crucial detail in an educational video.

Background Panels
A solid or semi-transparent rectangle can be placed behind text to improve readability when the background of your video is busy or has a lot of visual movement. The background panel ensures that your text is readable, even in complex scenes, like a moving product demo or an outdoor video.

Photo Frame
A white-bordered rectangle around a photo or image is perfect for showcasing product or customer images in a visually appealing way. It gives the photo a sleek, professional look while maintaining focus on the content within the frame.
Profile Picture
Using a circular image (especially one with a face) is a great way to feature the speaker, reviewer, or brand representative in your video. It adds a personal and friendly touch, making it perfect for talking-head videos, customer testimonials, team introductions, or even comment replies.
Quote Cards
Centered text inside a box with quotation marks is a great way to highlight impactful quotes, testimonials, or key thoughts. This style grabs attention and is often used in interviews, motivational content, or reviews to emphasize a particular message.

Call to Action (CTA)
Add short, impactful text inside a brightly coloured rectangle and place it at the end or during key moments in your video to encourage viewers to take action. For example, effective CTAs include “Sign Up”, “Visit Our Website”, “Book Now”, or “Watch the Full Video”.

🐱 Meow Memo: All the examples listed above are available in Clipcat’s Template Library. Just pick one and start customising it to fit your needs!
Tips: Design Principles to Keep in Mind
When combining shapes and text for overlays, keep it simple. If you're using more than one shape, make sure they work well together instead of fighting for attention. To make your overlays look neat and intentional (not simply random), here are a few basic design tips to follow:
- Use shapes and text sizes to highlight what's most important. Bigger usually means more important.
- Don’t overcrowd. Leave enough space around your elements so it’s easier to focus on the key message.
- Use dark shapes on light backgrounds or the other way around to make your text pop.
- Stick to 1–2 fonts, colours, and shape styles throughout the video for a clean and cohesive look.
- Use subtle animations like fade-ins or slide-ups to make your video more dynamic without being distracting.
🐱 Meow Memo: Want to learn more about creating animations in Clipcat? Check out our guide: How to Create Animations in Clipcat Templates (Fade In, Zoom In, and More).
Conclusion
With just a few simple shapes and a bit of thoughtful placement, you can make your videos look cleaner, more professional, and effective. In Clipcat, you can save your design elements and layouts as templates, which you can apply to future videos using its API. This allows you to automatically generate well-edited videos from the template, saving you the hassle of manual editing.
🐱 Meow Memo: Sign up for Clipcat and give it a try today. You’ll get 100 API credits with the free trial—no credit card needed!